How To Transfer Stocks
This article will demonstrate how to transfer inventory stocks from one location to another in Connected Business.
Transfer Items From One Location To Another
- From the Inventory Module > Transfer > New Transfer. The Stock Transfer form will be displayed.
- In the Transfer Date field, set the date of the transfer. By default, this is set to the current date. You can change the date as needed from the dropdown list.
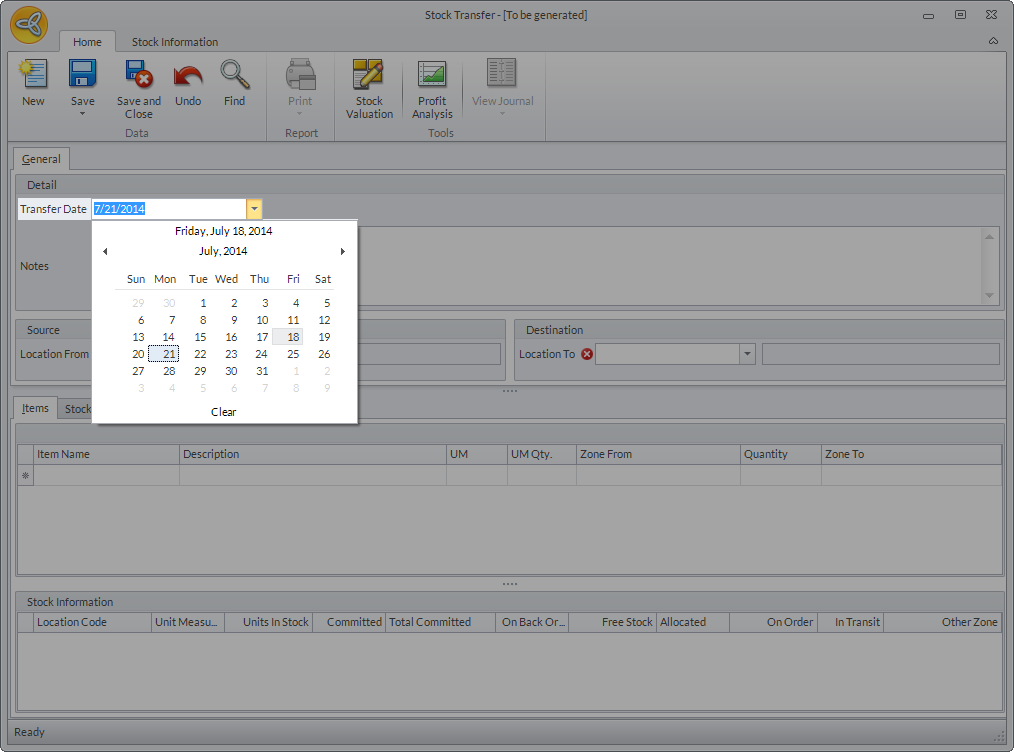
Click Image to Enlarge
- In the Notes field, enter any comments or additional instruction for the transfer.
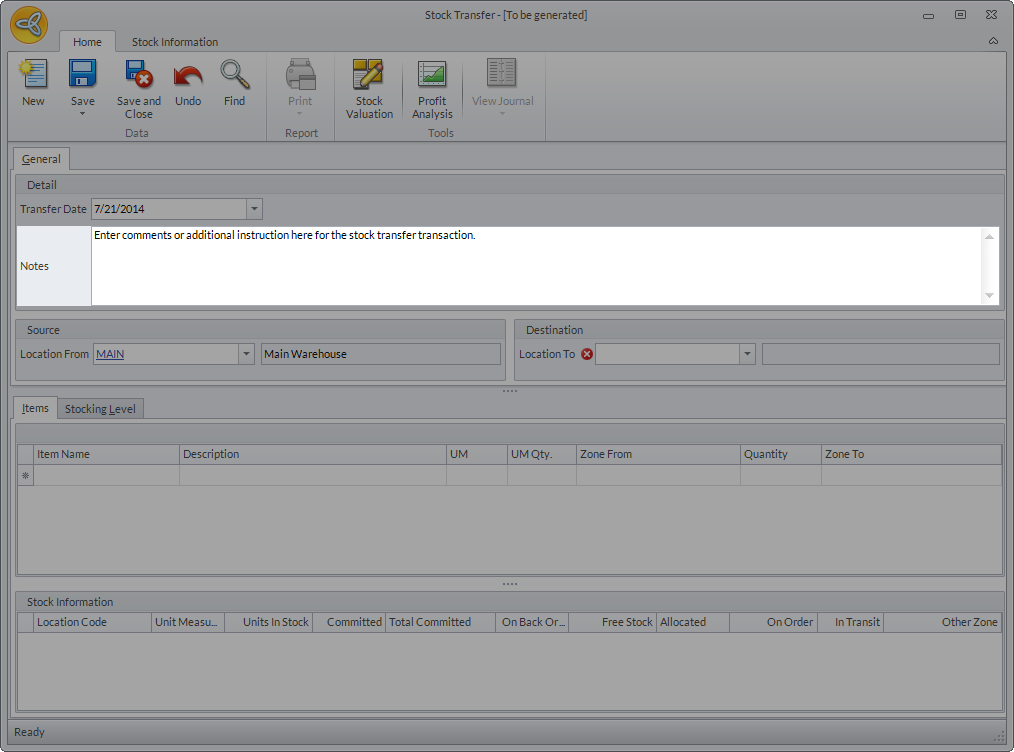
Click Image to Enlarge
- In the Location From field, select the source warehouse for the items to be transferred. You can change the warehouse as needed from the dropdown list.
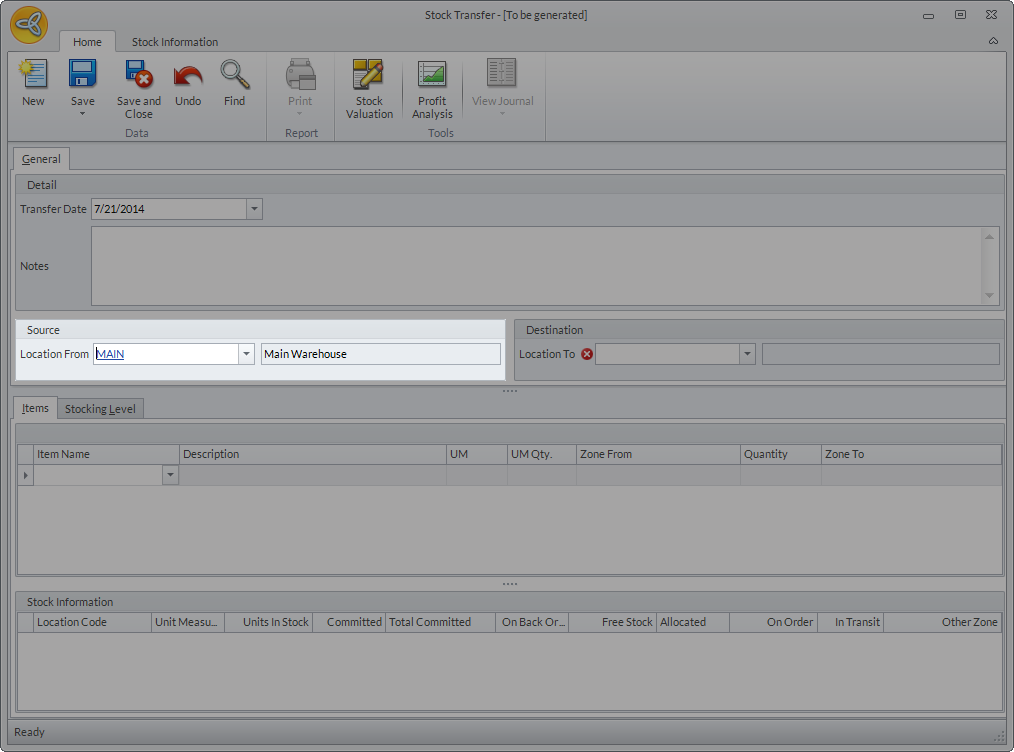
Click Image to Enlarge
- In the Location To field, select the destination warehouse where the items will be transferred. You can change the warehouse as needed from the dropdown list.
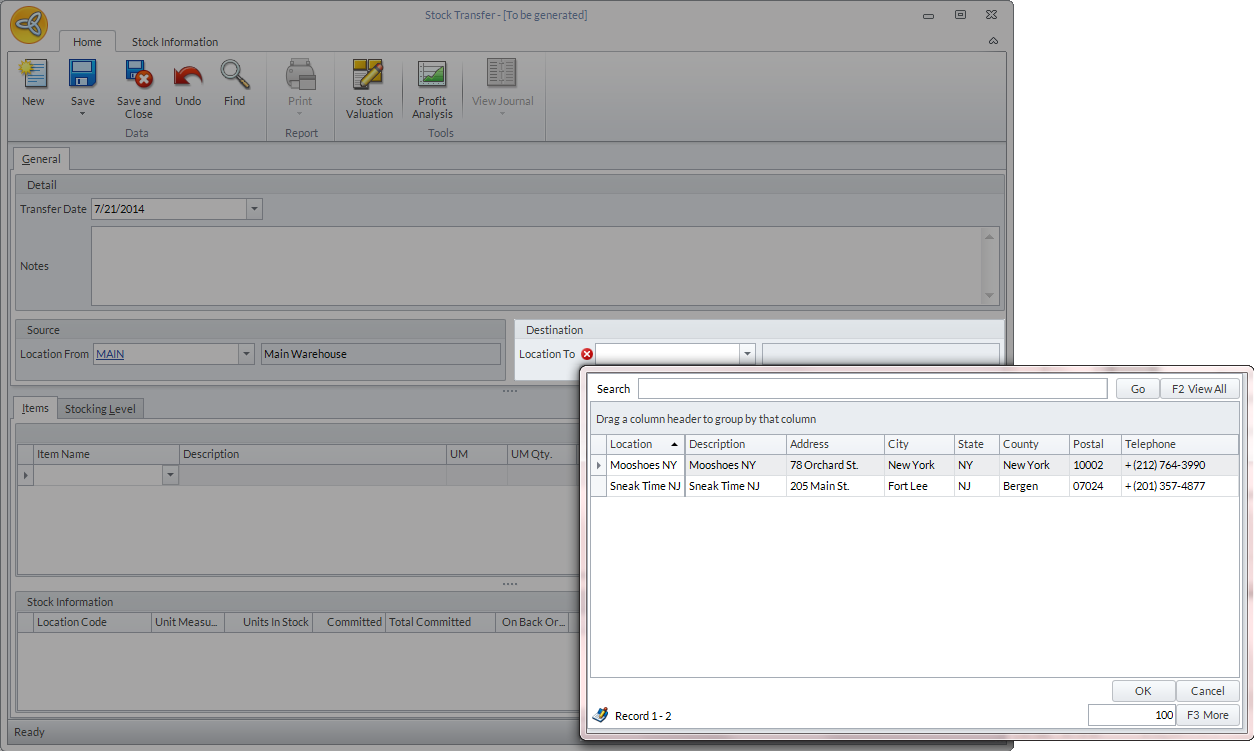
Click Image to Enlarge
- In the Item Name column, enter the items to be transferred. You can also select the items from the dropdown list.
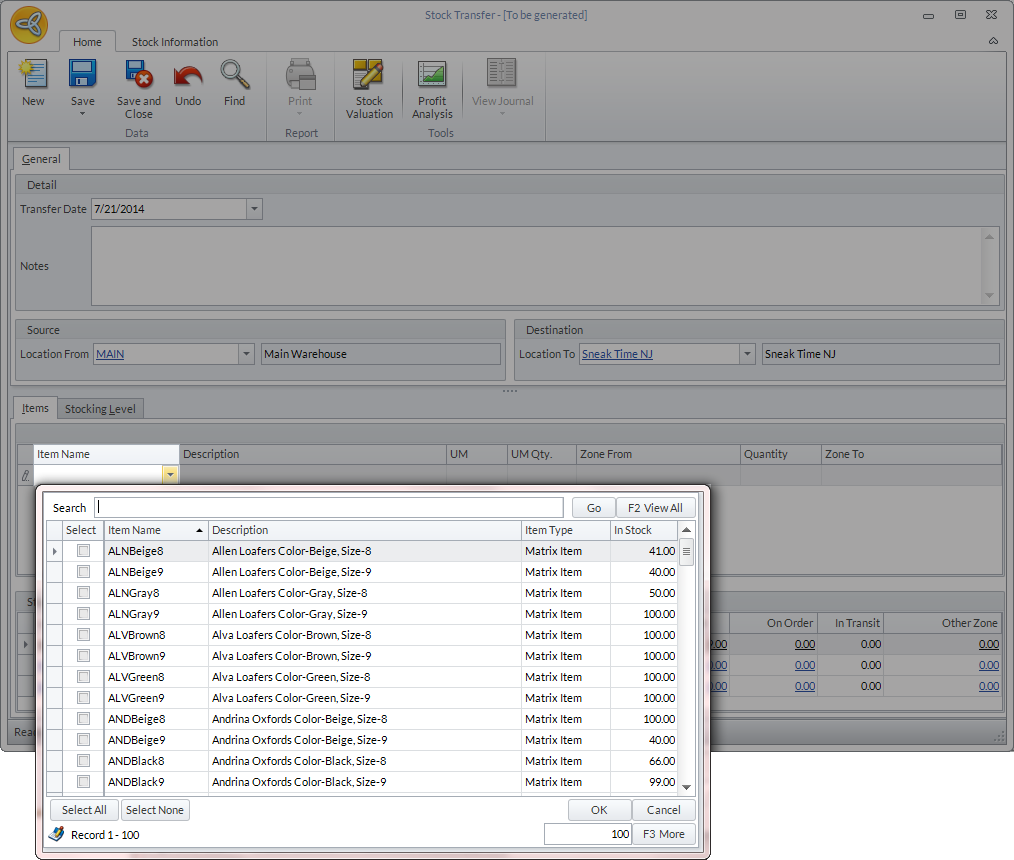
Click Image to Enlarge
- Enter the transfer quantity of the items to be transferred in the Quantity column.
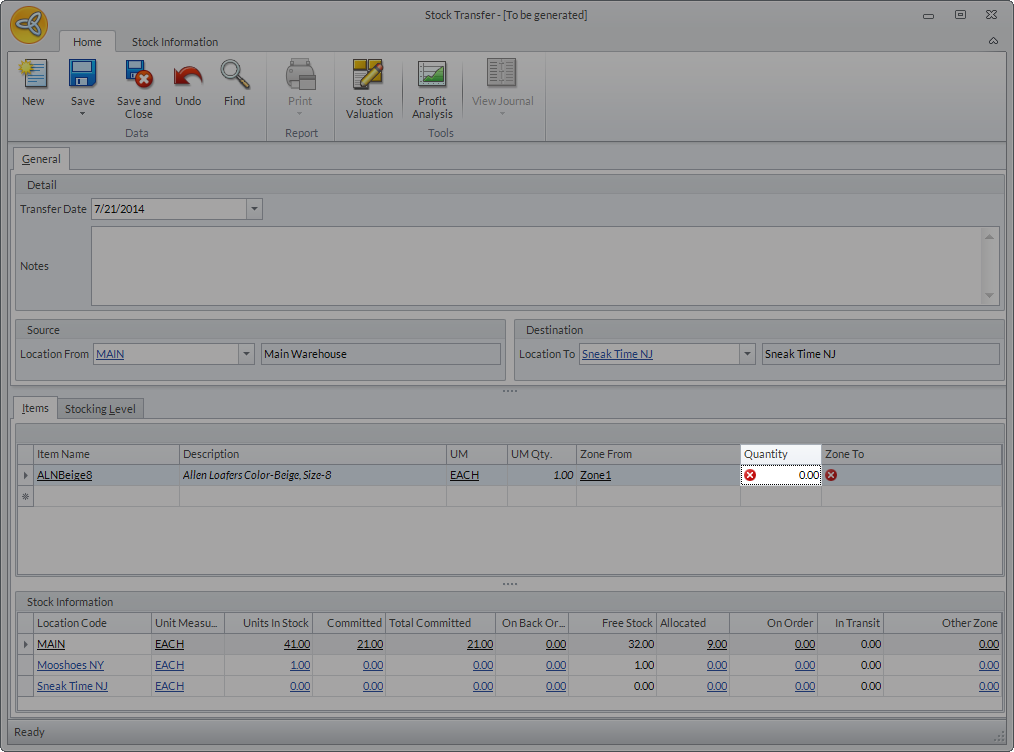
Click Image to Enlarge
- In the Zone To column, enter the zone in the destination warehouse where the items will be transferred.
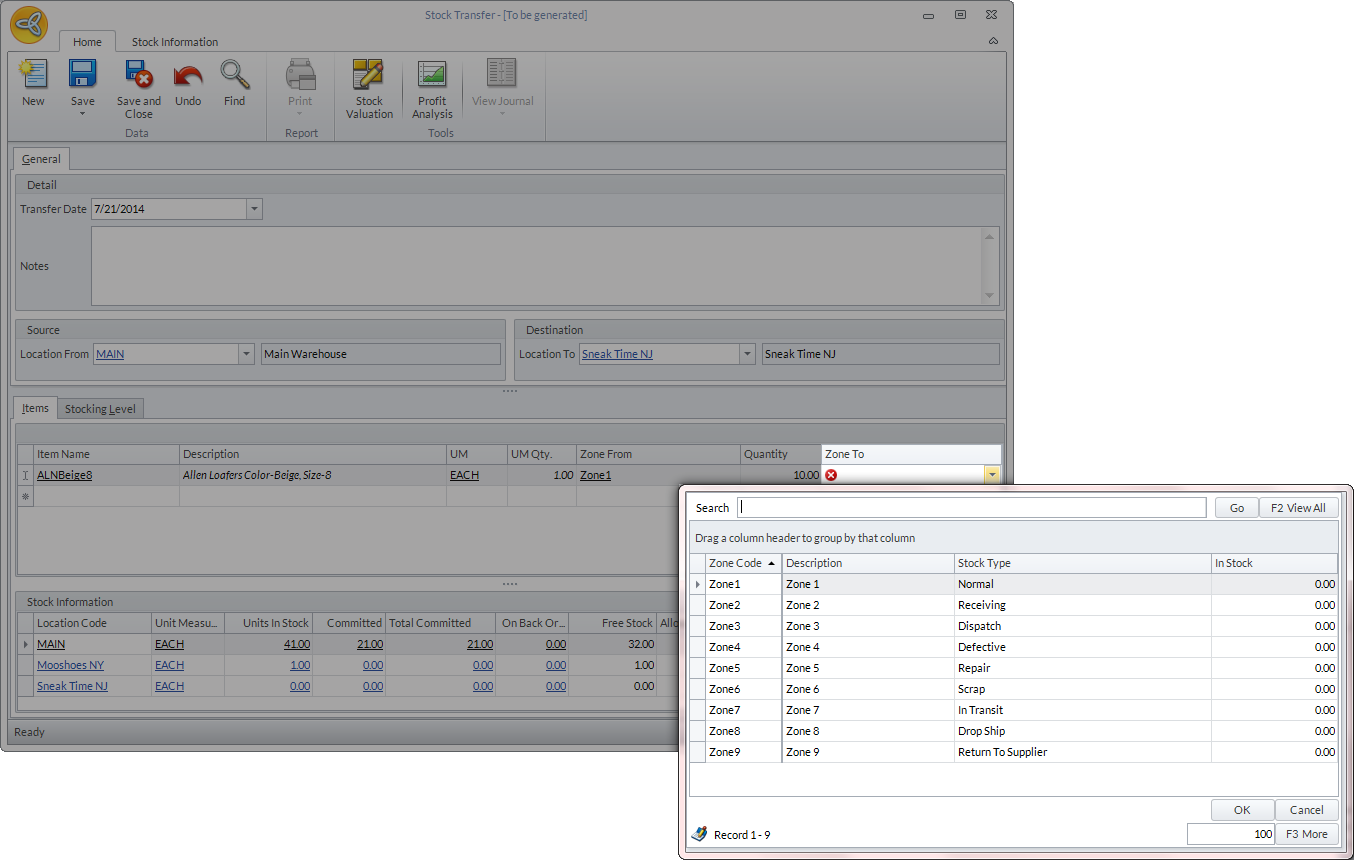
Click Image to Enlarge
- Click Save and Close to apply changes. Once posted, you cannot make any changes in the stock transfer transaction.
If you want check the stock level for each zone in the source location, select the item name from the Item Name column then click the Stocking Level tab.
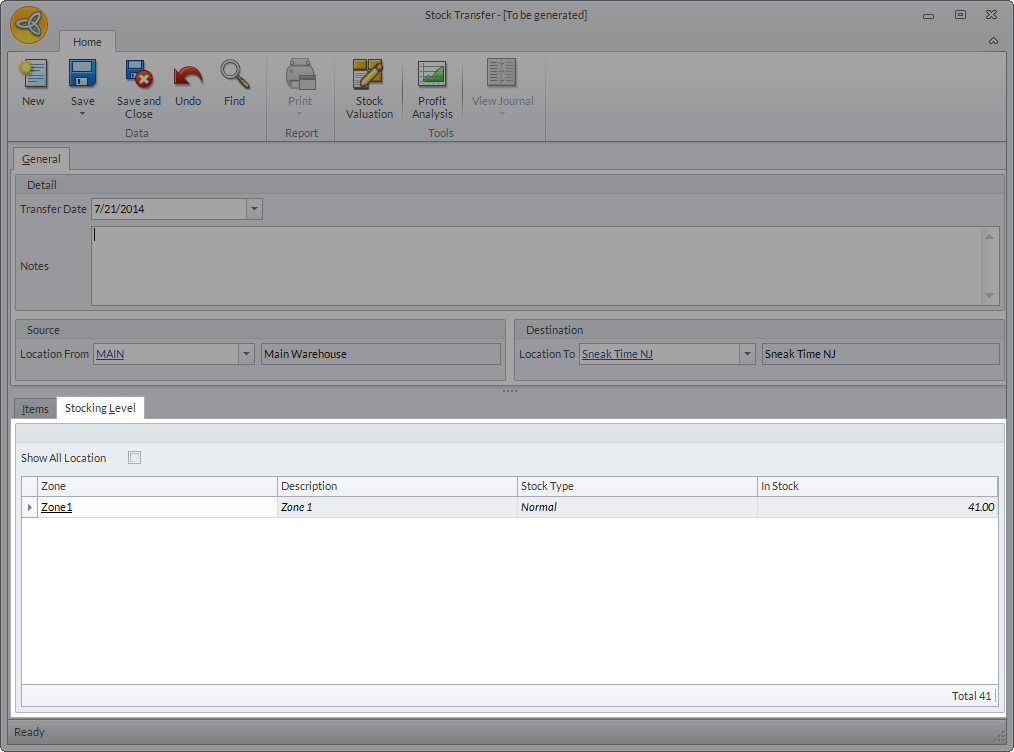
Click Image to Enlarge

If you want to move items from one zone to another in the same warehouse/location, refer to Manage Internal Movements.
![]()
View Stock Transfers
You can view the list of all stock transfer transactions from Inventory module > Transfer > Find Transfer.
![]()
Click Image to Enlarge
![]()