Import Sales Order
This article talks about importing sales order using the Import Manager in Connected Business.
You can make use of the Import Manager to transfer existing sales order from a previous database to Connected Business. This allows the user keep a record of all previous sales order for existing customers.

Imported sales orders are created as NEW records and will not replace existing sales order in the application. Also, importing of sales order is for recording purposes only, therefore, all sales order imported cannot be edited or updated.
Generate Sales Order Import Template
To import sales order, you can use an existing sales order import template or generate a new import template. To generate a new sales order import template:
- Go to System module > Import Manager. The Import Manager will be displayed.
- From the import tree list, click Import Group Customer > Warehouse > Customer Detail > Ship To > Data Warehousing > Sales Order Legacy.

Click Image to Enlarge
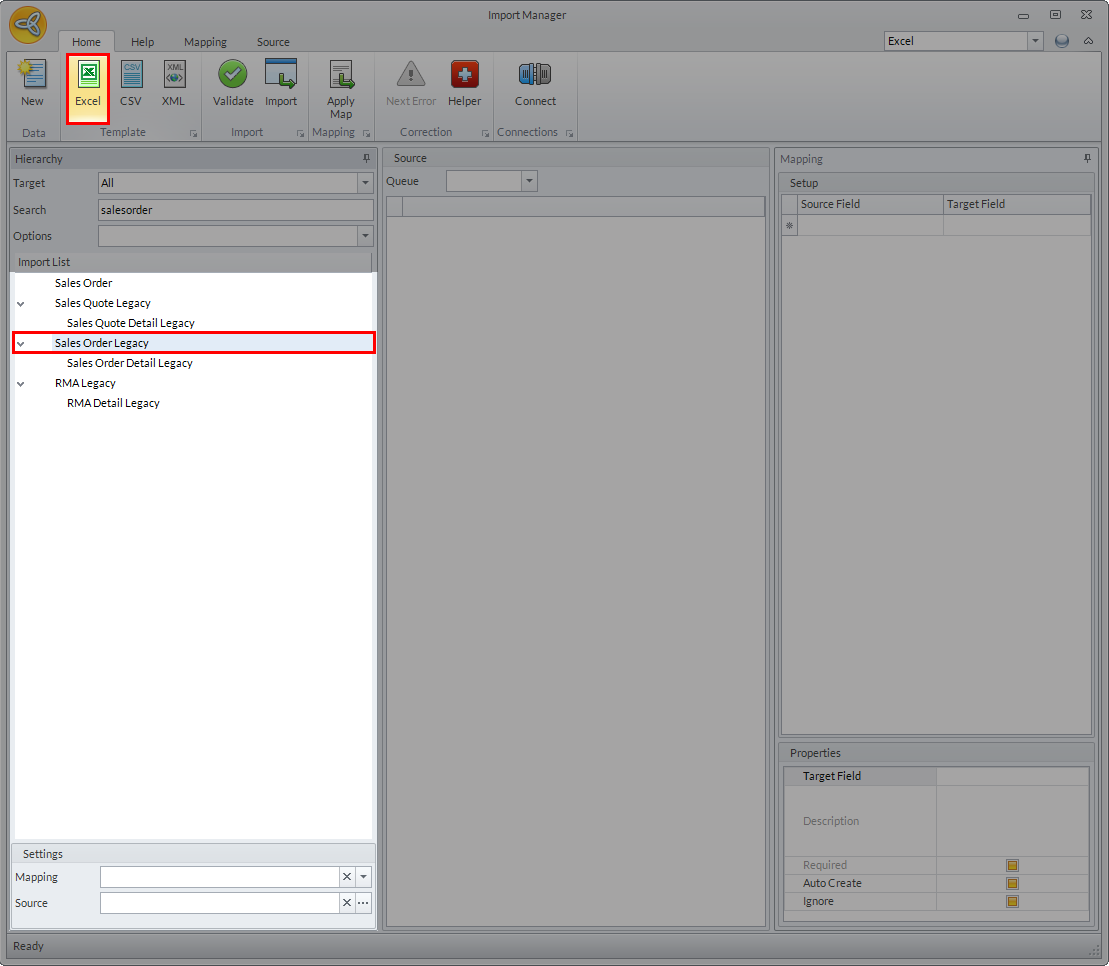
Alternatively, you can enter " salesorder" in the search control field to automatically locate the Sales Order Legacy import source.

Click Image to Enlarge
- Click Sales Order Legacy import source and select Excel as the template format.
Click Image to Enlarge
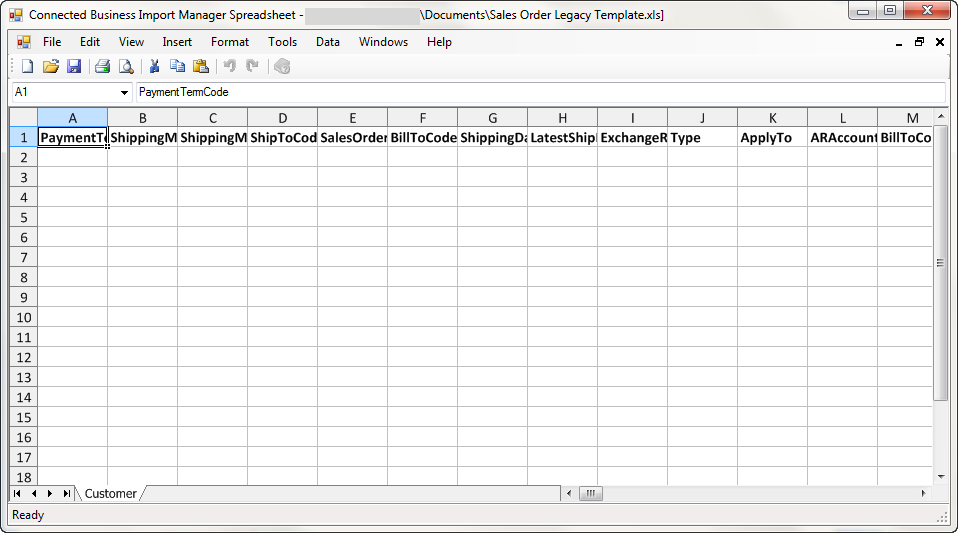
The SO Legacy import template will be displayed.
Click Image to Enlarge
- Fill up the template as needed. You can leave any of the columns blank in the template except the following:
- Payment Term Code
- Shipping Method Code
- Shipping Method Group Code
- Sales Order Code
- Ship To Code
- Bill To Code
- Type - must be set to Sales Order.
- After making the changes, save the template.
For more info on generating new template. refer to Generate New Import Template.
Import Sales Order
To import sales order records:
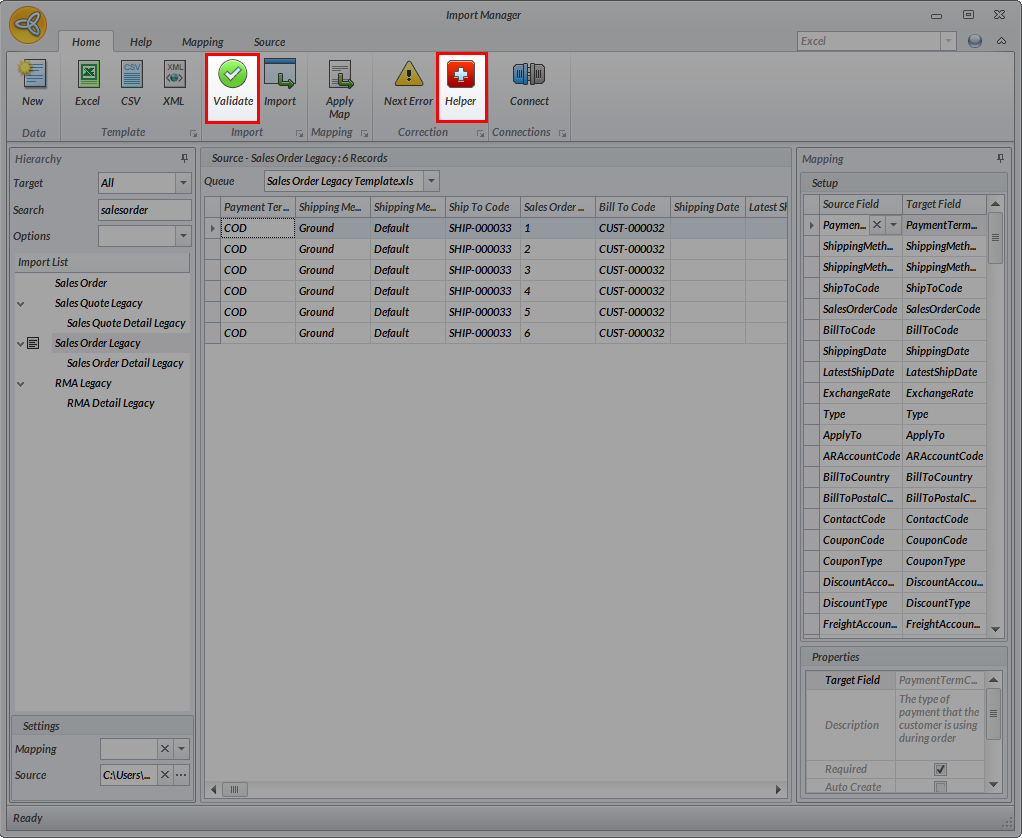
- Double click on Sales Order Legacy import list and locate the import template. The template details will be displayed in the Source grid. Map the fields in the import file as needed.

Click Image to Enlarge
- Click on Validate to check for any data errors. If errors are detected, the system will indicate the field where the error came from. You can click on the Helper button to correct the data errors.
Click Image to Enlarge
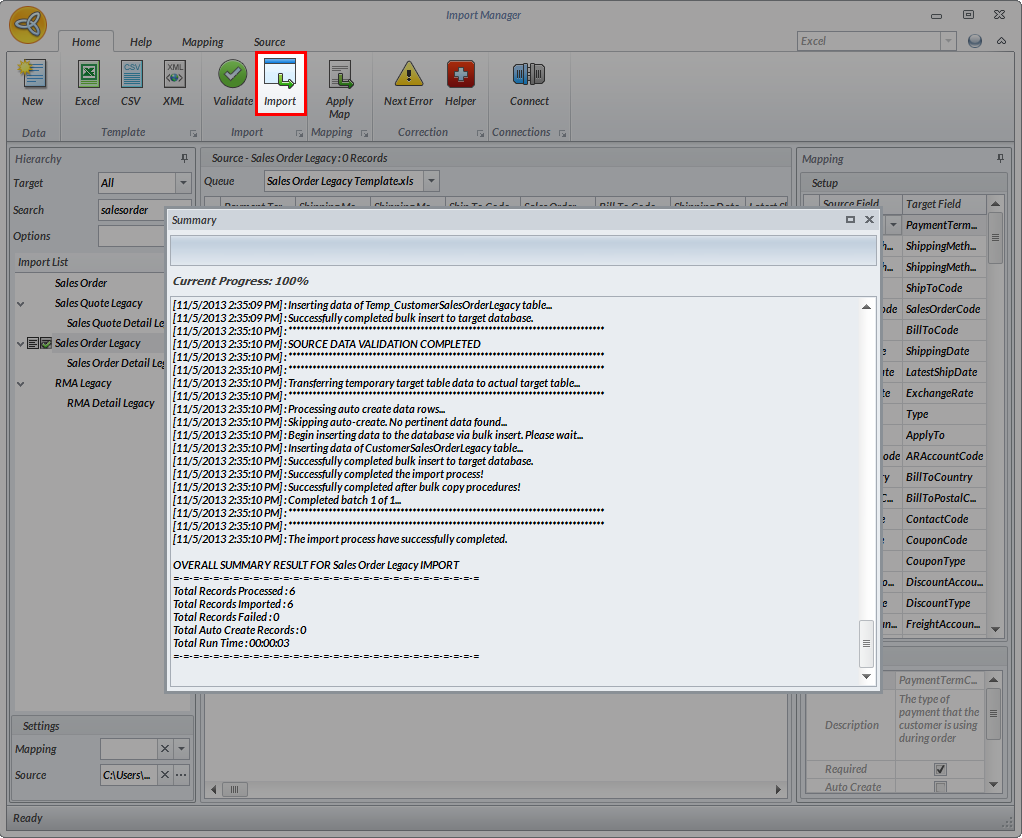
- After validating the import file, click on Import to start importing. The log window will be displayed showing the summary of files imported.
Click Image to Enlarge
You can check the list of imported sales order from the Customer Detail form > Legacy > Orders.
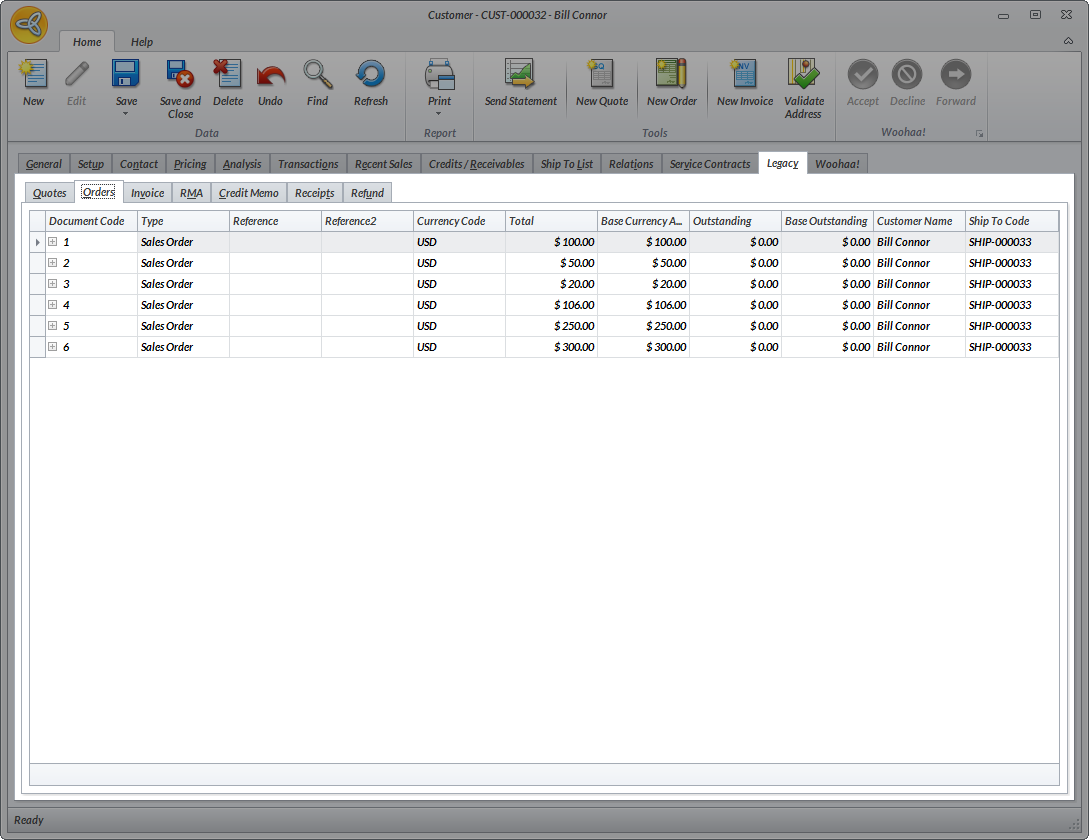
Click Image to Enlarge
For more information on importing data, refer to Import New Data. You can also check Import Guidelines for the standard procedures on importing.
You can also do the same importing procedure for all other transactions such as quotes, invoices, RMAs, credit memos, receipts and refunds.