Import New Data
The Import Manager allows you to generate and work with templates when performing import processes to your Connected Business modules.
- From the System Manager Module > Import Manager. The Import Manager will be displayed.
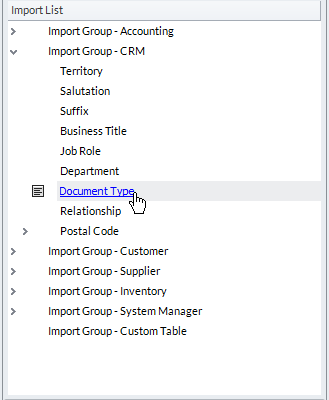
- From the Hierarchy section,

Click Image to Enlarge
- You will need first to filter the import group. Select your preferred Connected Business module from the Target dropdown list.
- Enter search keywords in the Search field
- Select import list by status in the Options field.
- To get more filtered results, you may combine any of the filtering options.
- You will need first to filter the import group. Select your preferred Connected Business module from the Target dropdown list.
- Assign the import source. After setting the import group, a list of import source will be displayed in the Import List section. Select the desired import source.
For uploading web item images, you may make use of Item Web Option Image Description.

Click Image to Enlarge
You can open the data file from the import source in 3 ways:
- Double click on the import source
- Select and double click on the import source.
- A dialog window will open to allow searching of the import source file.
- Select the import file and click Open
- Data imported will be loaded in the Source display.
- Select and double click on the import source.
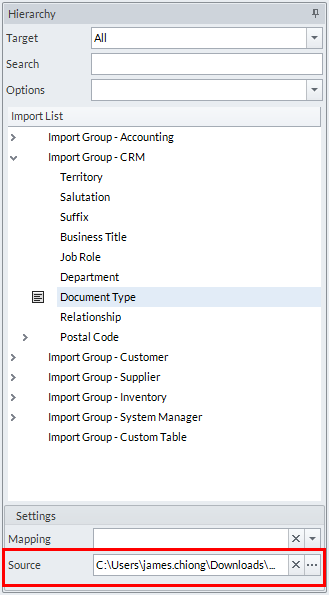
- Select from the Source Settings
- Select the import source from the Import List.
- From the Settings section, click the ellipsis button.
- Select the import file and click Open.
- Data imported will be loaded in the Source display.
- Drag and drop the import file to the import source
- Locate the import file from your local drive.
- Click and drag the import file to the import source.
- The data imported will be loaded in the Source display
- Double click on the import source
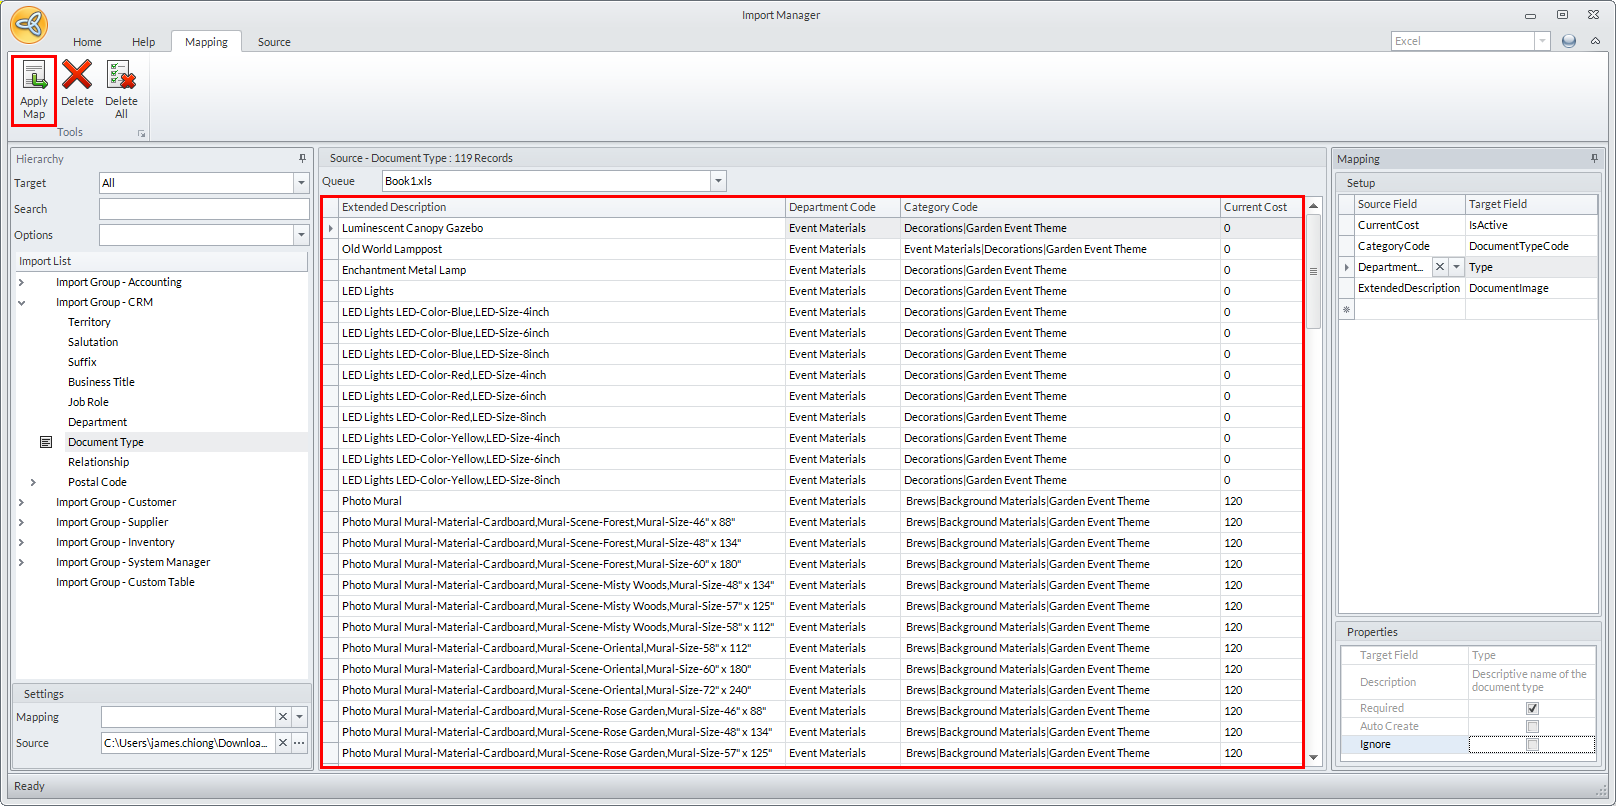
- Map the import data. A summary of all the fields in the import file can be found in the Mapping section. You can do the following when mapping import files:
- Delete Mapping Data - you can delete a specific mapping data
Right-click on the source data you want to delete and click Delete Selected.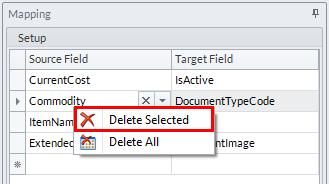

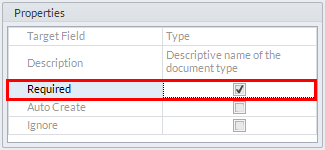
You may not delete a field if it is marked Required from the Properties section.
- Delete All Mapping Data - you can delete all mapped fields in the mapping setup except for the required ones
Right-click on the Source Field column entries and select Delete All.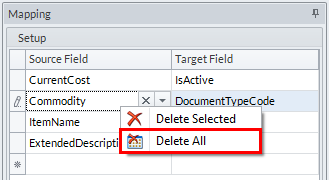
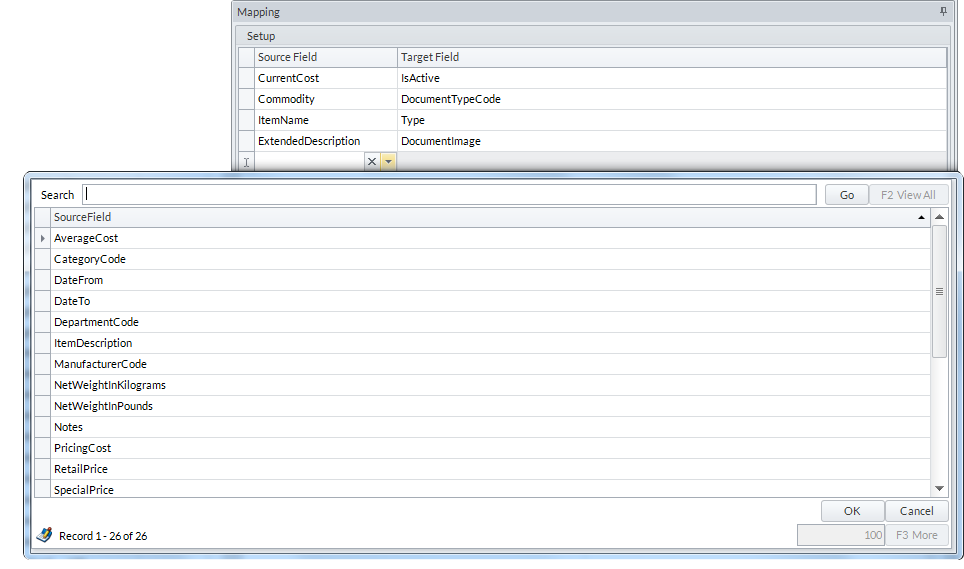
- Add New Mapping Data - you can add a new mapping data. click on the Dropdown button to add a new field mapping.
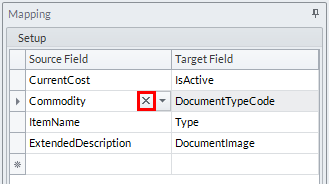
- Delete Assigned Source Field - you can also delete the assigned source field to the target field by clicking on the
 button.
Validation and Import will not proceed if there are still fields that are left unmapped.
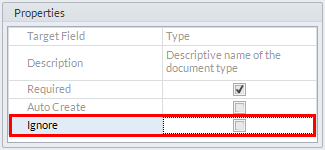
- Ignore Mapping Data - you can ignore specific fields before importing. Check the Properties section for this option. Ignored fields will not be validated nor imported even though it is mapped.
- Auto-Create Mapping Data - if the data does not exist in the system, it is automatically created in the import prior to importing. This way, simple data doesn’t need to be imported beforehand and your can simply import the important data right out.
This option is only applicable to specific tables such as:
- SystemBusinessTitle
- SystemDeliveryRoute
- SystemDepartment
- SystemJobRole
- SystemSalutation
- SystemSource
- SystemSuffix
- SystemBusinessTitle
- Delete Mapping Data - you can delete a specific mapping data
- Apply Map. After mapping the import data, click on the Apply Map button from the Mapping menu tab to reflect the changes made in the mapping to the source grid displaying the source data.
- Validate the import data. After mapping the import file, click on the Validate button to check for any errors.
If there are errorss in the import file, the system will indicate the field where the error came from. Check if the error falls in any of the following causes: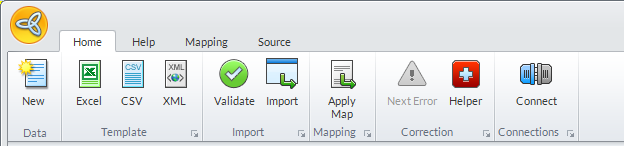
- There are duplicate fields
- The data type is incorrect
- The length of the field exceeds the maximum limit
- The data does not exist in the database
- Custom (table-specific checks)
Primary Key Constraint - When adding a new import data, you cannot insert an import data with existing primary keys. The screenshot below shows an example of a primary key constraint.
Data Type Mismatch – Data from the source that has an incompatible type to system tables will be caught and be modified by the application. For instance, if a field is supposed to have a number value and it contains a letter on the source file, it is modified to zero (0). This applies to True/False, Date, and Numbers types.
Data Exceeds Maximum Length – Data exceeding the limit of the target field will be automatically trimmed in order to accommodate for the target field data capacity.
Missing Referenced Data – If a source file references a data that is not pre-existing in the system’s database, it will be tagged by the application as an error with the exception of the auto-created data.
Custom Checks – Each import table may apply certain custom validation specific to that table. Validations such as duplicate names, zero values not allowed, values cant be negative, etc. are considered to be custom checks and apply only to the import table being processed.
You can manually modify the values in the source grid or use the Helper button to correct the errors.
The Helper button allows you to automate correction by supplying the correct data in the affected fields based on the set criteria. You can modify the data based on the following criteria: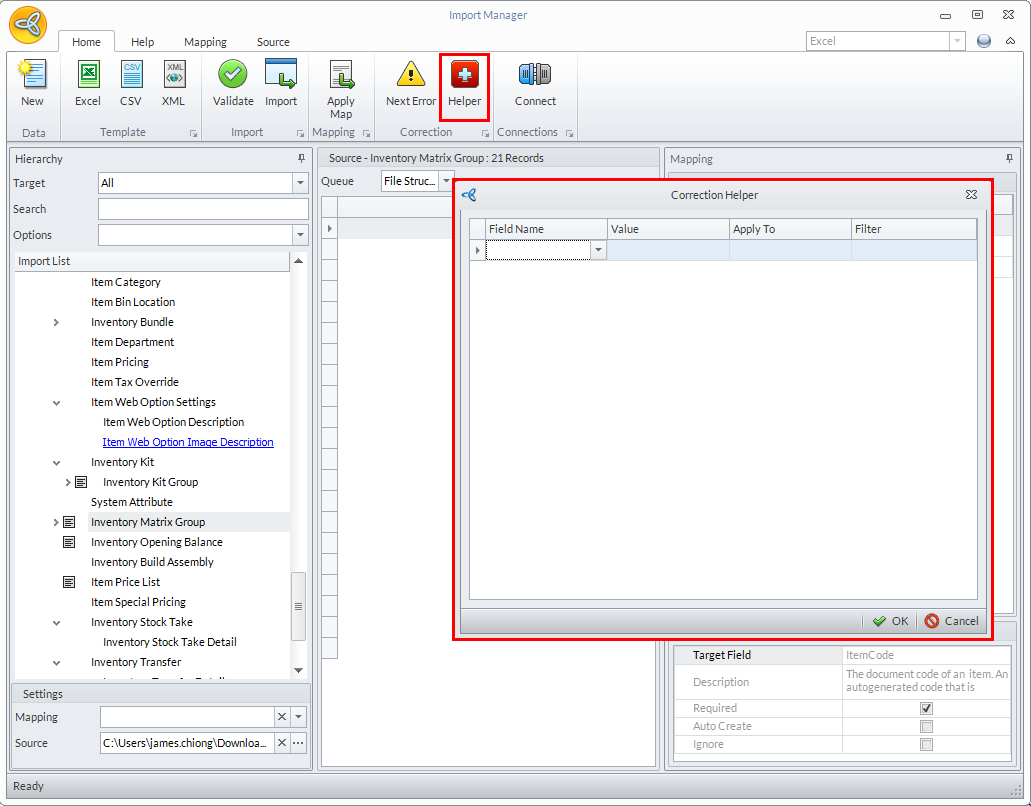
- Apply To Error – Modify the data if the value is tagged as an error.
- Apply To Empty – Modify the data if the value is empty.
- Apply To All – Modify the data on all records.
- Apply To Filter – Modify the data based on the filter applied. Only when the Apply To is set to Filter will the correction apply the filtered data.
To check for any other errors in the template, you can use the Next Error button. The Next Error button guides you to the next available error in the source grid.

- Apply To Error – Modify the data if the value is tagged as an error.
- There are duplicate fields
- Import the data. After validating the import file, click the Import button to start importing.

- Check the Import Log. When importing, the import log window will be displayed showing the summary of the files imported and files with error. The log files generated are per import item and per process.
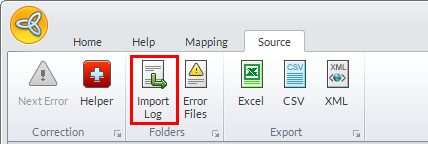
You may view saved log files from the Source menu tab > Import Log. A dialog window will be displayed showing the list of all import logs saved on your computer.
- The Import Manager can function in a linear batch import, which means you can assign import files to all supported import tables and process them one at a time (from top to bottom) up until all tables are processed. Any data that is found to be valid will be accepted and imported and leaves only those data that have failed the system validation.
For uploading web item images, when all the data are successfully imported please make sure that you have to manually copy all the images in their respective folders within the Web folder with the correct filename(from the imported data). The location path is usually located in:
C:\Program Files (x86)\Connected Business 13\ISE\Web\images\product