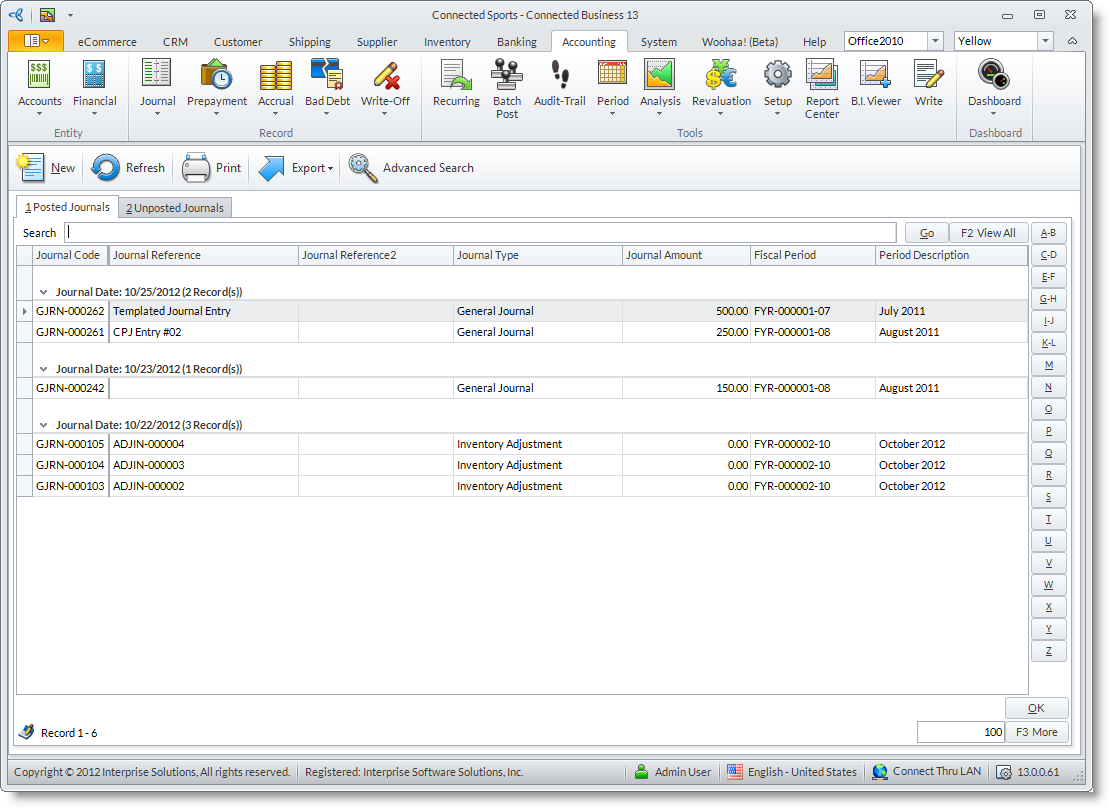
Create Manual Journal Entry
The minimum requirement when creating a source document for the journal entry should contain the Date, the Amount and the Description of the Transaction. However, for practicality purposes, source documents should contain the name and address of the other party(who transacts business with you). These are applied when creating journals by posting transactions; these data are supplied in the Reference 1 and Reference 2 fields. You can type in the information in these fields when using the New Journal option.
In cases where a source document does not exist(for example, when a cash receipt is not provided by the vendor or was misplaced), a document should be generated as soon as possible after the transaction. You may use other documents such as bank statements to support the information on the generated source document.
Steps
- From the Accounting module, select Journal > New Journal. The Journal form will display.

- The Journal Date is set to the current date. Select the appropriate date using the calendar or accept the default current date. If you entered a past date, the fiscal period and year will remain the same. If you entered a future date (not inclusive in the current fiscal year or period), the period will be changed accordingly.
- Your base currency is used as default. You may select another currency in the Currency field, if necessary.
- Enter the reference information in the Reference 1 and Reference 2 fields.
- The Journal Type is displayed to determine that the origin of the journal entry. Manual journal entries are given the type, General Journal.
- In the Account column, select the accounts that you will include then enter a short description, usually of the purpose, to help maintain information about the journal entry.
- Enter the amount in the Debit and Credit columns next to the account to be debited or credited. The amount must yield an equal total at the bottom of the form.
- Optional: In the Tax Type column, select the appropriate tax type applicable account codes and select the tax code in the Tax Code column according to the tax type.
- Save the details before closing the form.
Create a Reversal
- From the Accounting module, select Journal > Find Journal. The search screen of posted and unposted journal entries will display.
- Select the journal entry in the list to display the Journal form.
- Modify the details as necessary.
- Click on the Save, Change Date and Create Reversal button.
- A confirmation message will appear. Choose Yes to create the reversing journal entry.
See Also:
Create Journal Templates | Manage Prepayments | Manage Accruals | Bad Debt Provisions