Pickup Notification
The In-Store Pickup feature allows shoppers to place an order online and pick up the product at a convenient physical location. To learn more, refer to our documentation on how to Create a Pickup Order Through the Web Store.
Once a shopper places an order and chooses the physical store from which they will pick up the product, the store's POS system alerts the staff to pick and reserve the purchased items. The retail staff then notifies the shopper that their order is available and ready for pickup.

This feature is only available in Connected Business v15 and higher.
Configure POS Settings
-
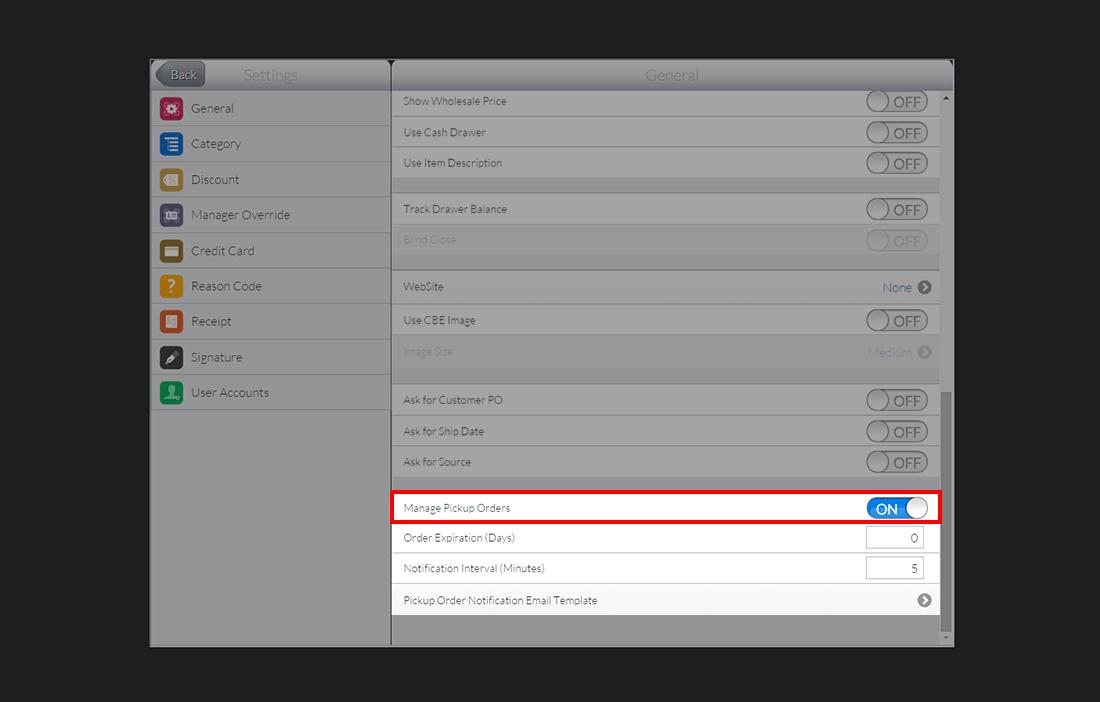
To enable pickup notification for your system, go to the POS Dashboard and tap on the Settings icon.
-
Tap the General category and find the control labeled Manage Pickup Order. Make sure that the setting indicates that it is On.
Click Image to Enlarge
-
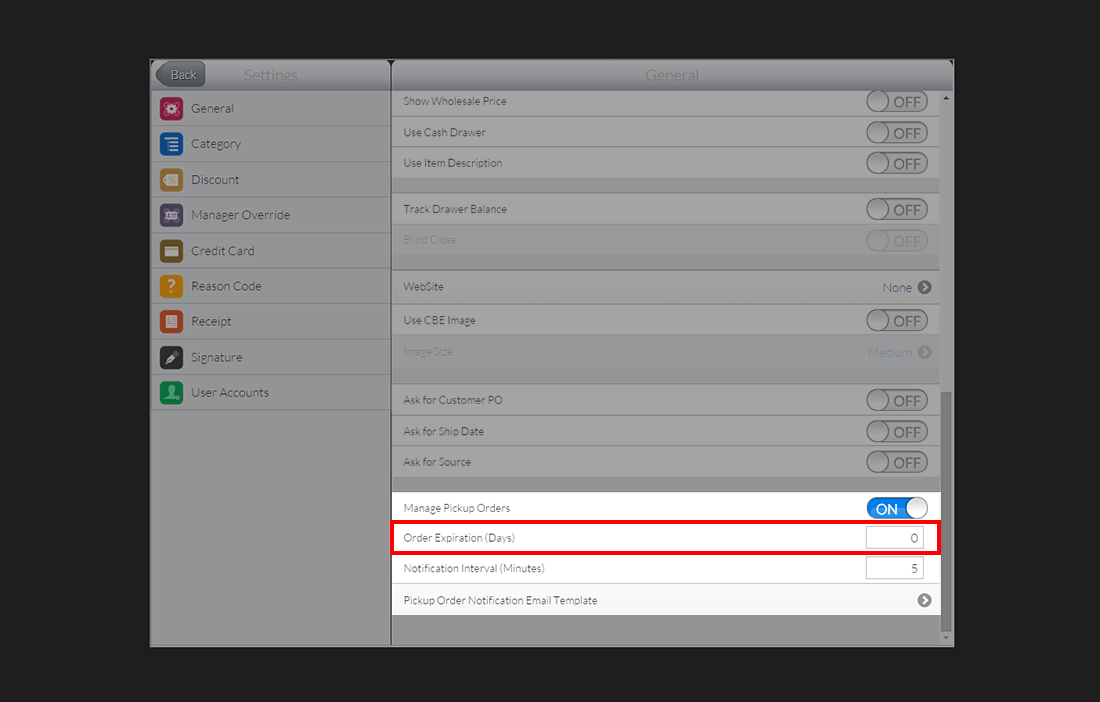
Set the Order Expiration located below the Manage Pickup Orders setting. This will make the pickup order disappear from your notifications after the predetermined number of days has passed.
Click Image to Enlarge
If the number indicated is 0, the order will remain active in your system until it is confirmed or canceled.
-
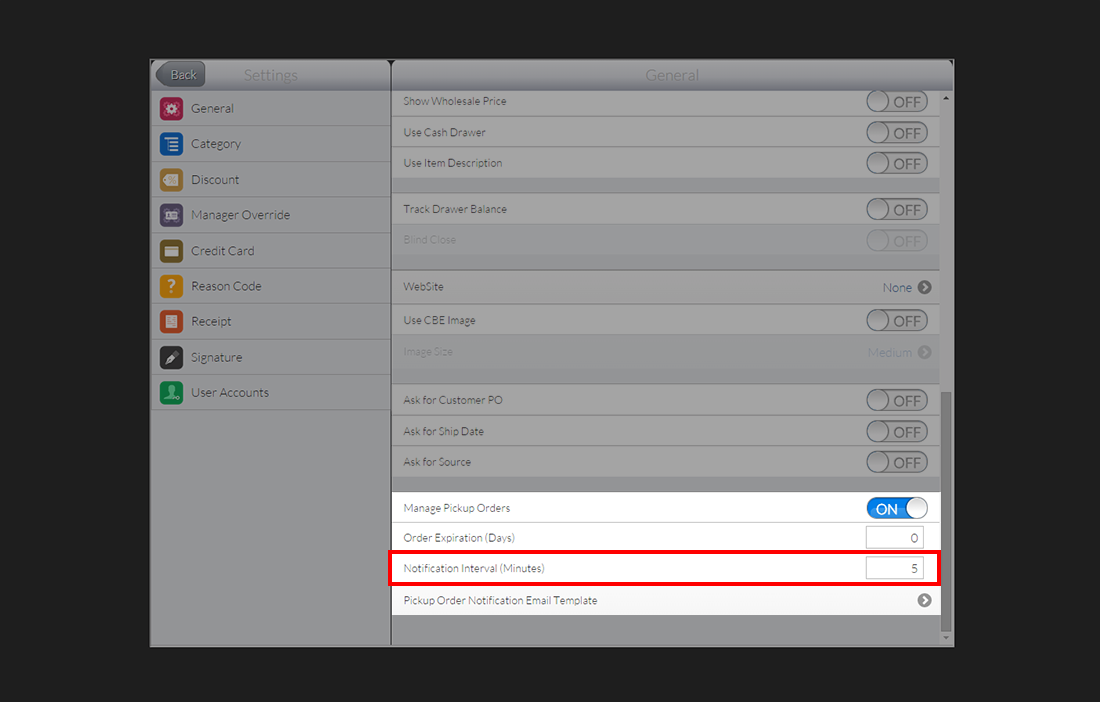
The Notification Interval setting indicates the number of minutes until system loads new pick up orders created in the system.
Click Image to Enlarge
-
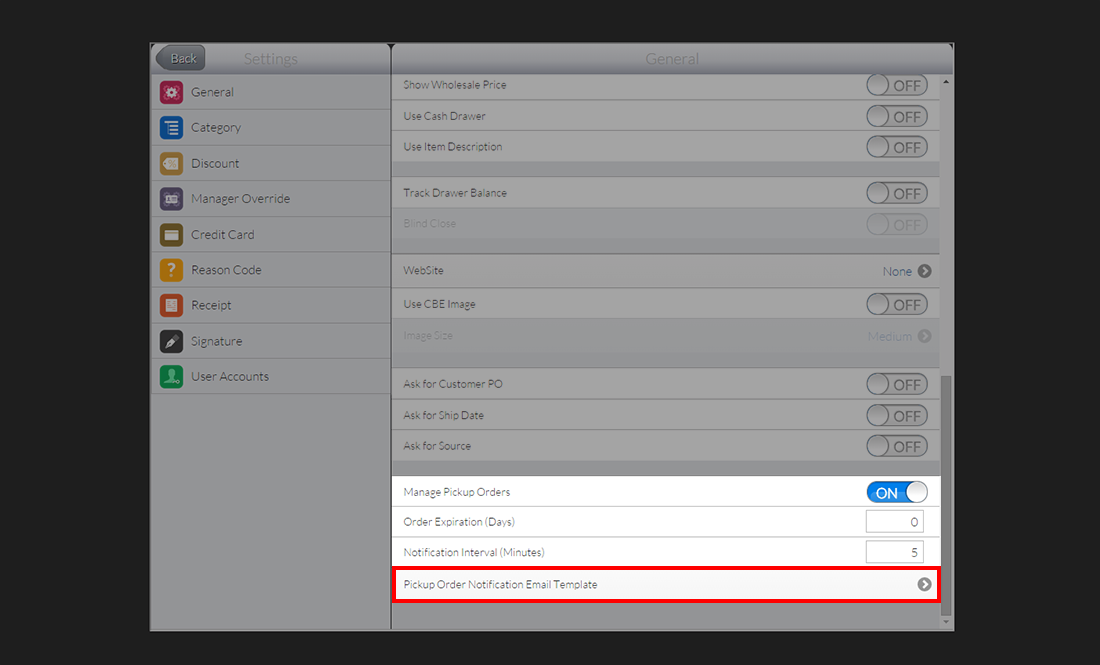
Next, you need to compose the content of the notification email sent to the customer. To do this, select the option labeled Pickup Order Notification Email Template.
Click Image to Enlarge
-
A new screen will be displayed containing a text window that can be used to compose your notification email. You can format the message using HTML.
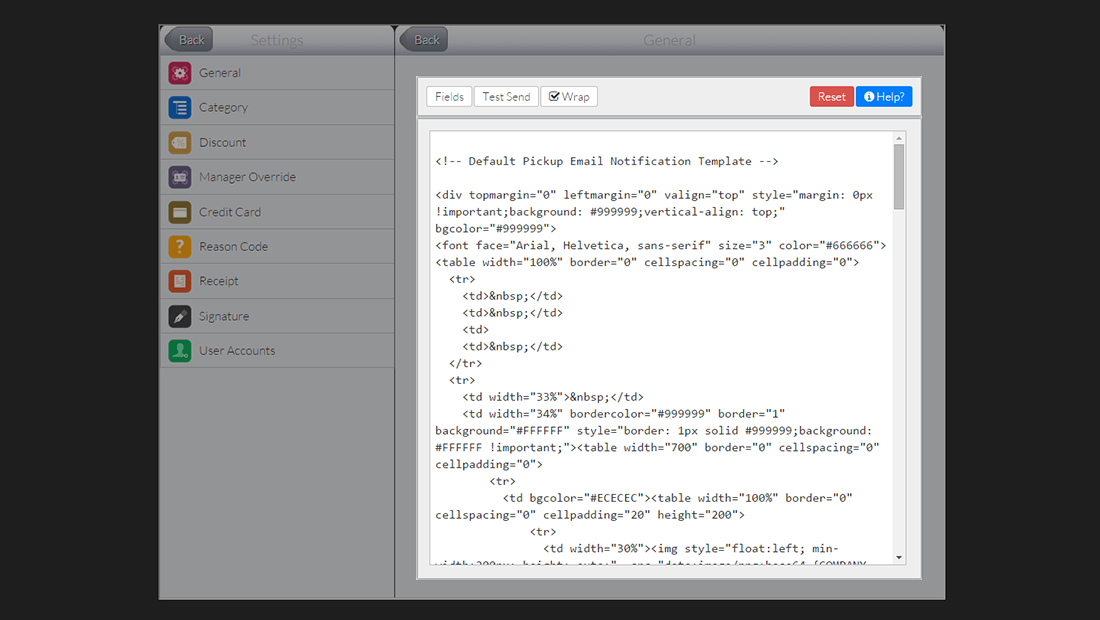
Click Image to Enlarge
-
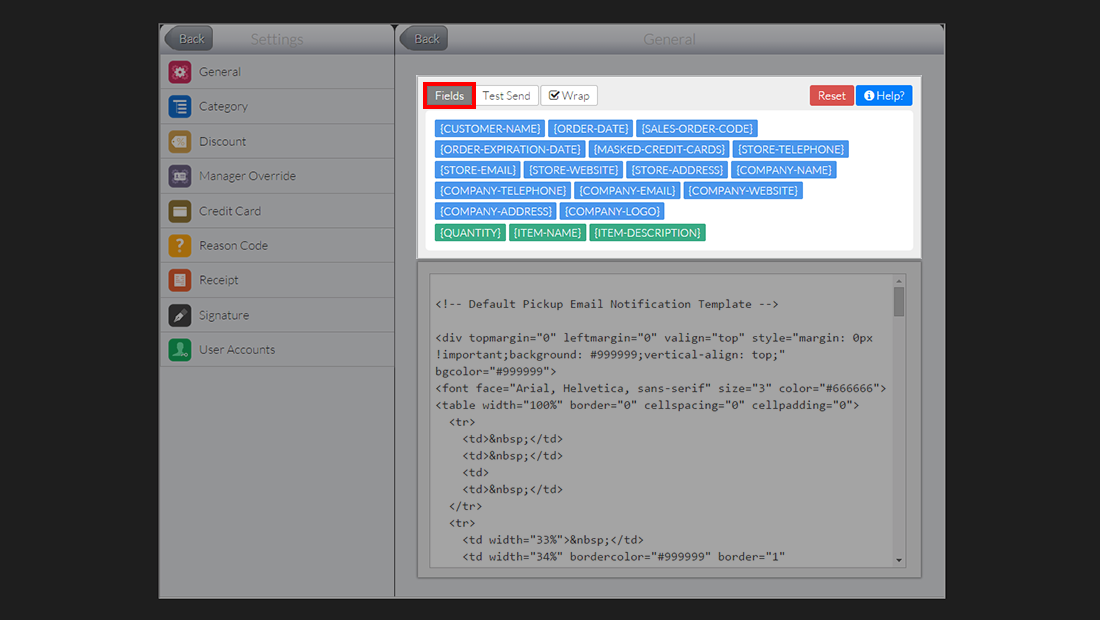
You can further personalize the message by inserting special fields. To display the list, tap the Fields button on top of the text box. Examples include [Company Logo], [Customer Name], and [Order Date].
Click Image to Enlarge
You can insert new fields into the body of your email template by positioning the cursor to the correct location inside the text box. Tap on one of the fields and automatically insert the code of the text.
-
Tap the Back button located at the upper left corner of the screen to go back to the POS dashboard.
Process Pickup Transactions
-
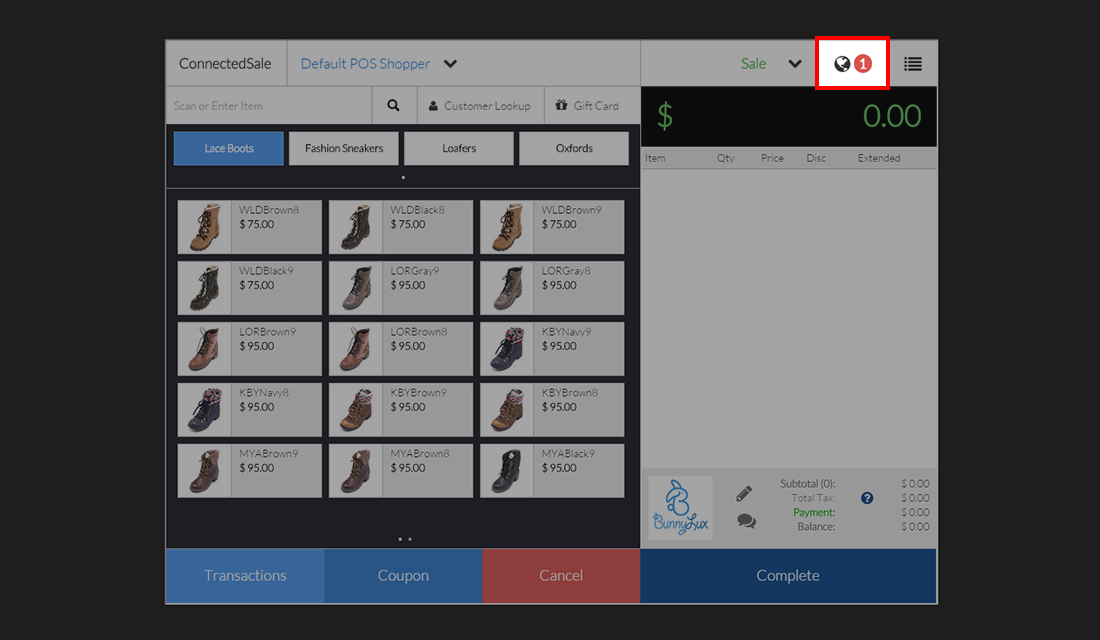
The Pickup Notification button is located at the upper right corner of the POS interface. The number indicates how many orders have not yet been processed. The icon will vibrate when a new order enters the system.
Click Image to Enlarge
-
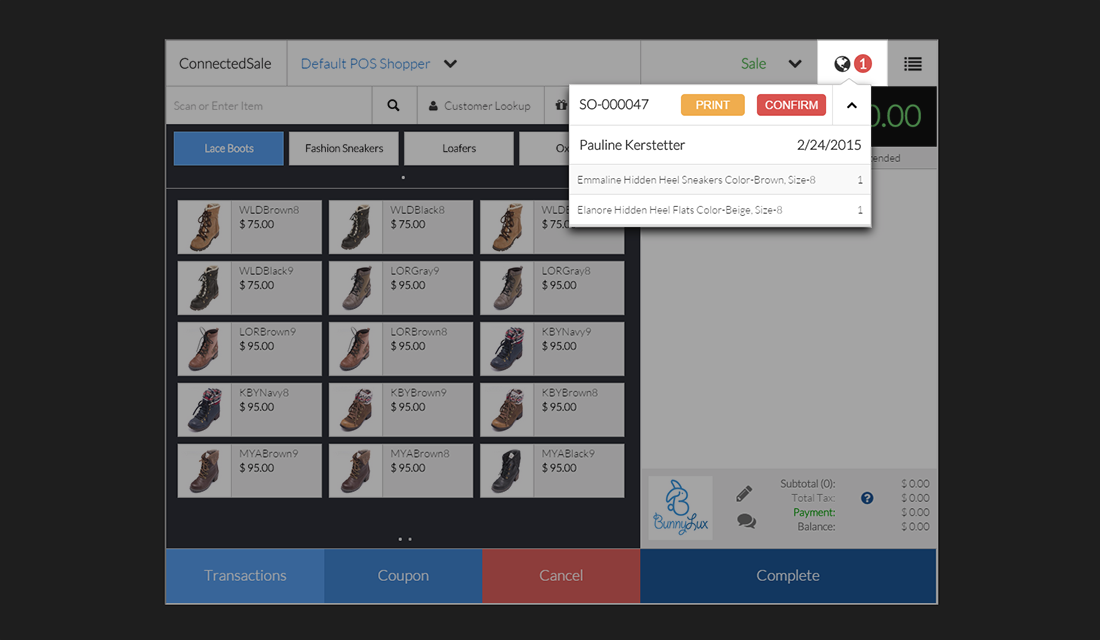
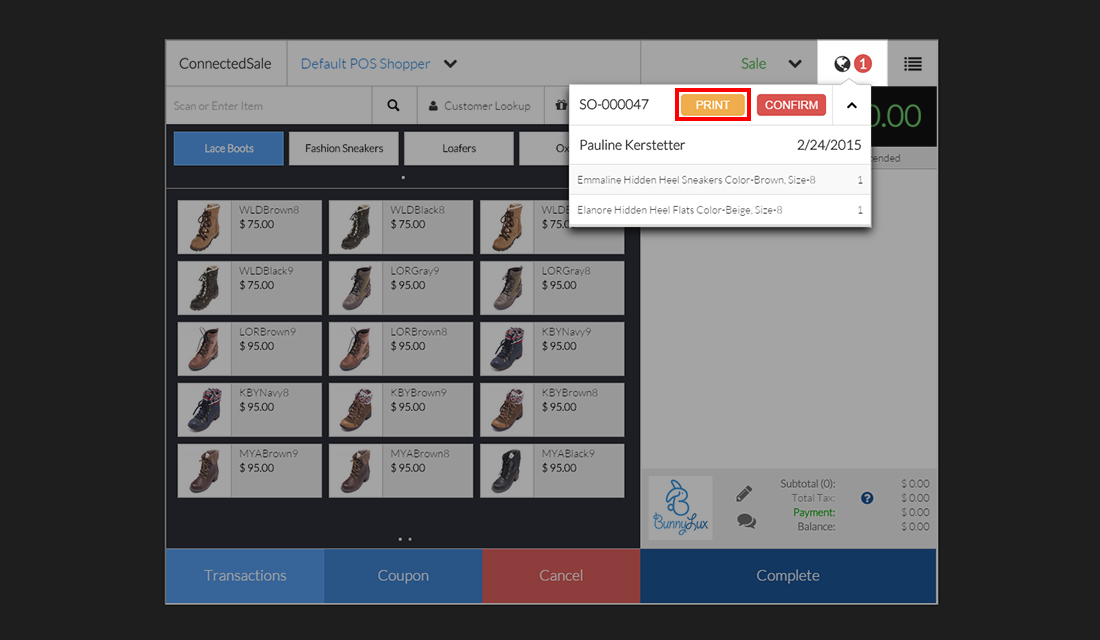
Tap the notification button to display the list of orders. You can also tap the arrow button to expand the dialog box and view more information.
Aside from the order code, the dialog box will indicate the customer name, date of order, and the ordered items that need to be picked and reserved.
Click Image to Enlarge
-
Tap the Print button to create a printed ticket that the staff can use to pick and reserve the items.
Click Image to Enlarge
-
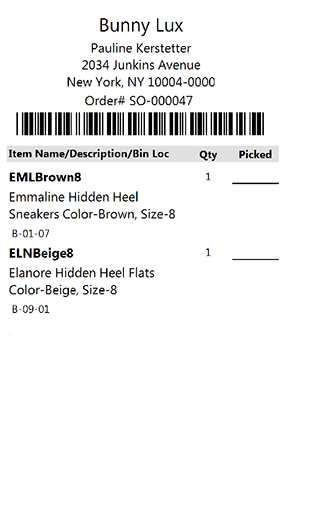
The picking ticket will include information such as item name, description, bin location, and quantity ordered.
Click Image to Enlarge
-
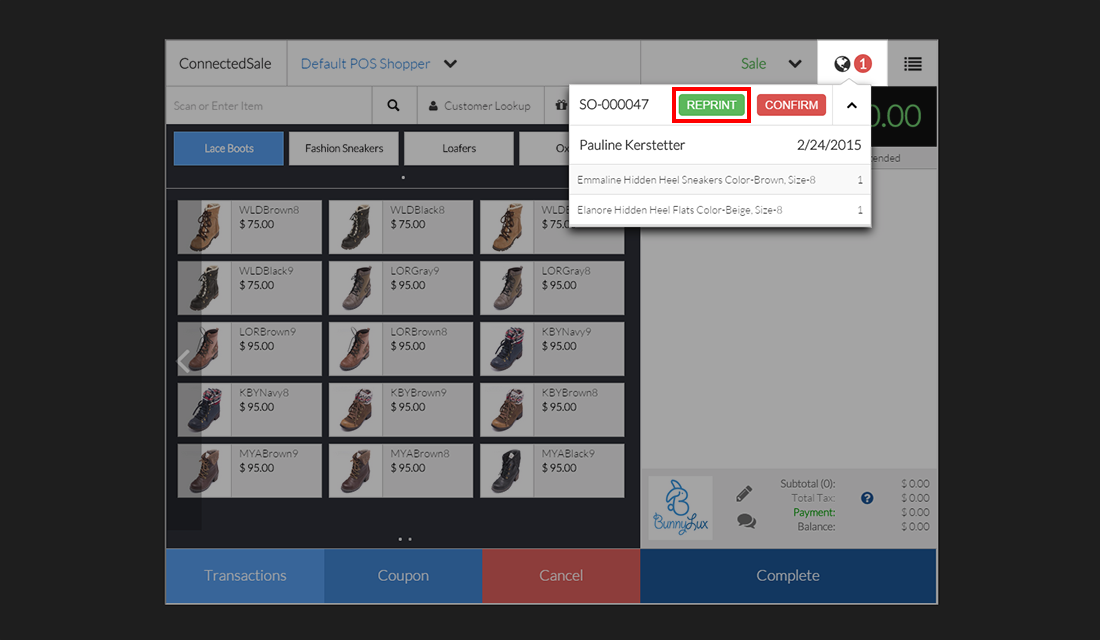
You can create a new copy by tapping the Reprint button. The POS does not put a limit to the number of reprints.
Click Image to Enlarge
-
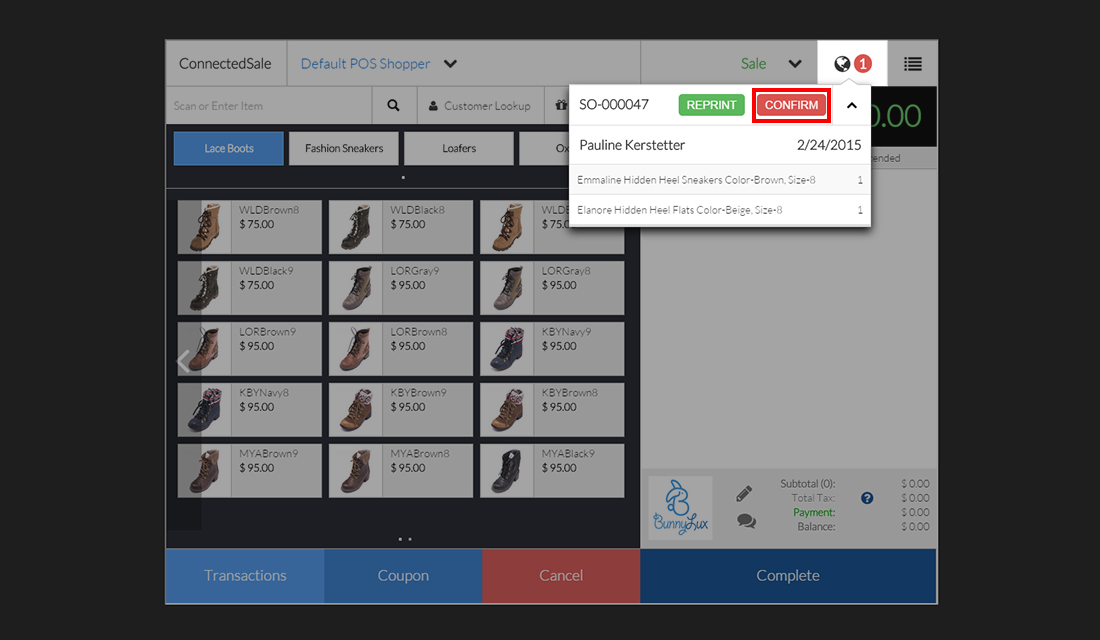
Once the ordered products and have picked and reserved for the customer, tap the Confirm button. This will automatically send a notification email inviting the customer to visit the physical store and pick up their order.
Click Image to Enlarge
View List Of Pickup Orders
-
A more complete list of uncompleted pickup orders can be found under the Transactions section. To access them, tap Transaction > Pickup.
Inside the dialog box, you can see the list of open orders including details such as Order Code, Customer Name, and Total Price.
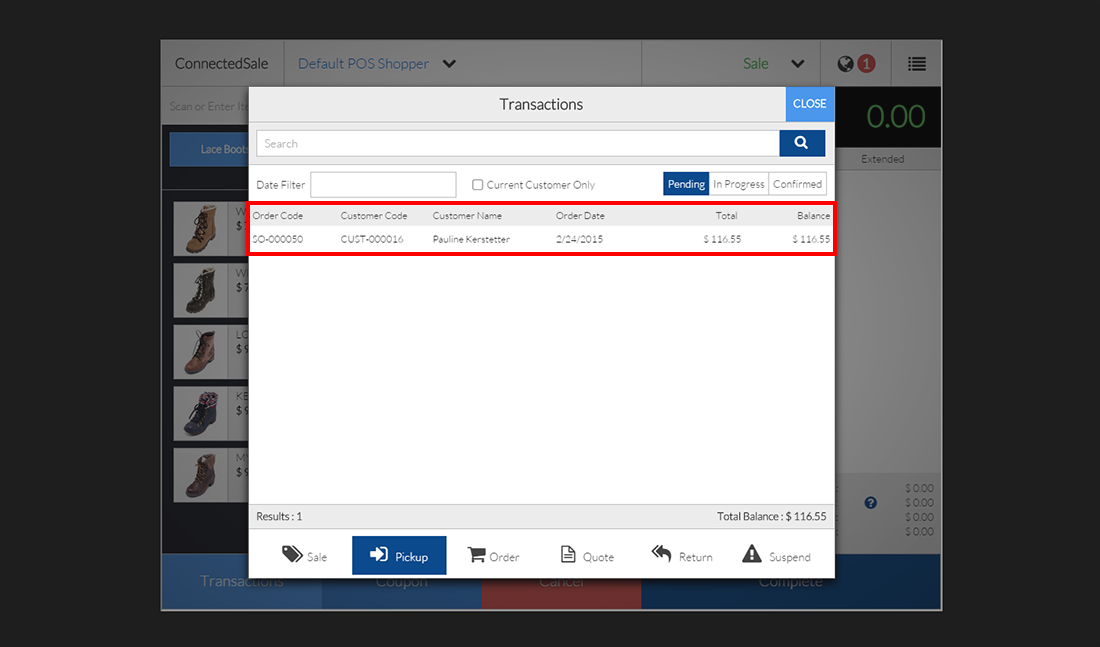
Click Image to Enlarge
-
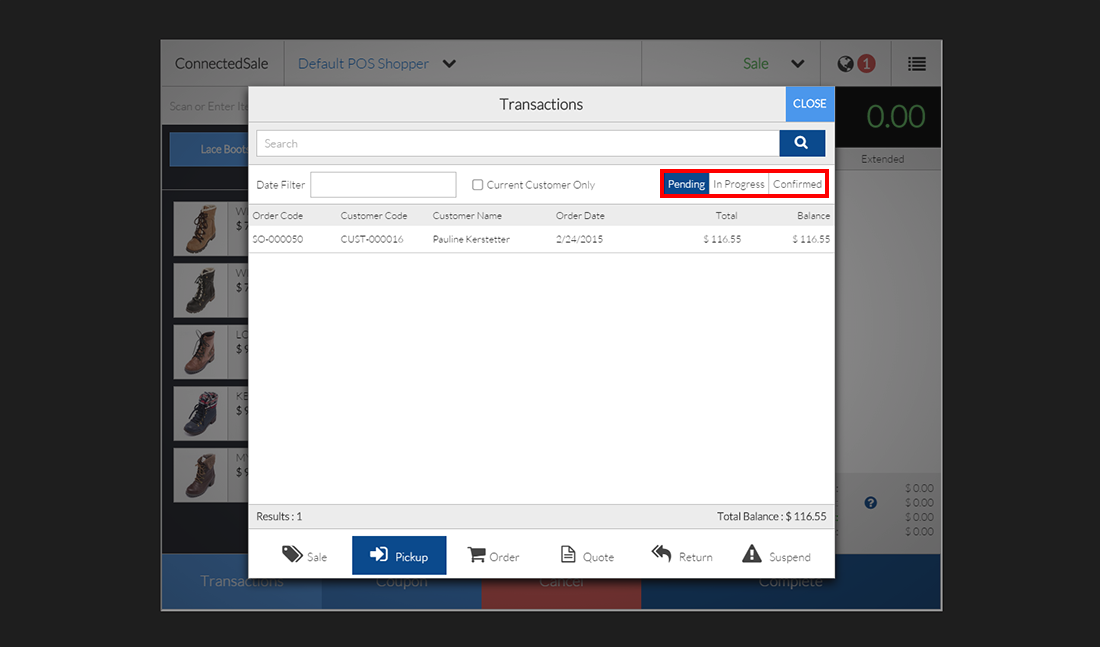
The orders are divided into three categories:
- Pending – This tab contains orders that do not have a printed picking ticket yet.
- In Progress – This contains orders with printed tickets but the products have not yet been picked and reserved.
- Confirmed – These orders have been picked and put aside for customers.
Once the customer picks up their order and the transaction is completed, the order details disappear from Transactions.
Click Image to Enlarge
-
You can process orders through the Transactions window. Just tap on a specific order and choose an action from the pop up menu.
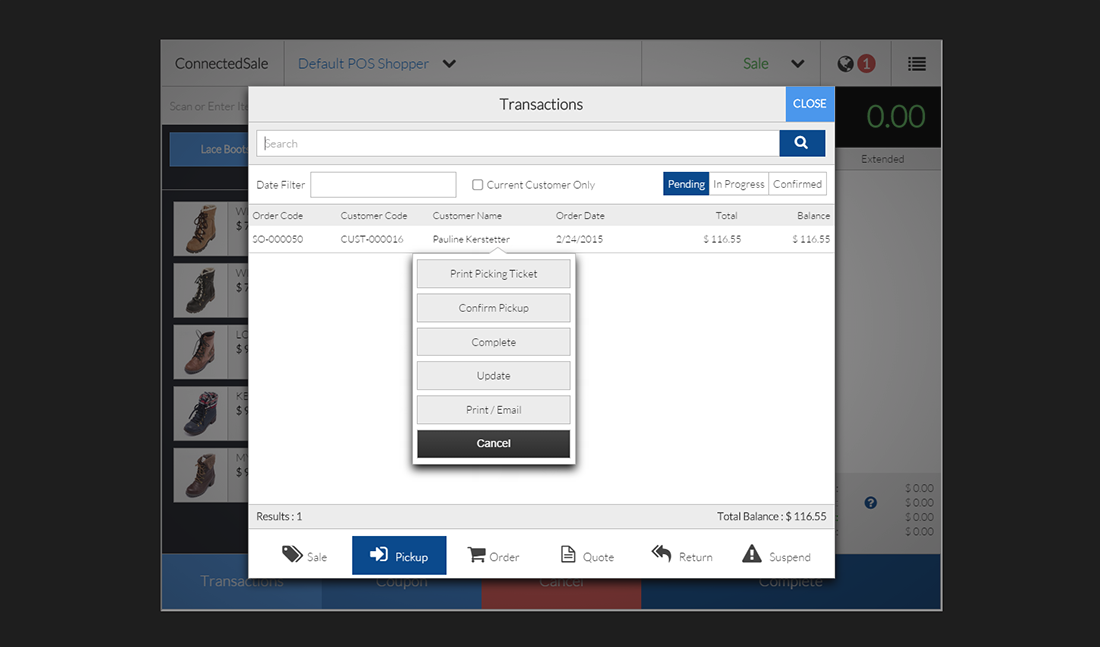
Click Image to Enlarge
-
The POS system allows you to complete a pickup transaction at any point. Find the Complete button from the menu page to process the order as a sale.
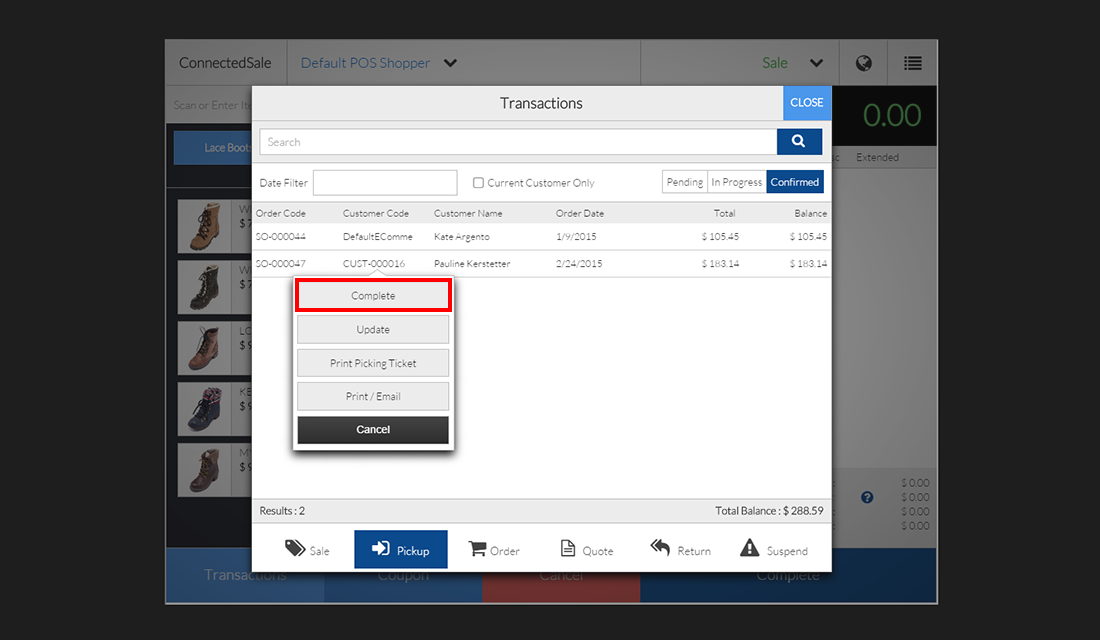
Click Image to Enlarge
Pickup orders cannot be voided through the POS. To cancel a transaction, you need void the order using Connected Business.