Manage POS Customer
Adding new and editing existing customer contacts can be done in Connected Business POS Mobile. Now, editing Customer and Ship To information can be done as well. This allows store owners and users to directly update the customer’s personal and contact information (contact person, address, business phone number, and email address), as well specify where purchased goods are to be sent from the POS device.
Create New Customer Contact
To create new contact information for an existing POS customer:
- From the Connected Sale Main Menu, go to Customers.
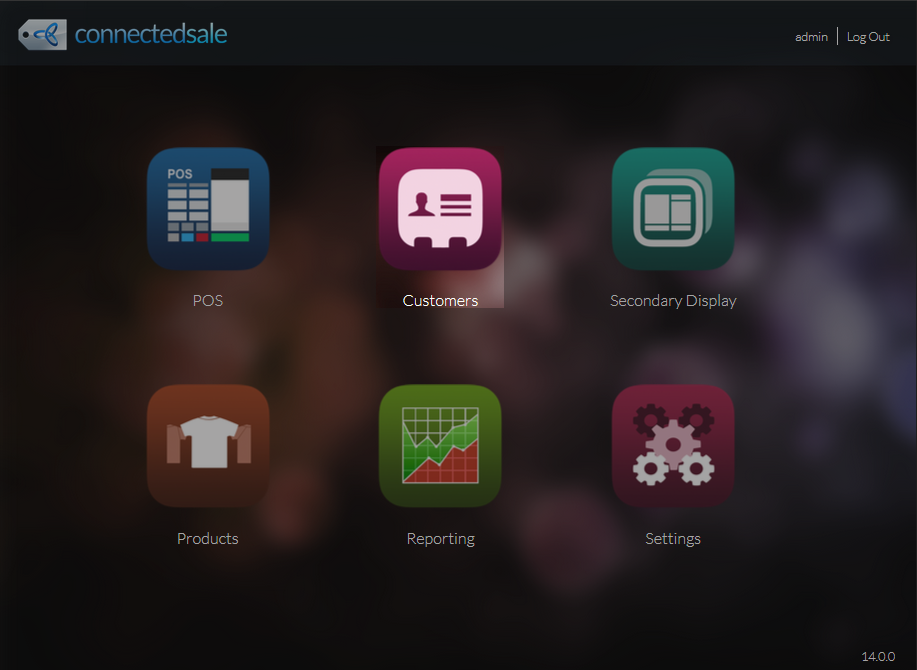
Click Image to Enlarge
- Select a customer from the list. The customer’s information will be displayed from the General tab.
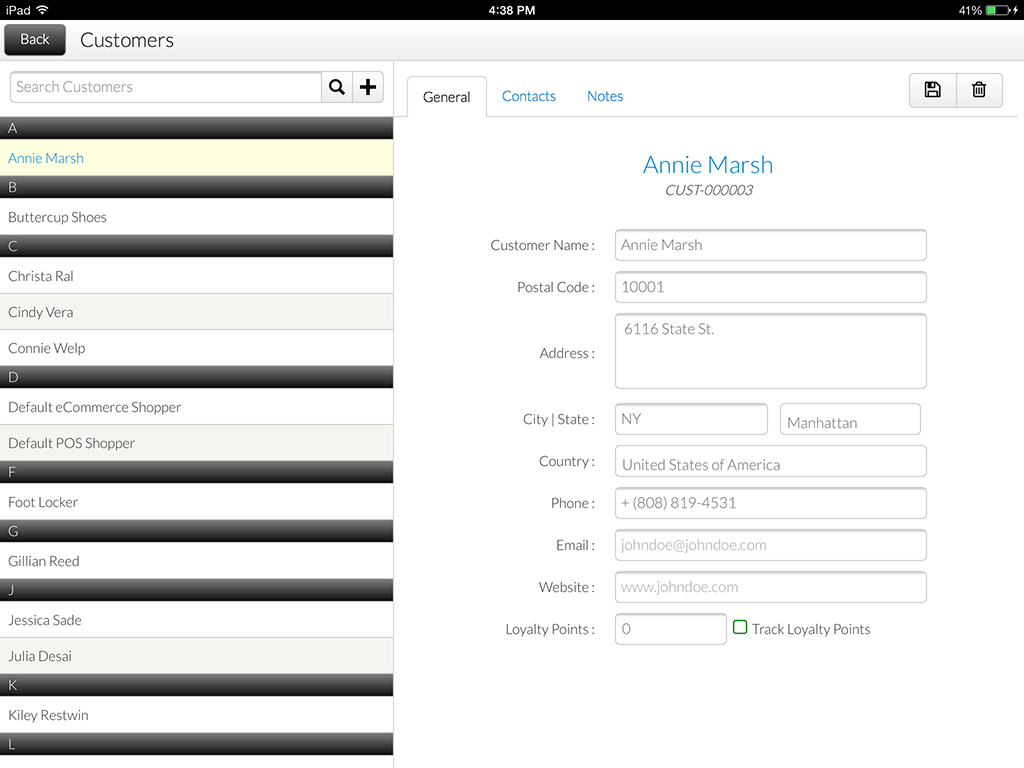
Click Image to Enlarge
- Go to the Contacts tab and tap the Plus button beside the Search Contacts control field. The New Contact form will be displayed.
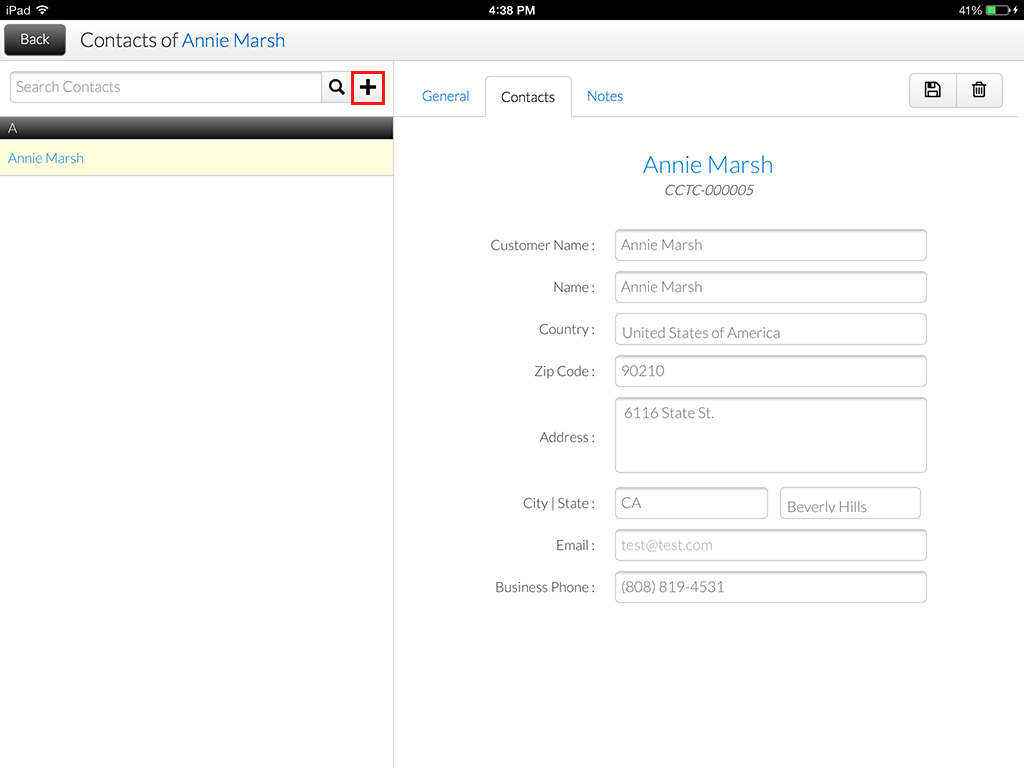
Click Image to Enlarge
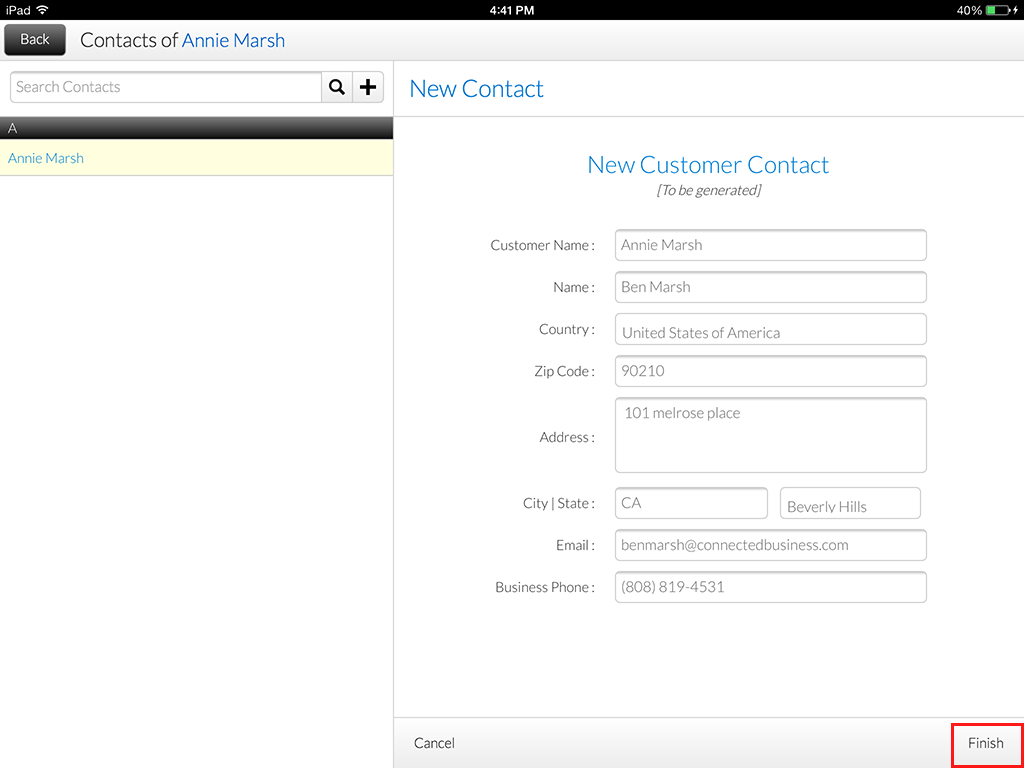
- Enter customer contact details as needed.

Customer Name cannot be edited when updating customer contact information.

Click Image to Enlarge
- Once done, tap the Finish button to save the new customer contact.
Click Image to Enlarge


To check the newly-created customer contact from the backend, go to the Contacts tab of the customer detail form. From here, you can change the default contact details for the customer.

Click Image to Enlarge
Users can only set the default contact of the customer via Connected Business backend.
![]()
Edit Existing Customer Contact
POS users can also edit and the contact details of the customer’s current contact information. To do this:
- Open the Connected Sale Main Menu > Customers, then select a customer from the list.
- Tap the Contacts tab to display the customer’s contact details. From here, you can directly edit the contact details as needed.
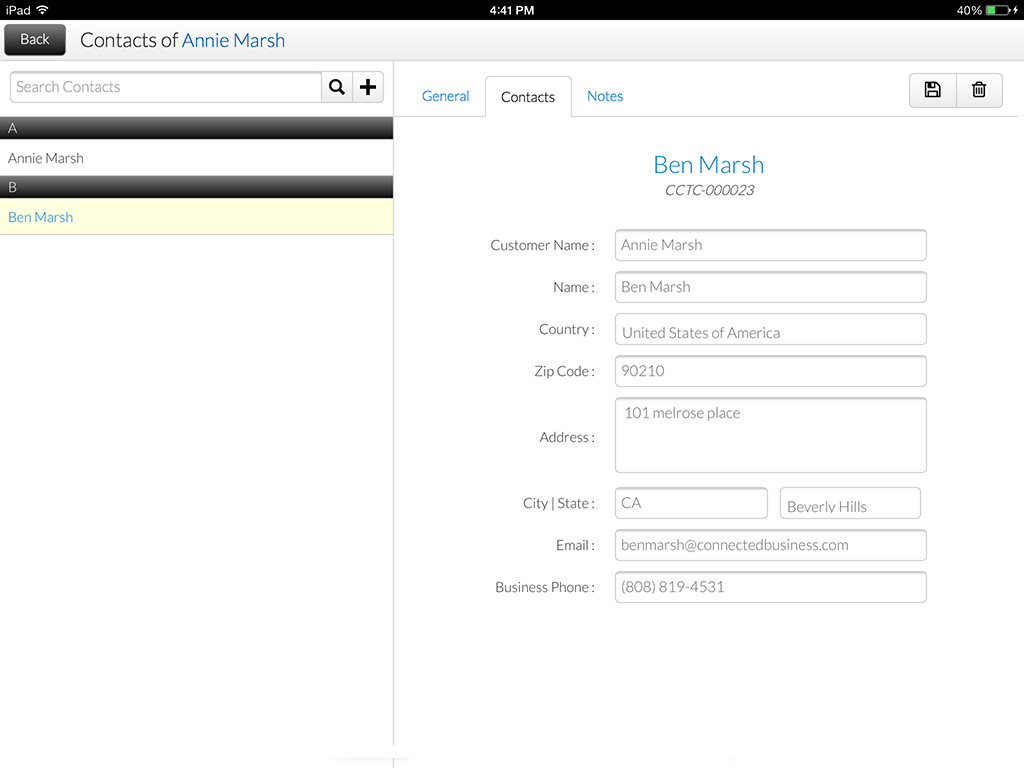
Click Image to Enlarge
- Tap the Save icon to apply changes.
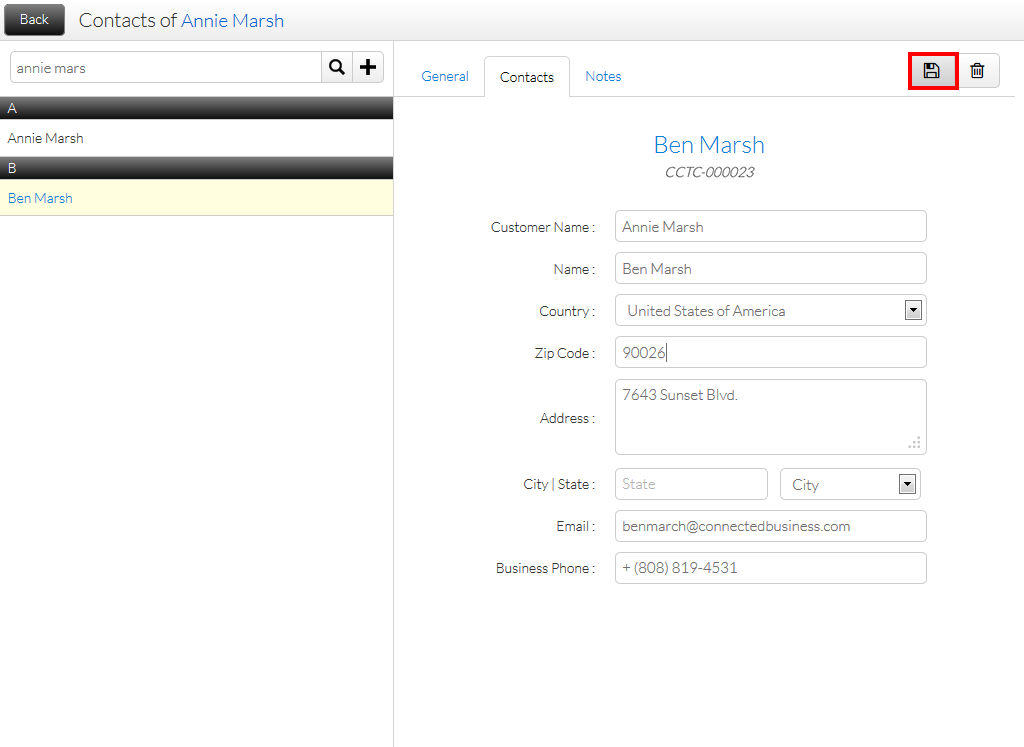
Click Image to Enlarge


You can check the updated customer contact from the Customer Details form > Contact tab in the Connected Business backend.

Click Image to Enlarge
![]()
Edit Customer
This feature is only available in Connected Business v14 and higher.
To edit customer information,
- On the POS Dashboard, tap Customers. The Customer module will be displayed.
- Select a customer from the list.
- In the Customer’s General Information tab, enter values in the various fields and toggle the option to Track Loyalty Points as necessary (see: Process Loyalty Points in Desktop POS for more information).
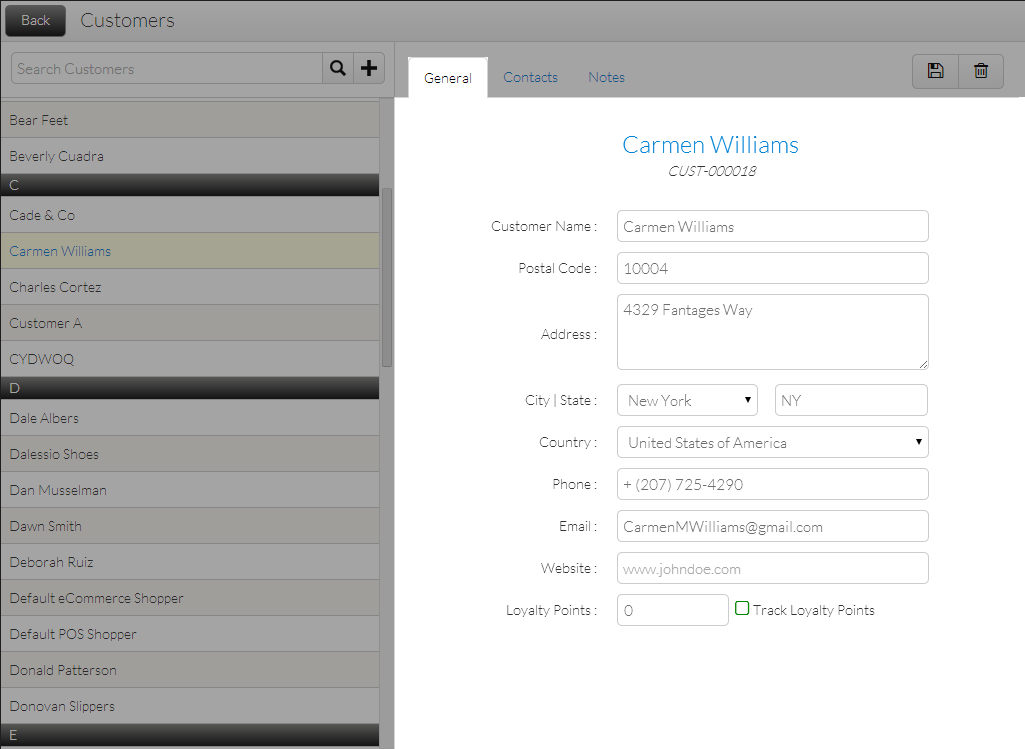
Click Image to Enlarge
The Loyalty Points field cannot be edited as this is only for displaying the amount of Loyalty Points a customer has.
- Tap Save (
 ) to apply changes.
You can also edit customer information in the POS screen. To do so,
- On the POS Dashboard, tap POS. The POS screen will be displayed.
- Tap Customer Lookup. The Customer List will be displayed.

Click Image to Enlarge
- Tap the Arrow Icon (
 ) next a Customer’s Name in the list. The Customer screen will be displayed.
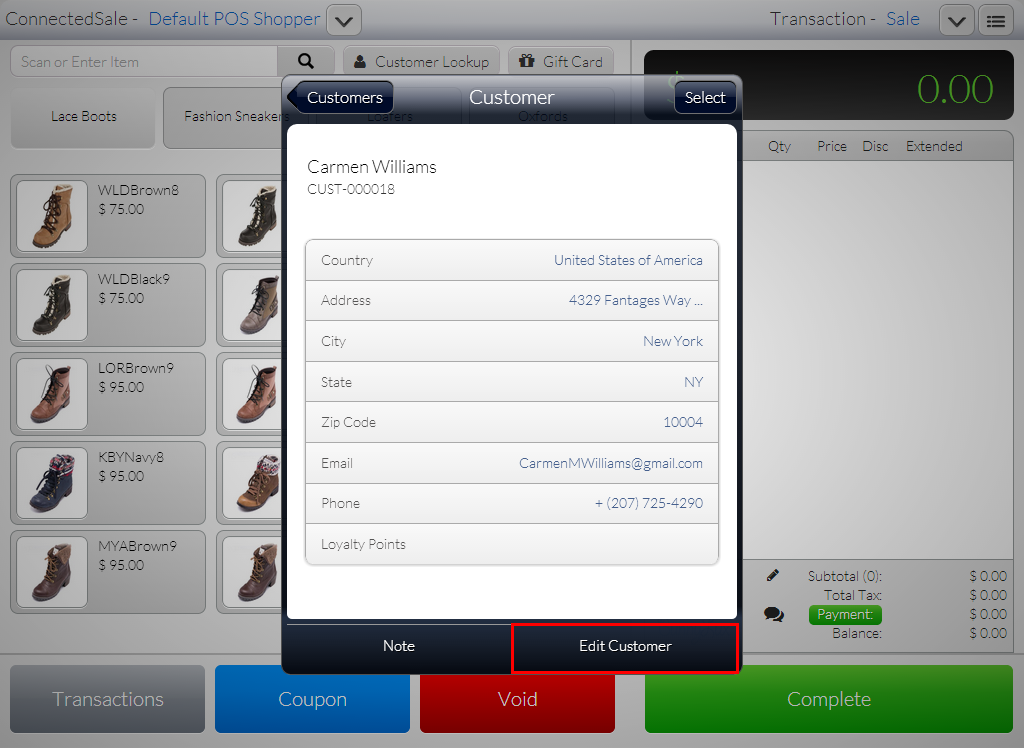
Click Image to Enlarge
- Tap Edit Customer. The Edit Customer screen will be displayed.
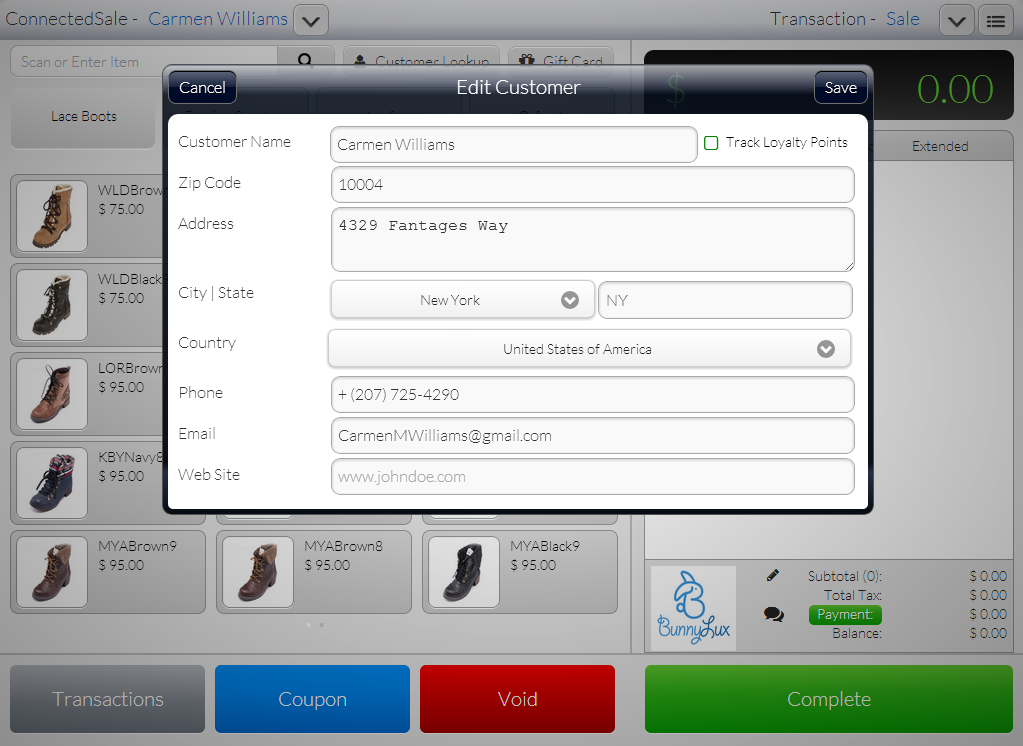
Click Image to Enlarge
- Set the values for the fields then tap Save to apply changes.
![]()
Edit Ship To
This feature is only available in Connected Business v14 and higher.
To edit Ship To details,
- On the POS Dashboard, tap POS. The POS screen will be displayed.
- Tap Customer Lookup. The Customer List will be displayed.
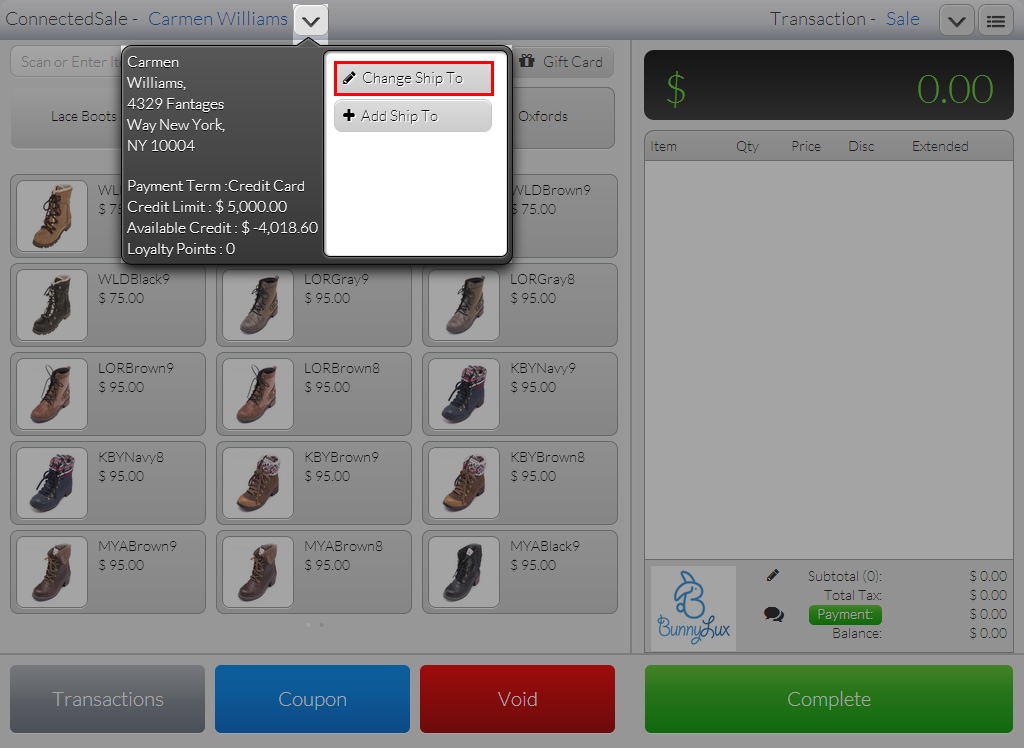
- Tap the dropdown arrow beside the customer name (
 ). The Shipping Information panel will appear.
 - Tap Change Ship To. The Shipping Address list will be displayed.
Click Image to Enlarge
- Tap the Arrow Icon () next to a customer on the list. The customer’s Shipping Information screen will be displayed.
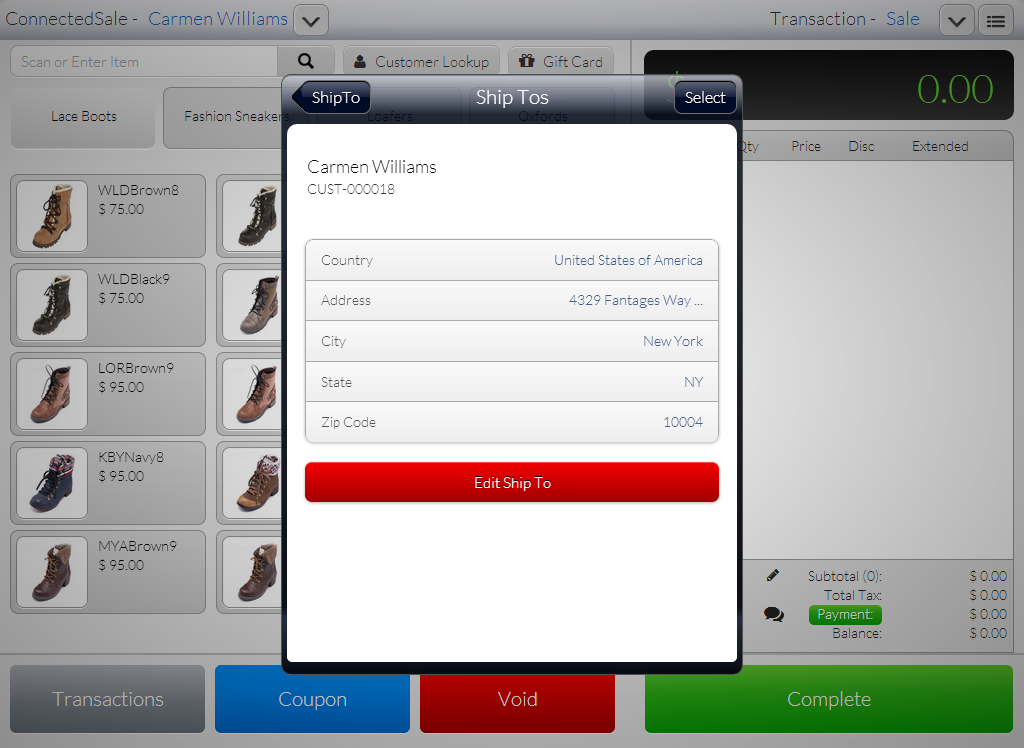
Click Image to Enlarge
- Tap Edit Ship To. The Edit Ship To form will be displayed.
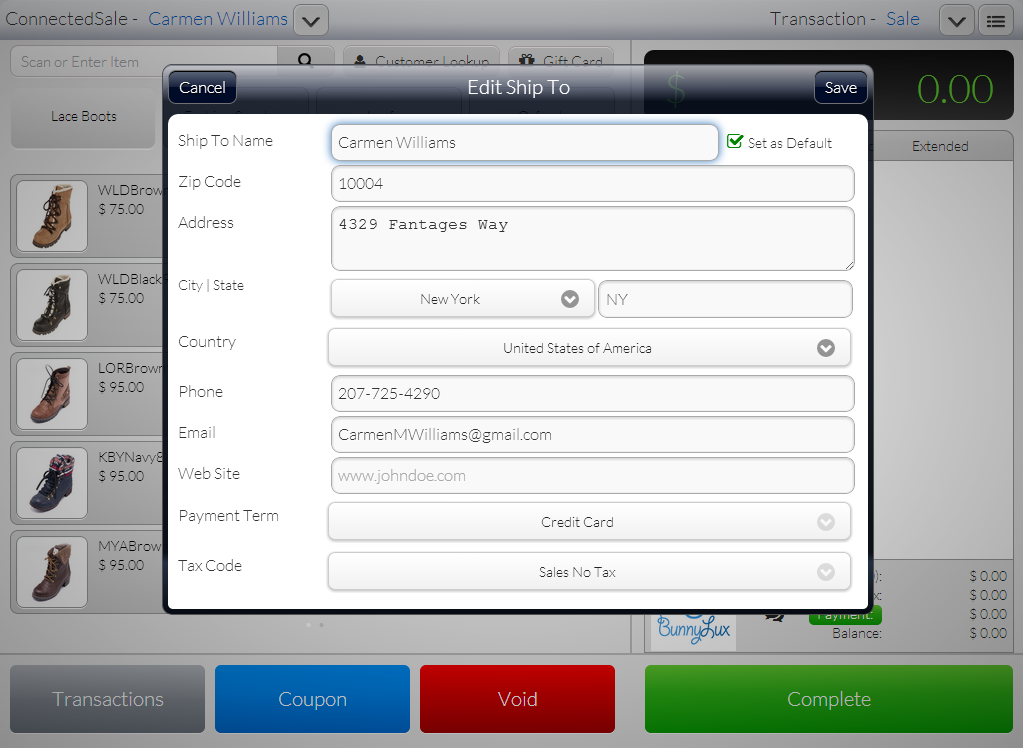
Click Image to Enlarge
- Fill in the form and tap Save to apply changes.
![]()