Install Connected Business POS
This section will discuss on on how to install Connected Business POS on your desktop computers .
Before installing the Connected Business POS, you need the following prerequisite:
- POS Server
- Connected Business POS Software
- POS Workstation(computer)
Install Connected Business 13 Desktop POS
- Visit the following URL http://downloads.interprisesolutions.com/ConnectedTouch/ from any browser to install Connected Touch. You will be prompted to install. Click the Install button. Once installed Connected Touch will run.
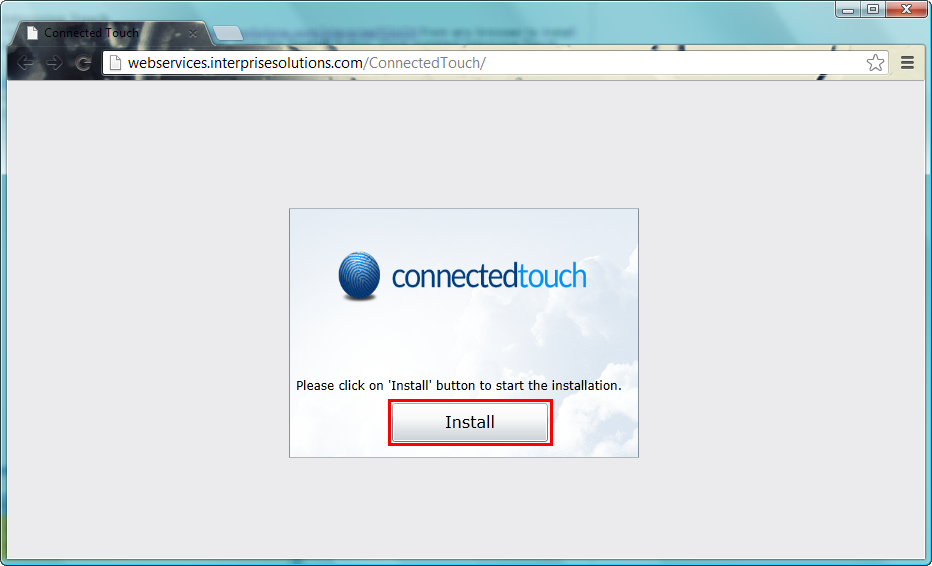
Click Image to Enlarge
- Press F2 or click the Settings button on the Login Screen to access the database connection information (this only needs to be done once). Enter the Server URL to be able to access Connected Business POS and Kiosk.
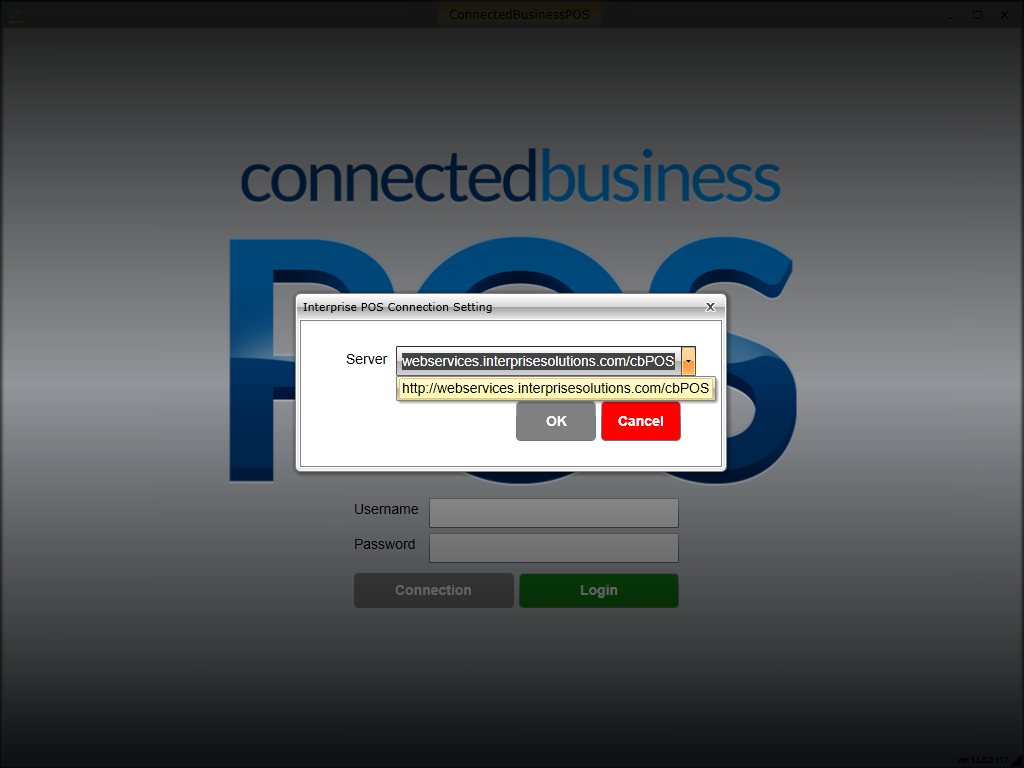
Click Image to Enlarge
- Sign into the Connected Business POS or Kiosk using your Connected Business Credentials. Click OK.
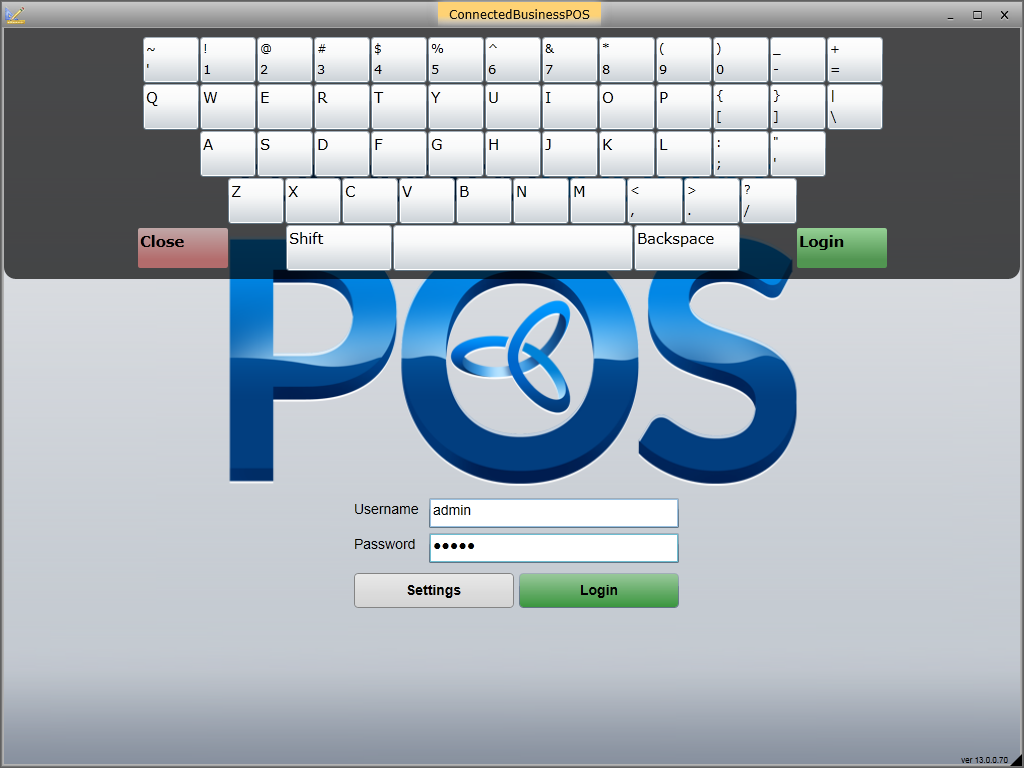
Click Image to Enlarge
You are now ready to run transactions using Connected Business POS or Kiosk. You may also configure general POS Settings such as manager overrides, taxes, payment schemes and other related transactions through the Preferences button.
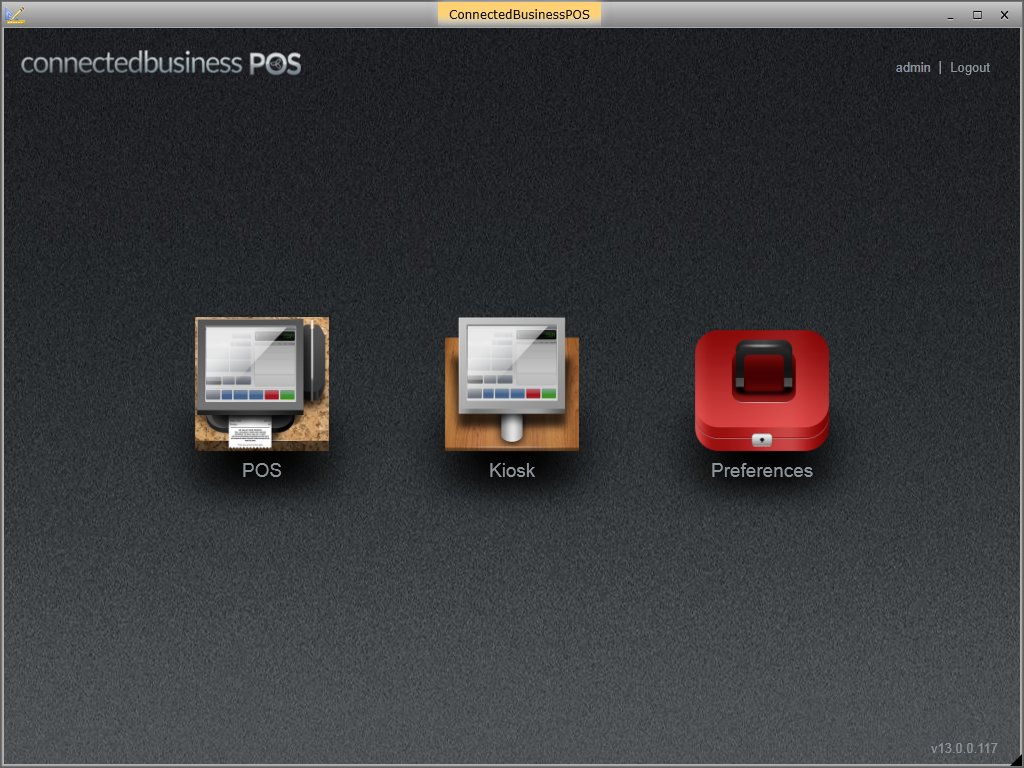
Click Image to Enlarge
![]()
Install Connected Business 14 Desktop POS
- Launch the Connected Business 14 installer. In the Features page, make sure to select the POS Desktop feature and proceed with installing the application.
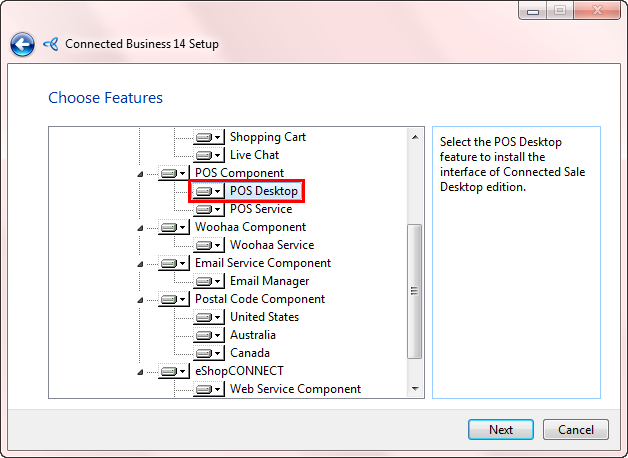
Click Image to Enlarge
- Upon installation, a POS Desktop folder (WebDesktop) will be created in the Connected Business installation folder.
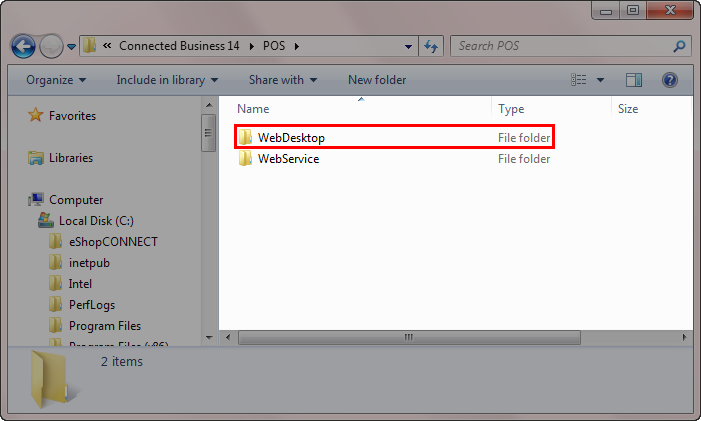
Click Image to Enlarge
Also, a default virtual directory (CBPOSDESK14) will be created for CB POS 14 in IIS (Internet Information Services) Manager which points to the POS Web Desktop folder.
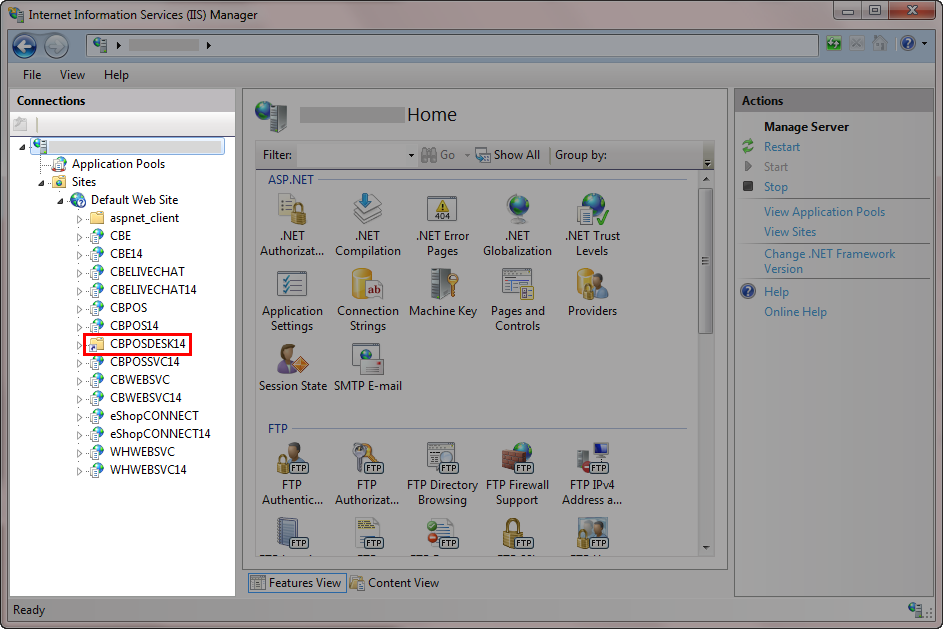
Click Image to Enlarge
- Launch the POS Desktop virtual directory in a browser. To do this, right click on the CBPOSDESK14 virtual directory then select Manage Virtual Directory > Browse. Alternatively, you can click on Browse from the Actions panel.
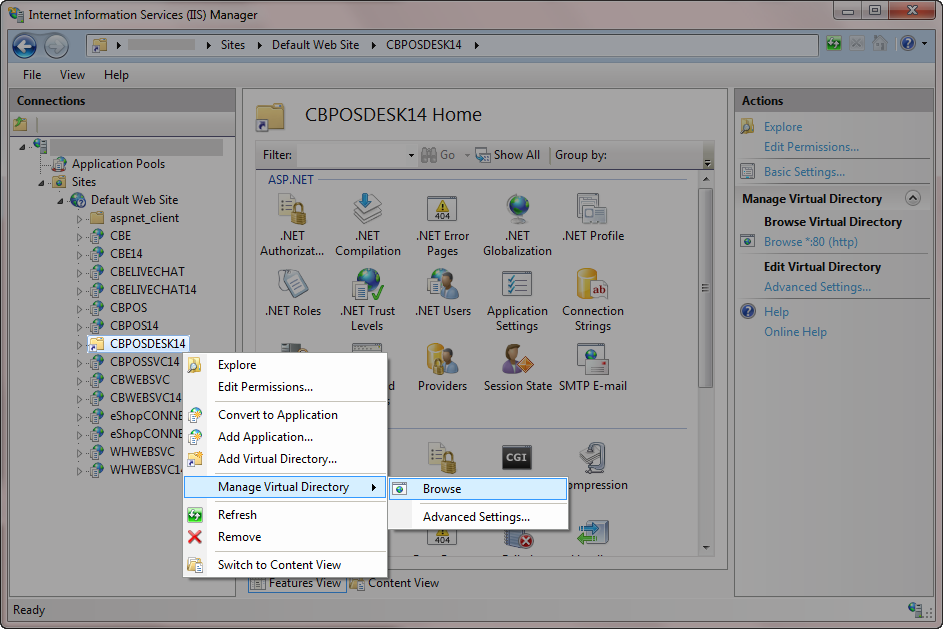
Click Image to Enlarge

Currently, the recommended browser for installing CB POS Desktop is Google Chrome. Also, Java should be installed in the browser.
- Upon launching the POS Desktop, you will be prompted to run the Java application for printing POS receipts. Click Run. You can also opt to not show the dialog box when opening the POS Desktop every time by ticking the Do not show this again for apps from the publisher and location above checkbox.
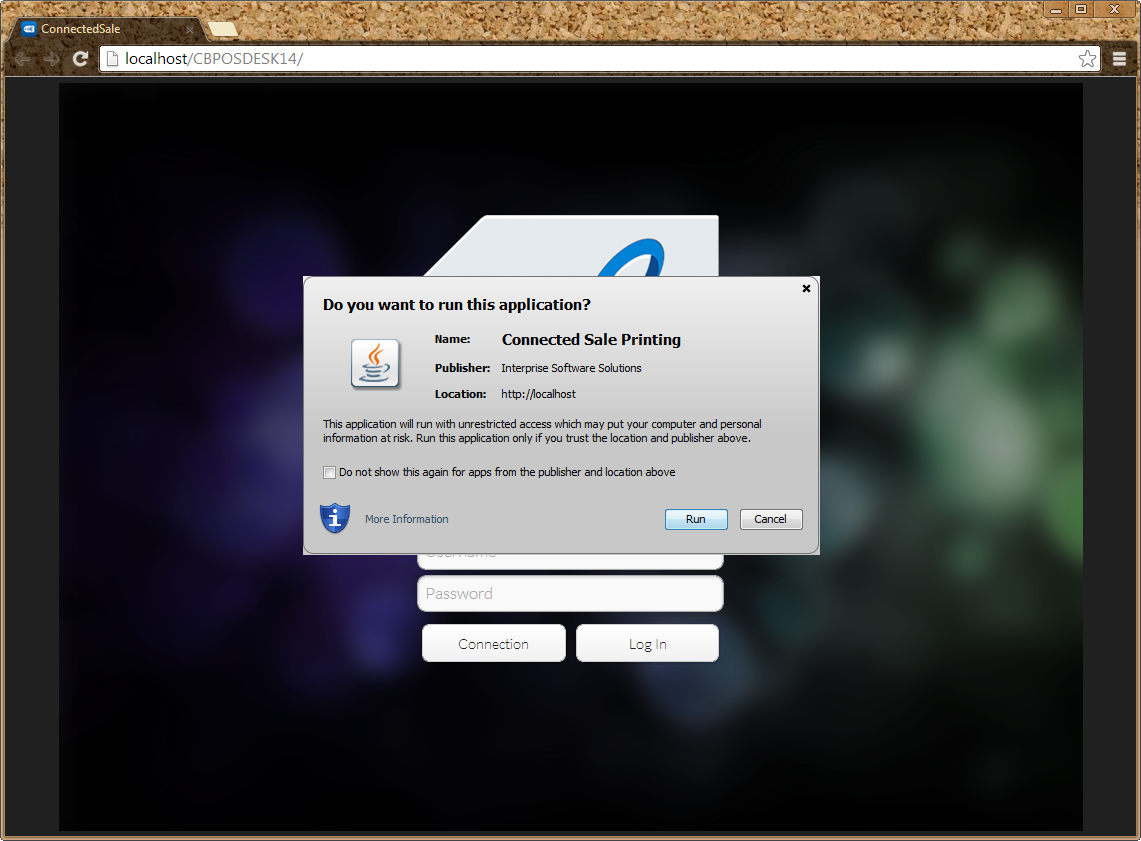
Click Image to Enlarge
- Click the Connection button to configure your POS Desktop connection settings. The Connection Settings window will be displayed. Enter the POS webservice URL in the Add Connection field then click Done.
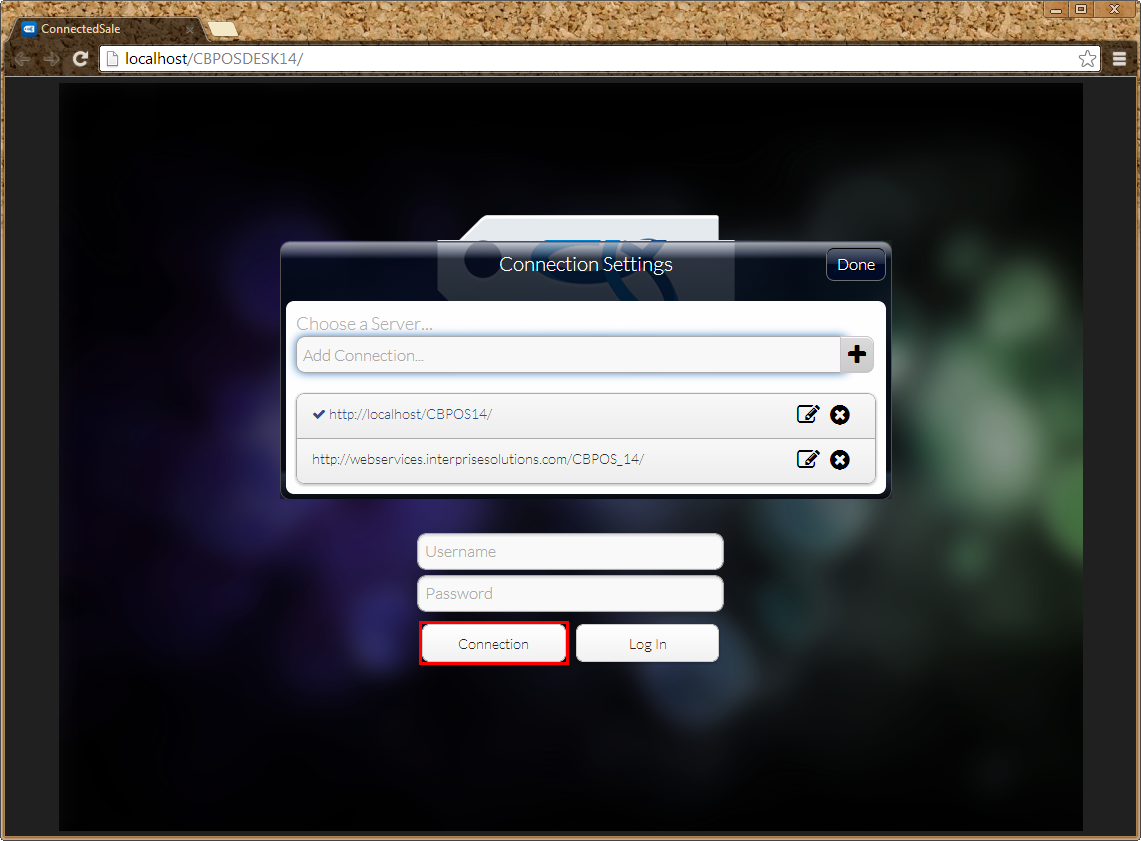
Click Image to Enlarge
For more info on setting up the web service for POS, refer to Install POS Web Service.
- In the Connected Sale login page, enter your POS username and password in the respective fields then click the Log In button. The Connected Sale main screen will be displayed.

Click Image to Enlarge
![]()