Add/Remove Plug-ins
|
Content
|
|---|
Learn how to create the plugin applications within Connected Business' forms, tabs and dashboards. You can insert plug-ins into Connected Business in a number of ways by following the steps below.
INSERTING A PLUG-IN TAB OR A PLUG-IN SECTION
In this example, a custom plug-in section will be added as tab in the Customer detail form.
- Go to the System Manager module.
- Select the User Role menu item to display the User Role form.
- Drill down on the selected module, in this case, the Customer module. The module will appear in layout mode.
- Open the Customer detail form by selecting Find Customer under the Customer menu. The Sample detail form will display in “layout mode”.
- To create a new tab, right click on the series of tabs and select Add Tab option.
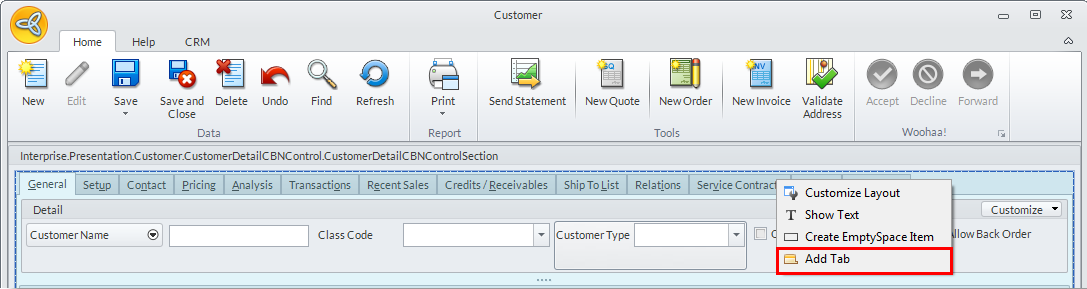
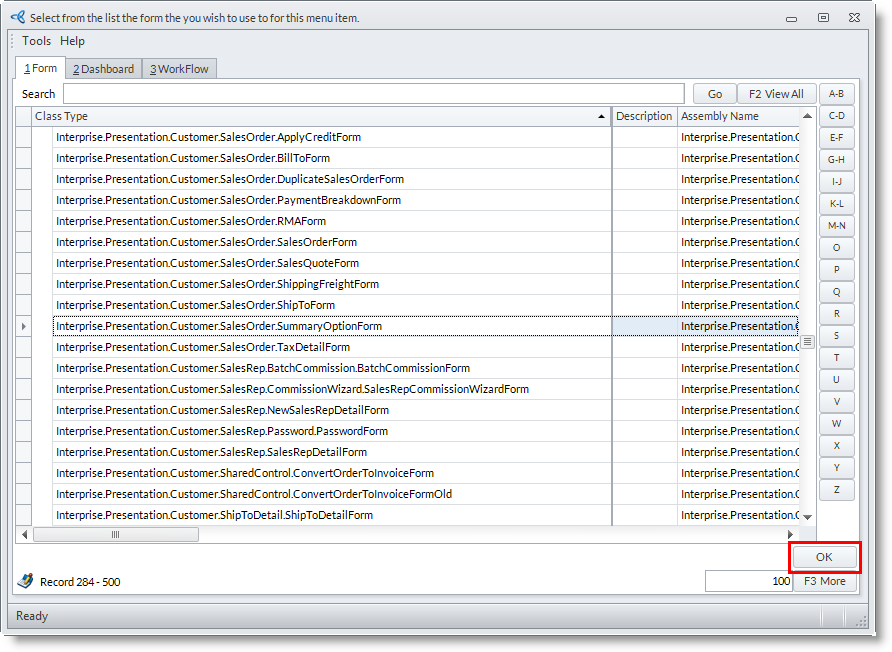
- To insert the plugin section as a new tab page in the Customer detail form, click on the Plug-in button found in the options and select Assign Plugin. A list of registered plugins is displayed. Browse and select the plug-in section and click OK to insert the plugin tab.
- You may rename the tab, refer to: Rename the Tab Page.
![]()
INSERTING A PLUG-IN FORM
In this example, a custom form is inserted in the Connected Business' Sample module.
- Go to the System Manager module.
- Select the User Role menu item under the System User menu to display the User Role form.
- Drill down on the selected module. In the module menu, you can access the customization options by right-clicking on the menu folder or menu item, or clicking on the Options pulldown button.
- Create a new menu folder and menu item.
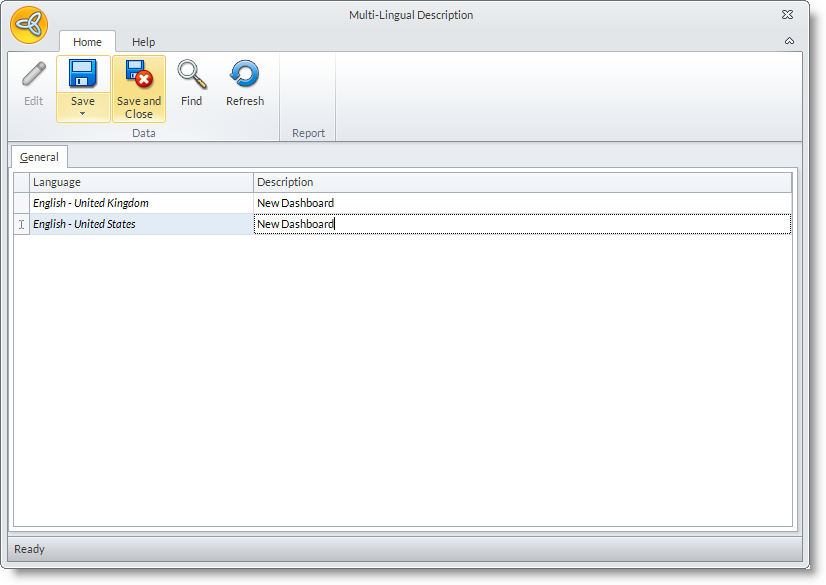
- To create a new menu folder, right-click on the area in the menu to add the folder to. Select New Folder in the right-click options. Rename by right-clicking and selecting Rename to display the Multilingual Description window.
- To create a new menu item, select the menu folder and right-click. Select New Menu Item to create the menu item under the menu folder. Rename by right-clicking and selecting Rename to display the Multilingual Description window.
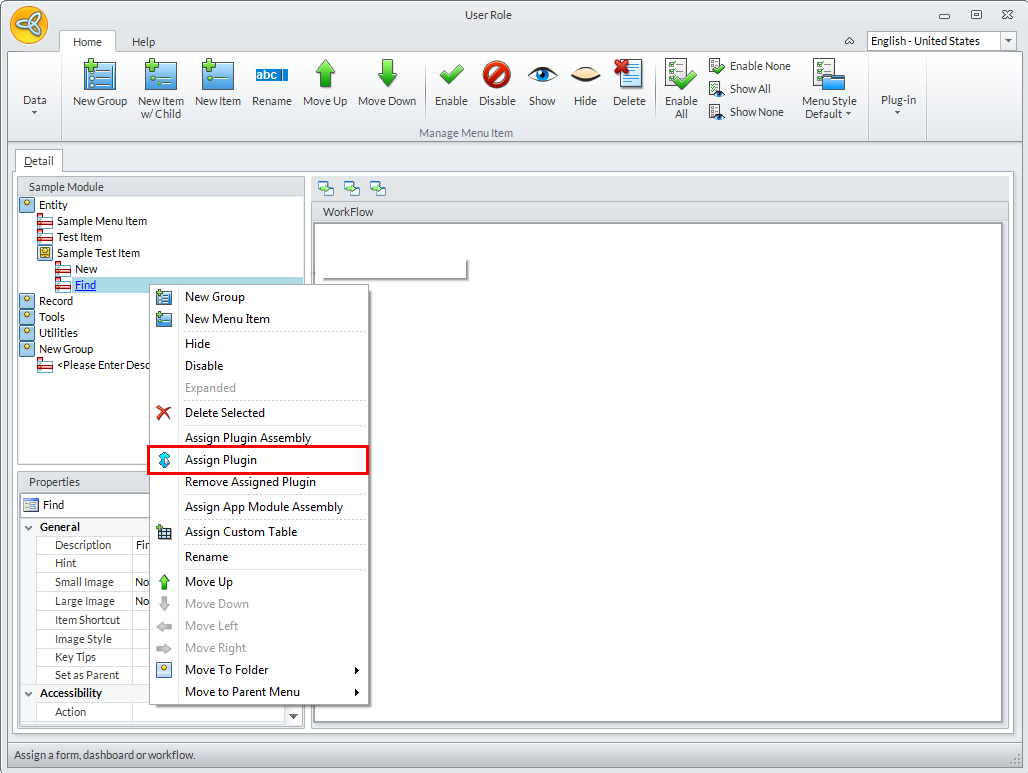
- Assign the Plugin Form. Right-click on the menu item and select Assign Plugin option. A list of registered plugins will display. Select the plugin from the list.
- Double click on the menu item to save the assigned plugin. Click Yes on the prompt. The assigned plugin will automatically load.
- Save your changes. Make sure you save from both the User Role forms.
![]()
INSERTING A PLUG-IN DASHBOARD
In this example, a custom plug-in dashboard is added in the CRM module.
- Go to the System Manager Module.
- Select User Role under the System User menu to display the User Role form.
- Drill-down on the selected module, in this case, the CRM Module. The CRM module will then display on "layout mode".
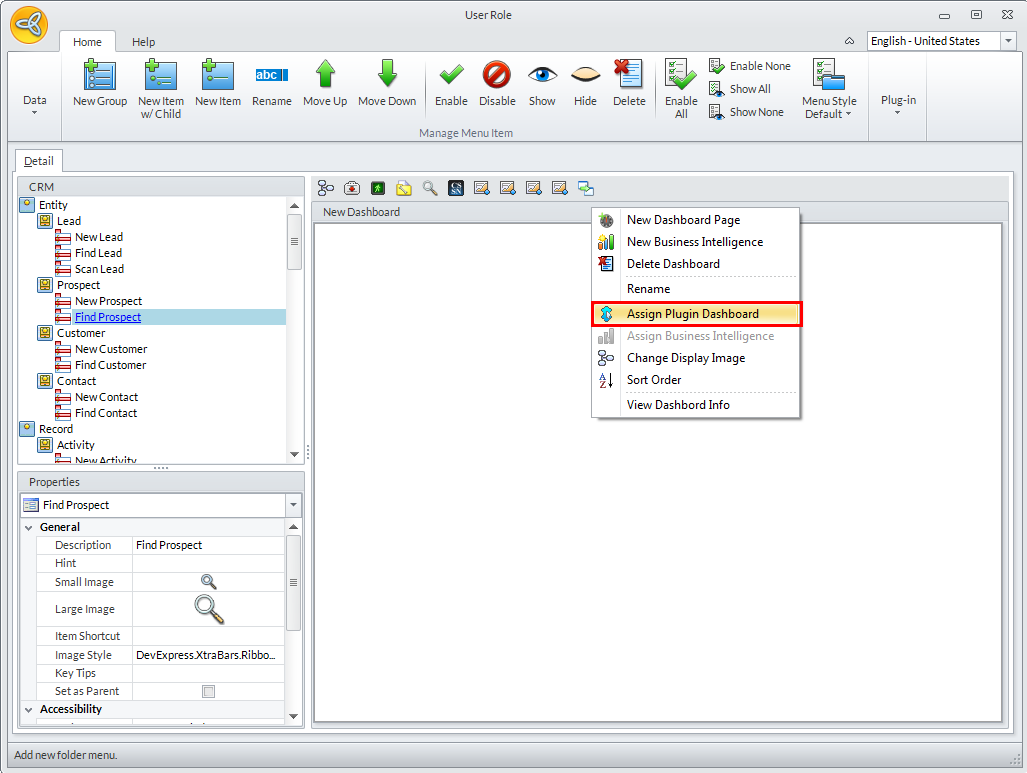
- To add a new dashboard page, select the New Dashboard option in the Options button. The Multilingual Description form will appear. Rename the new dashboard with the desired description and click Close button to apply.

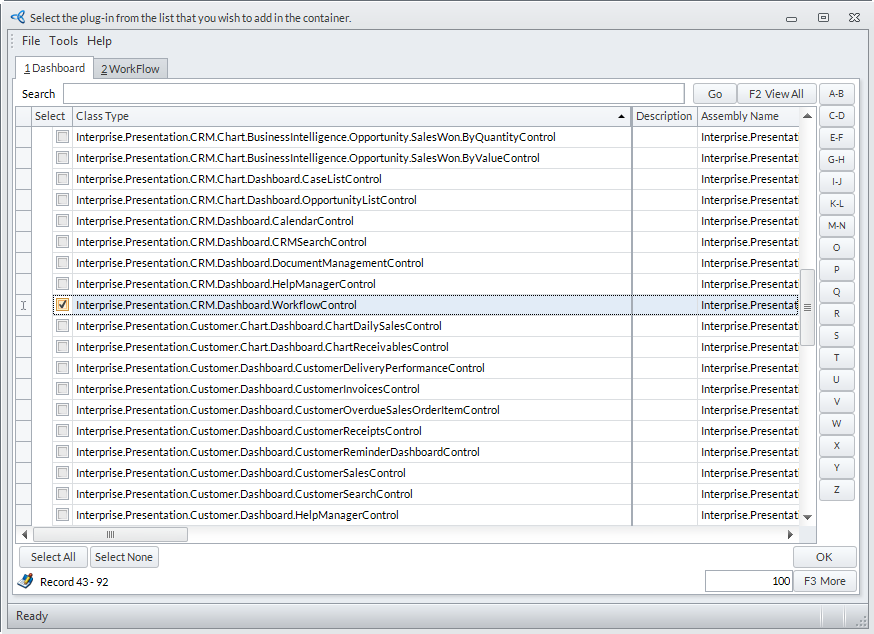
- Click on the Options pulldown in the dashboard header and select Assign Plug-in Dashboard. A list of registered plug-ins to Connected Business will appear. The list is tabbed to group dashboard and workflow dashboard plug-ins.
- Select the dashboard control in the list to assign to the dashboard page.
- Save the details before closing the User Role. Make sure you save in the User Role Maintenance forms.
![]()