Use Web Store Optional Pages
| Content |
|---|
Aside from the usual pages that are accessible in eCommerce web store, there are available optional utility pages on this product that a store admin can utilize and integrate.
Although not rendered as default accessible pages in this eBusiness’s web store, these play very important roles in the establishment of an eCommerce site. These are set in such manner to give the developer the flexibility to integrate this feature in their stores aside from the fact that these are not the common requirement of most store developers.
This article will discuss the use and setup of these pages in Connected Business.
Add Optional Pages
To add the pages,
View Default Skin
The Default Skin is the skin currently used by the webstore.
To view which skin is in use,
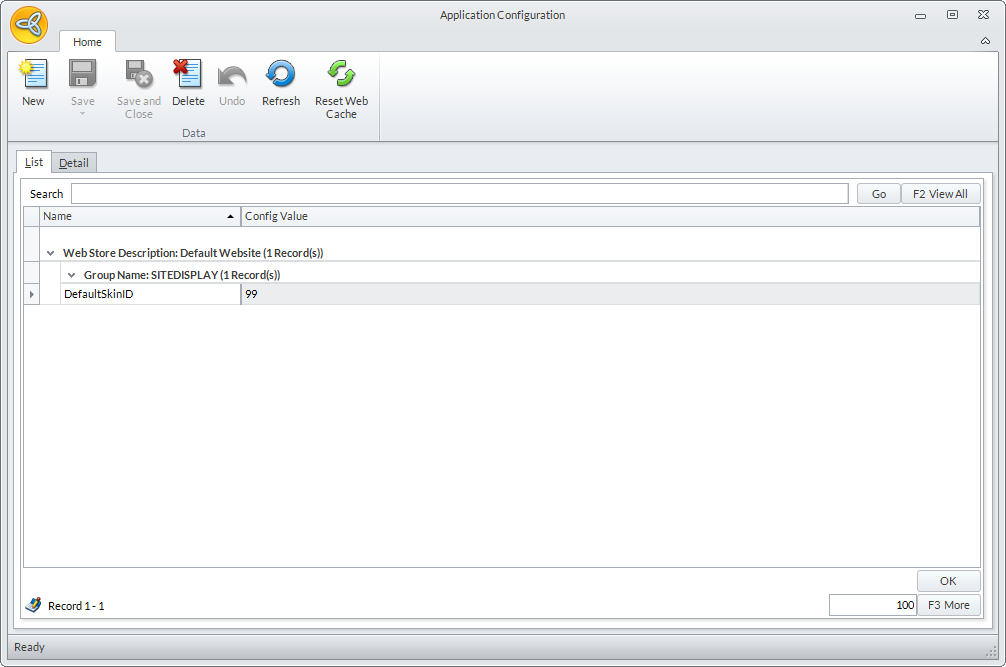
- On the eCommerce module go to Setup > Application Configuration.
- Search for the DefaultSkinID entry. Note the Config Value.
Click Image to Enlarge
Edit Default Skin
- Go to the default skin folder. This is usually found in the following directory path:
C:\Program Files (x86)\Connected Business 14\CBE\Web\skins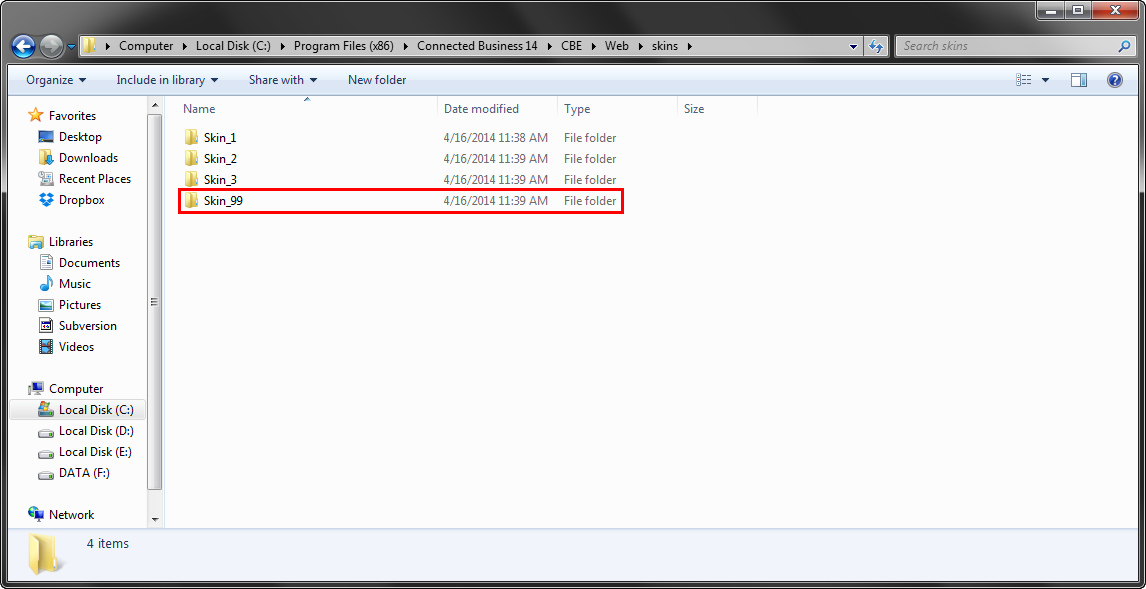
Click Image to Enlarge
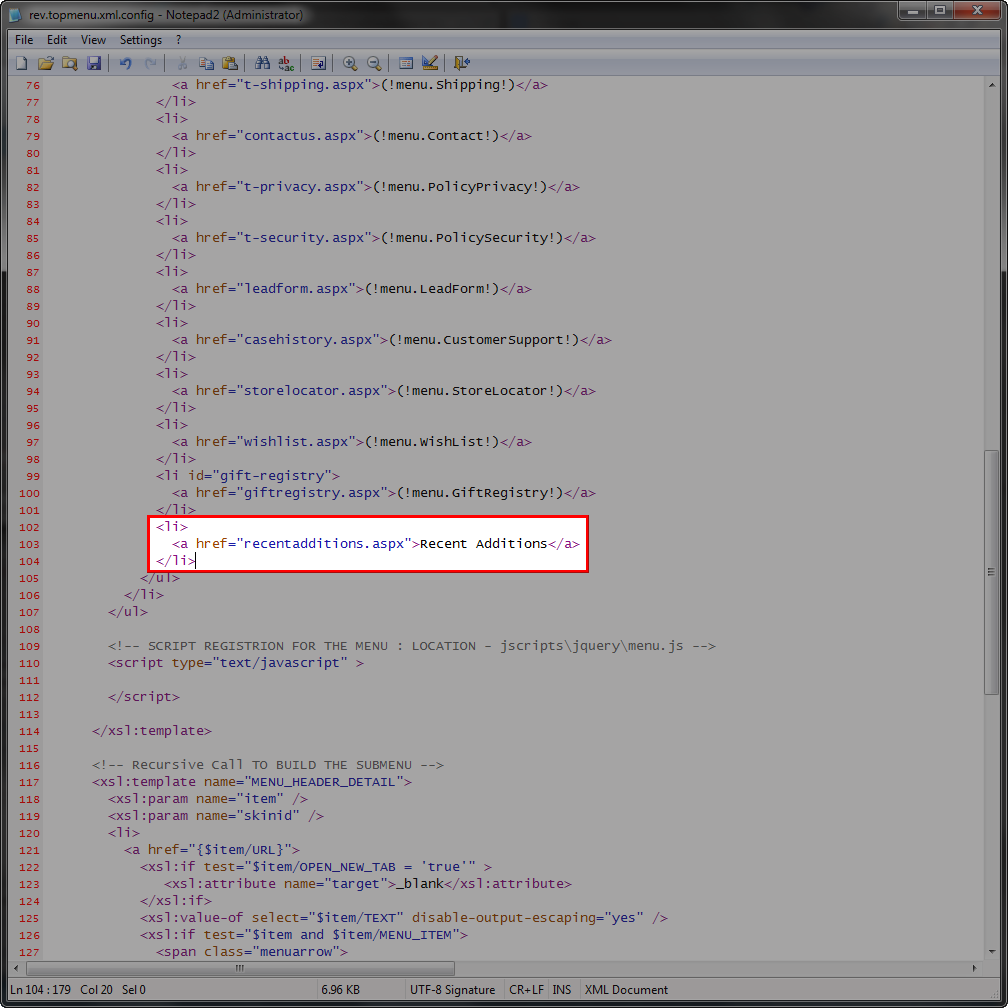
- Open the rev.topmenu.xml.config file in a webpage editor (e.g Notepad, Dreamweaver, etc.).
- Add the desired page as a list item in the code.
In the following example, we will add a Recent Addition page:
Click Image to Enlarge
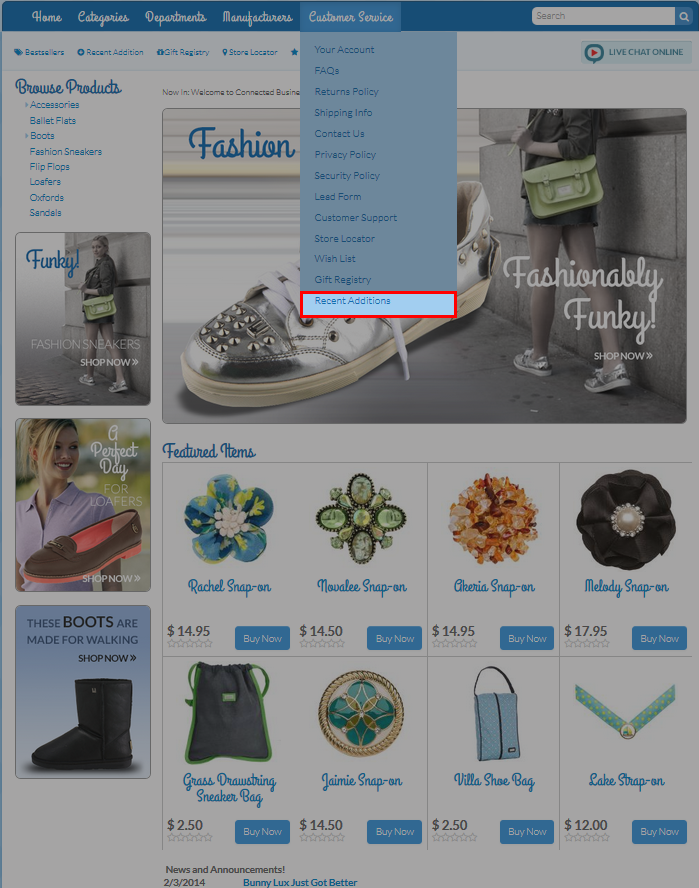
Save to apply changes to the webstore.
Click Image to Enlarge
![]()
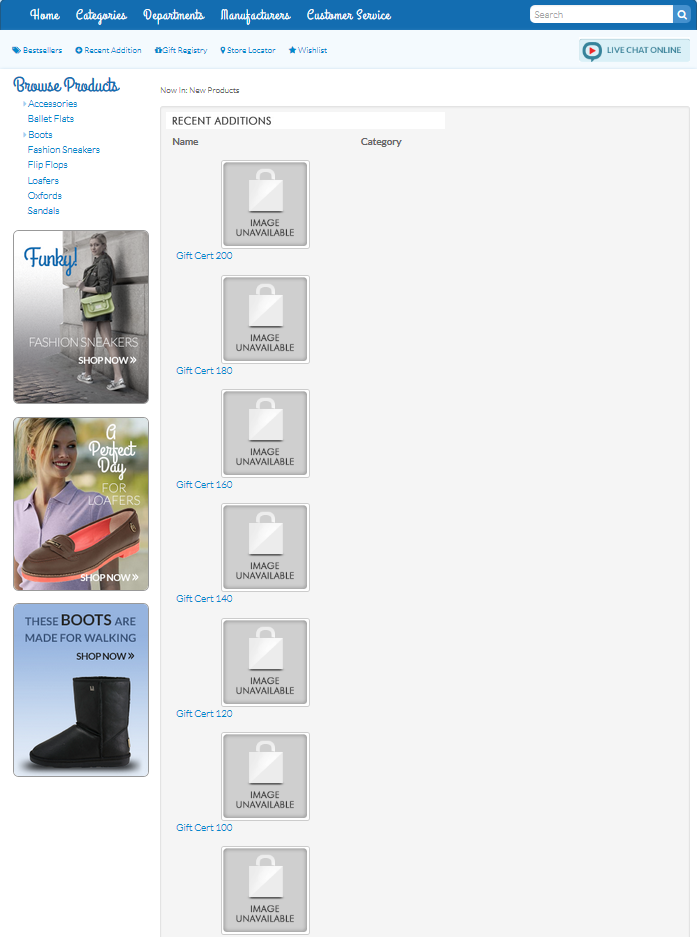
Recent Addition Page
The Recent Additions page shows the list of recently added items (categories, manufacturers, departments, and products) in the store for the past 180 days.
To set up the page,
Show Images of Recently Added Items
- From the eCommerce module, go to Setup > Application Configuration.
- Search for and set the following configurations to TRUE:
RecentAdditionsShowPics
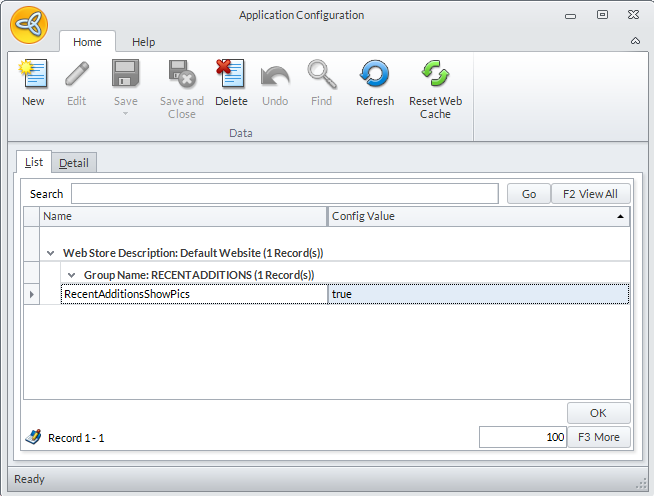
Click Image to Enlarge
UseImageResize

Click Image to Enlarge
- Click Save and Reset Web Cache to apply changes to the website.
Click Image to Enlarge
Adjust Time Durations of Displayed Recently Added Products
- Open the page.recentadditions.xml.config file in a webpage editor. This is usually found in the following directory path:
C:\Program Files (x86)\Connected Business 14\CBE\Web\XmlPackages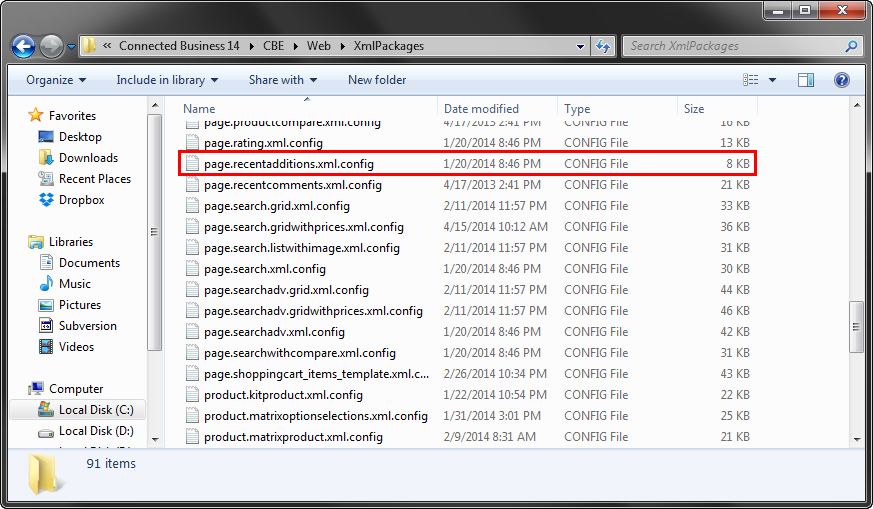
Click Image to Enlarge
- Search for the line of code, exec GetEcommerceRecentAdditions 180
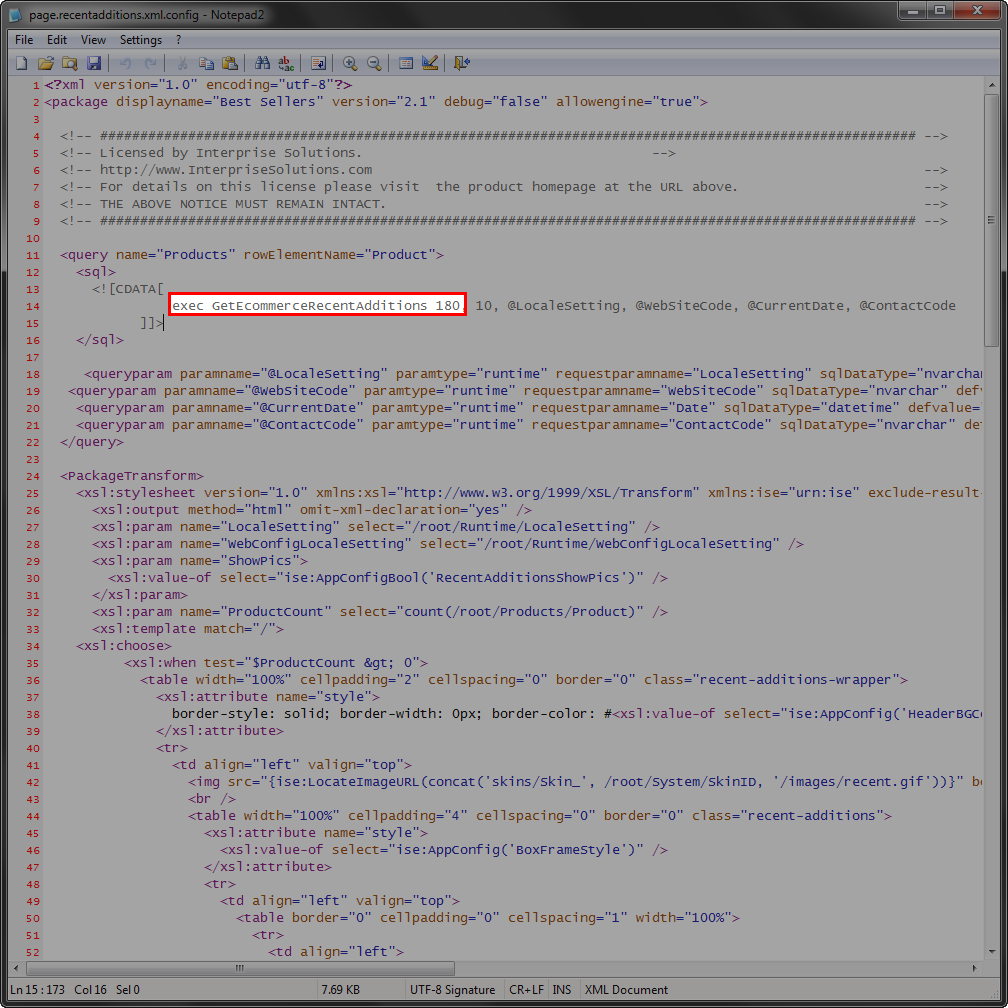
Click Image to Enlarge
The number 180 is the default time duration. Change it as needed.
- Save to apply the changes.
![]()
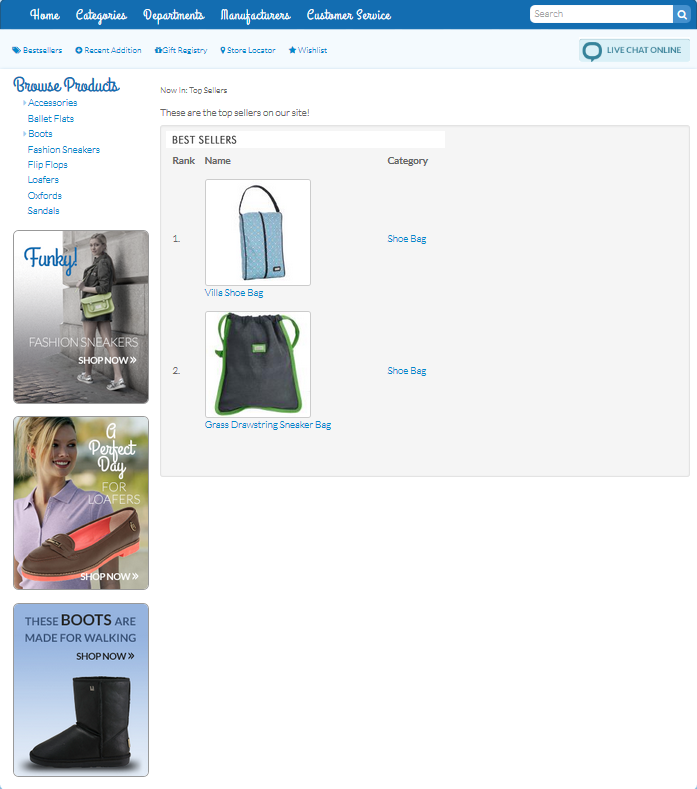
Best Seller Page
This page shows the most popularly ordered products in the store for the past 180 days to be exact.
To set up the page,
Show Images of Bestselling Items
- From the eCommerce module, go to Setup > Application Configuration.
- Search for and set the following configurations to TRUE:
BestSellersShowPics

Click Image to Enlarge
UseImageResize
Click Image to Enlarge
- Click Save and Reset Web Cache to apply changes to the website.
Click Image to Enlarge

The number of bestselling items displayed can be toggled by setting the value of the BestSellersN configuration. By default, it is set to 10.
Adjust Time Duration of Displayed Best Selling Products
- Open the page.bestsellers.xml.config file in a webpage editor. This is usually found in the following directory path:
C:\Program Files (x86)\Connected Business 14\CBE\Web\XmlPackages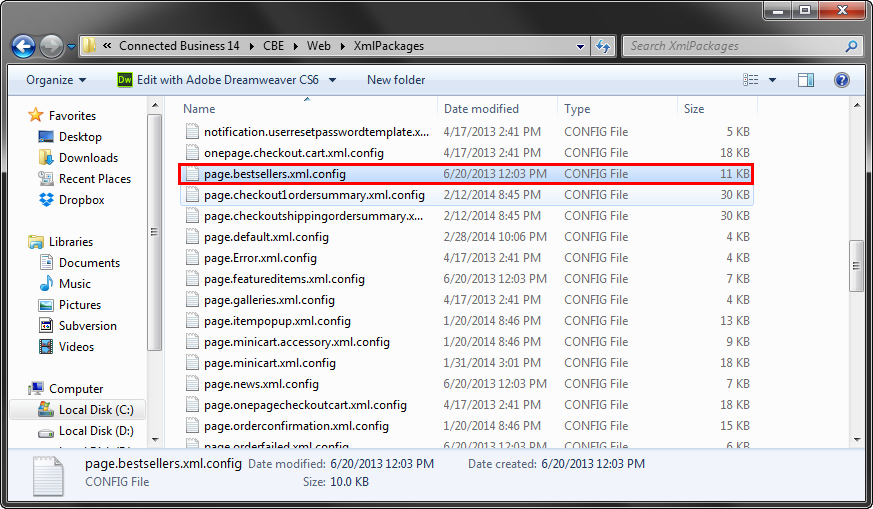
Click Image to Enlarge
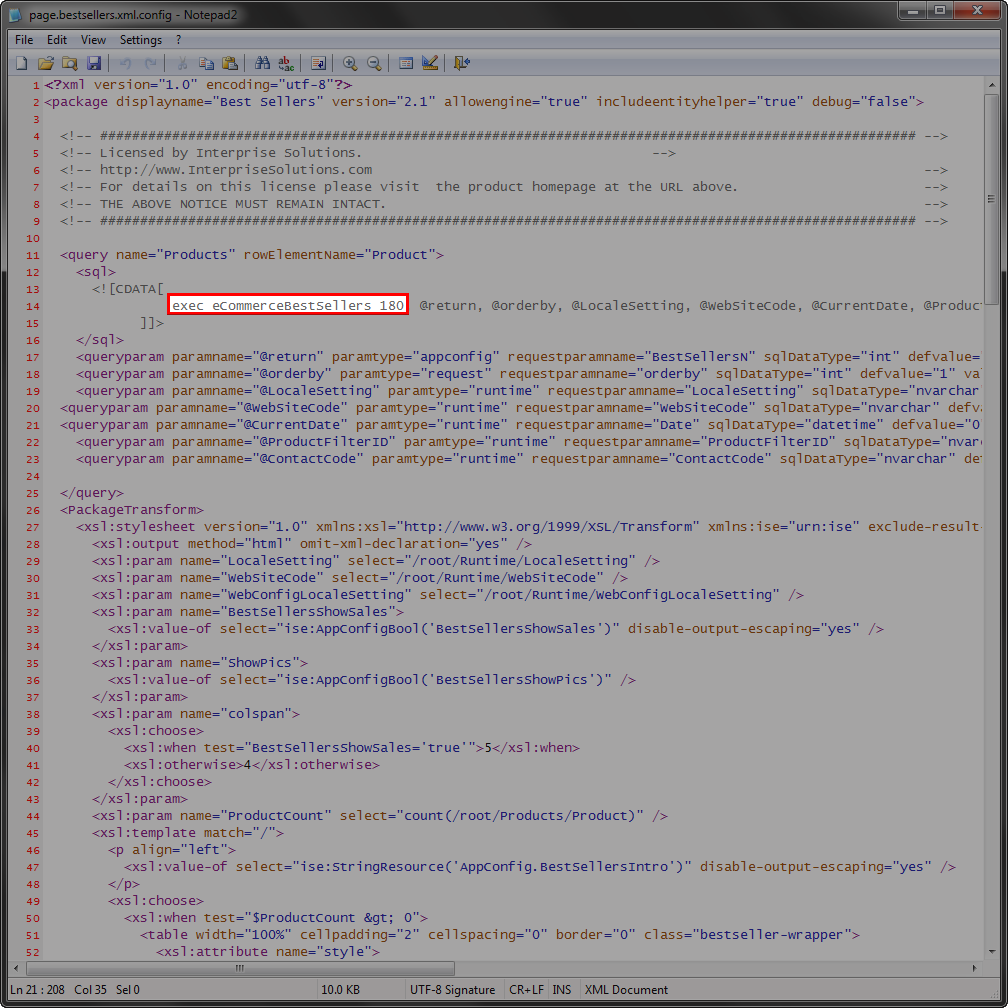
- Search for the line of code, exec eCommerceBestSellers 180
Click Image to Enlarge
The number 180 is the default time duration. Change it as needed.
- Save to apply the changes.
![]()
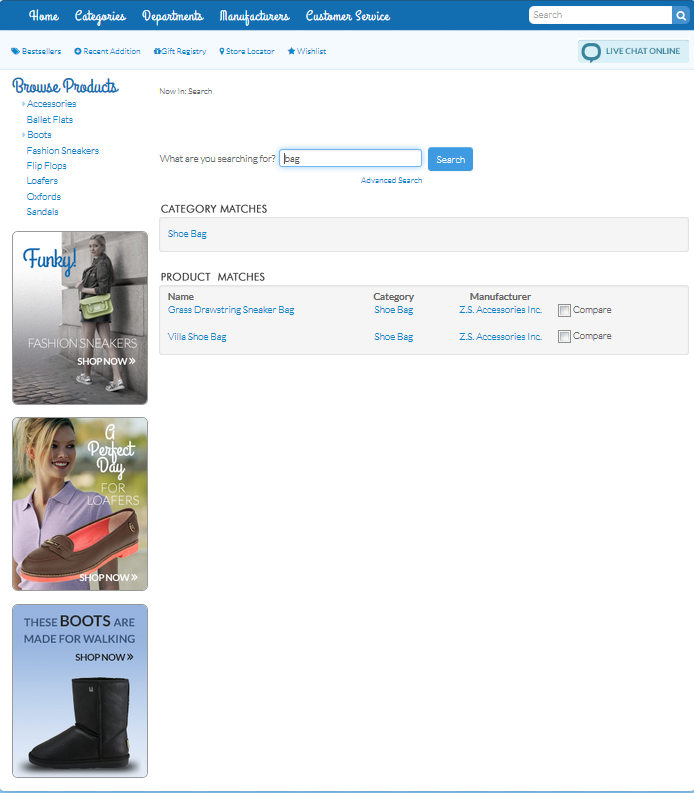
Basic Search Page
To set up the page,
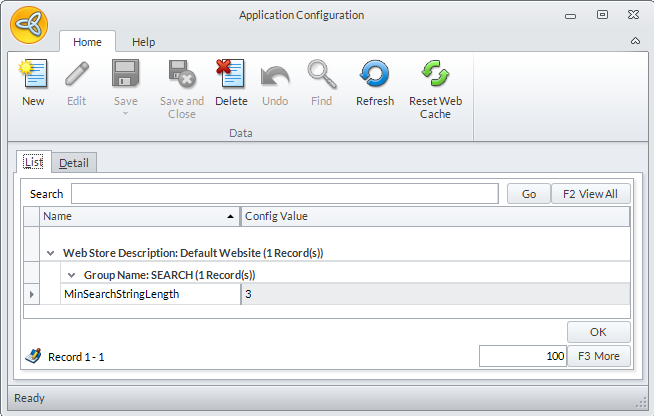
Set Minimum Search String Length
To set the minimum number of characters to enter as a search keyword,
- From the eCommerce module, go to Setup > Application Configuration.
- Search for an enter a value for the MinSearchStringLength configuration.
Click Image to Enlarge
- Save and reset the web chache to apply the changes.
Set Entities to Show in Search
To set the which entities are displayed,
- In the Application Configuration, set any or all of the following configurations to True:
- Search_ShowAttributesInResults
- Search_ShowCategoriesInResults
- Search_ShowDepartmentsInResults
- Search_ShowManufacturersInResults
- Search_ShowProductsInResults
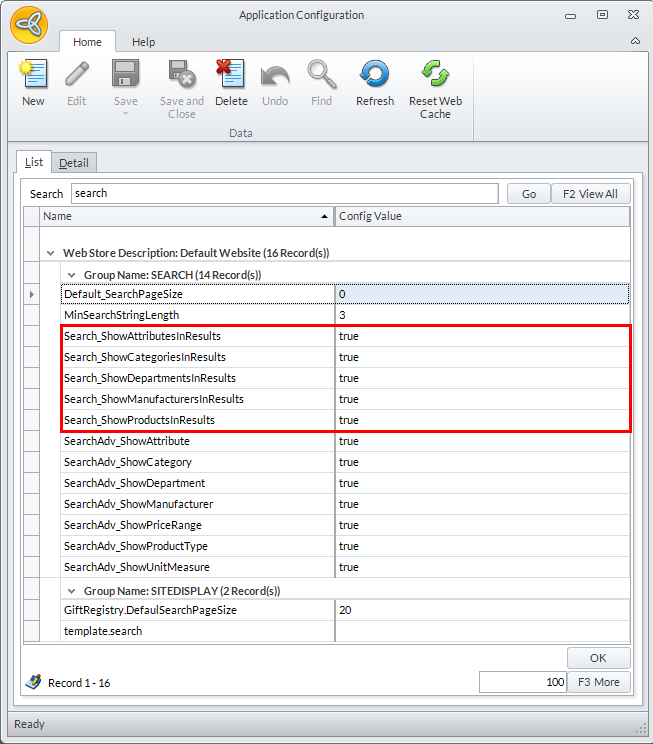
Click Image to Enlarge
- Click Save and Reset Web Cache to apply changes to the website.
Click Image to Enlarge
![]()
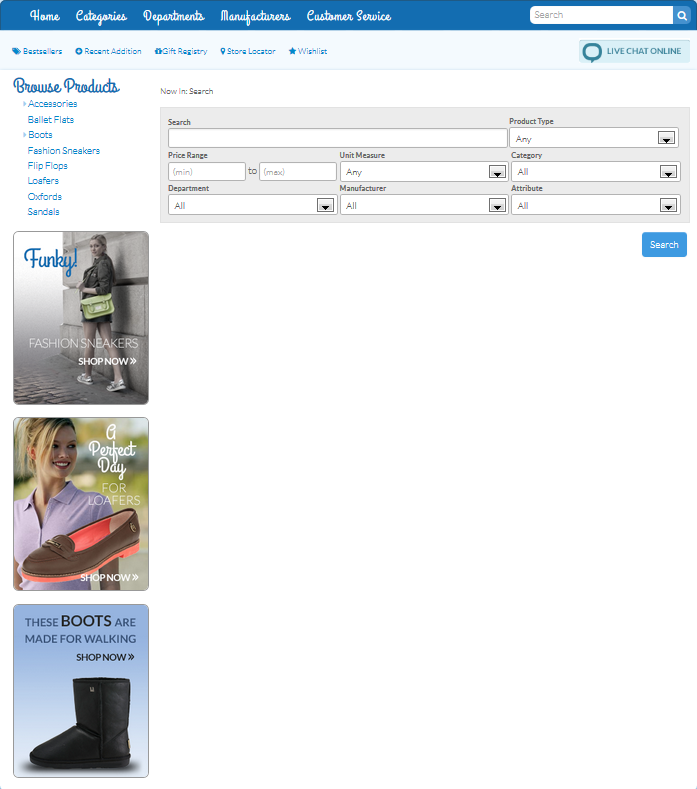
Advanced Search Page
In the Advanced Search page, aside from the Search text box, the customer has the option to use additional filters to narrow down the search. Moreover, the admin also has a greater control through this, since he/she can opt to show only certain filters that the buyer can use.
To set up the page,
Set Up Minimum Search String Length
Please refer to a similar entry in the Basic Search Page section.
Set Filter Preferences
To set which filters will be made available to users,
- From the eCommerce module, go to Setup > Application Configuration.
- Search for and set any or all of the following configurations to True:
- SearchAdv_ShowCategory
- SearchAdv_ShowManufacturer
- SearchAdv_ShowPriceRange
- SearchAdv_ShowProductType
- SearchAdv_ShowSection
- SearchAdv_ShowUnitMeasure
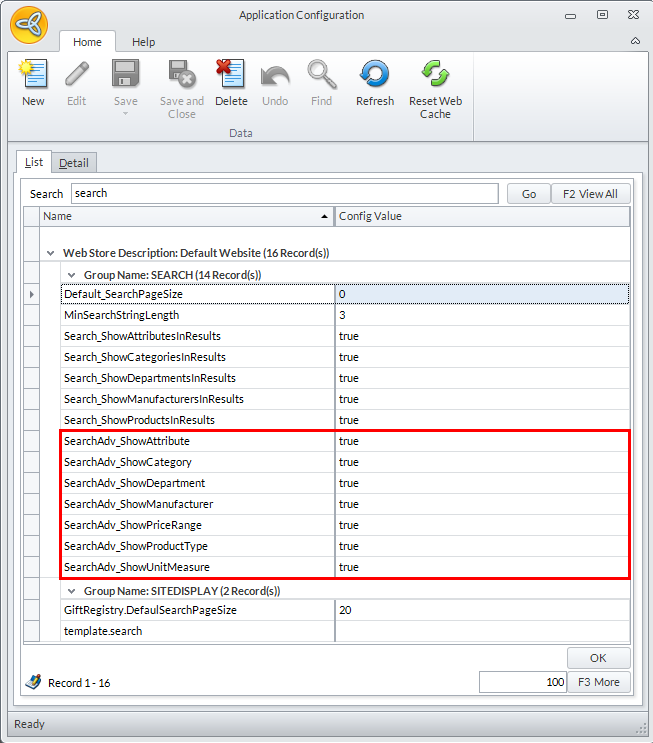
Click Image to Enlarge
- Click Save and Reset Web Cache to apply changes to the website.
Click Image to Enlarge
![]()