The Lead Form Page
This section guides you in setting up an Lead Form page in your webstore. From here you can setup the Lead Form page which captures data submitted by the users or web store visitors (i.e., full name, email address, contact number, etc.) and then automatically adds the Lead information on the Connected Business CRM module.
You will need some programming language skills to perform the steps below.
Modify the Lead Form
To modify the Lead Form,
- Look for the leadform.aspx file in the Connected Business 13/ISE/Web folder.
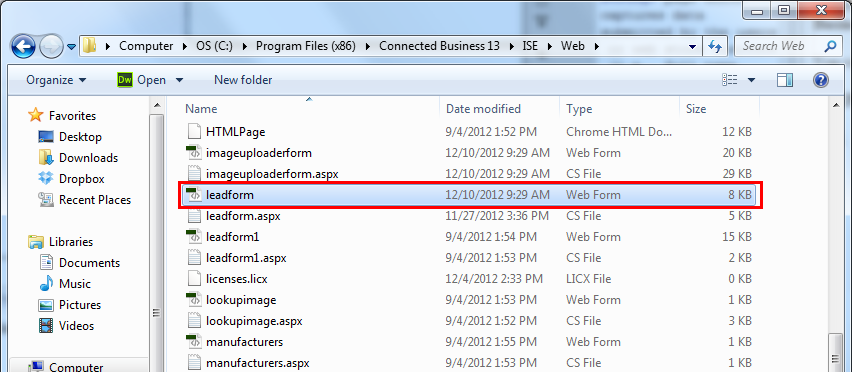
Click Image to Enlarge
- Open the file with software that has aspx or code-editing capabilities like Adobe Dreamweaver (http://www.adobe.com/products/dreamweaver.html) or Microsoft Visual Studio (http://www.microsoft.com/visualstudio/eng/downloads).
- Upon access of the file properties through an aspx editor, navigate through the code to look for modifications you need to make for the lead form.
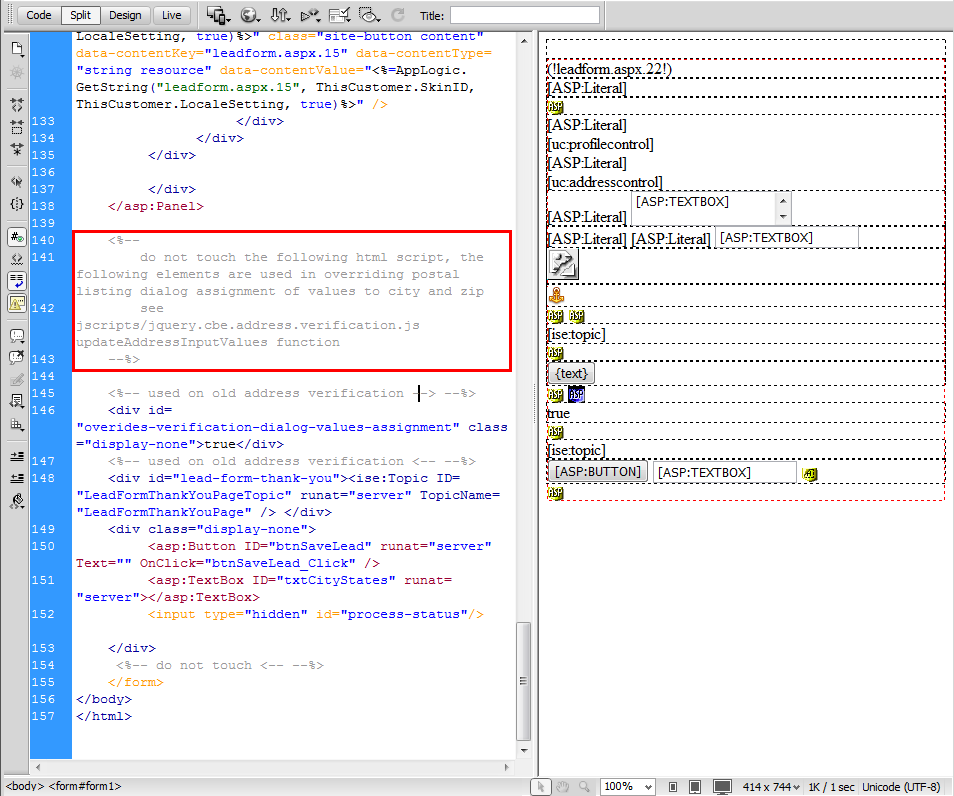
Click Image to Enlarge
Upon navigation of the code you will find out parts of it that are not advised for you to modify. These codes are in conjunction with other functions with the topics Lead Form Thank You Page and Lead Form Helpful Tips.
- You can check out the Lead Form from the Top Menu > Customer Service > Lead Form dropdown list of the webstore.
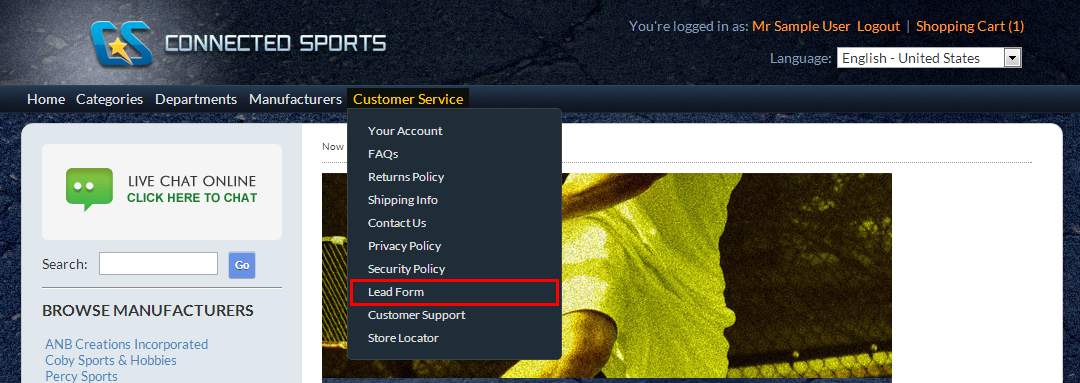
Click Image to Enlarge
Click the Lead Form link from the menu to view the Lead Form.
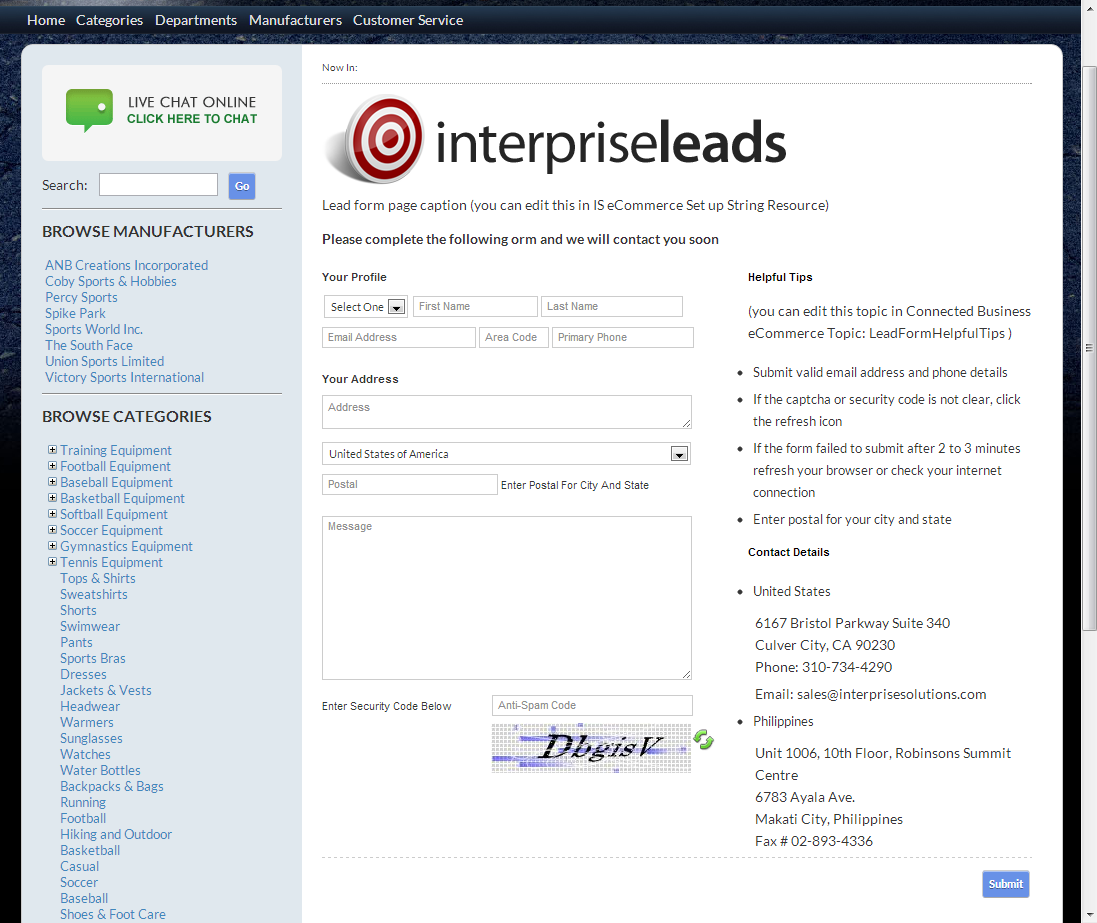
Click Image to Enlarge
![]()
Modify the Lead Form Topics
To modify the Lead Form Topics,
- From the eCommerce Module > Topics > Find Topics. The Topics list screen will be displayed. Key in "lead" to the search bar to display the Lead Form related topics.
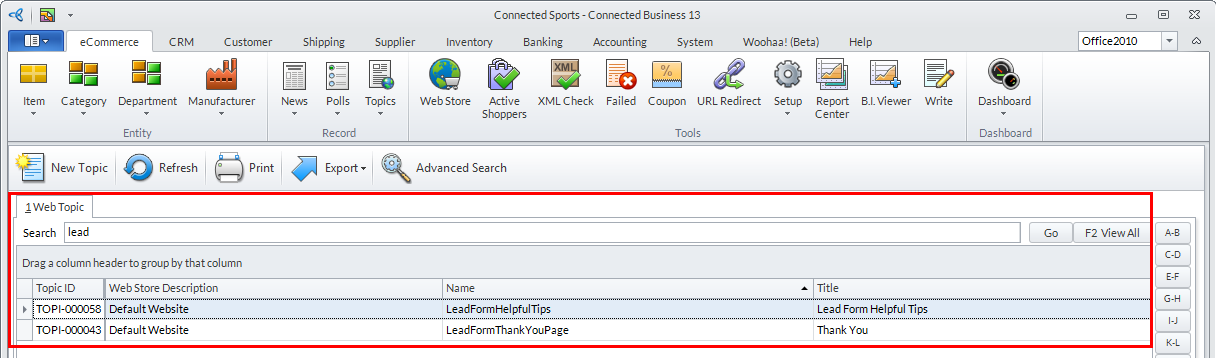
Click Image to Enlarge
- Two items, in default, will be displayed - the LeadFormHelpfulTips and LeadFormThankYouPage.
Double-click on any of them to display their properties.
- The LeadFormHelpfulTips topic enables you to place notes beside the Lead Form.
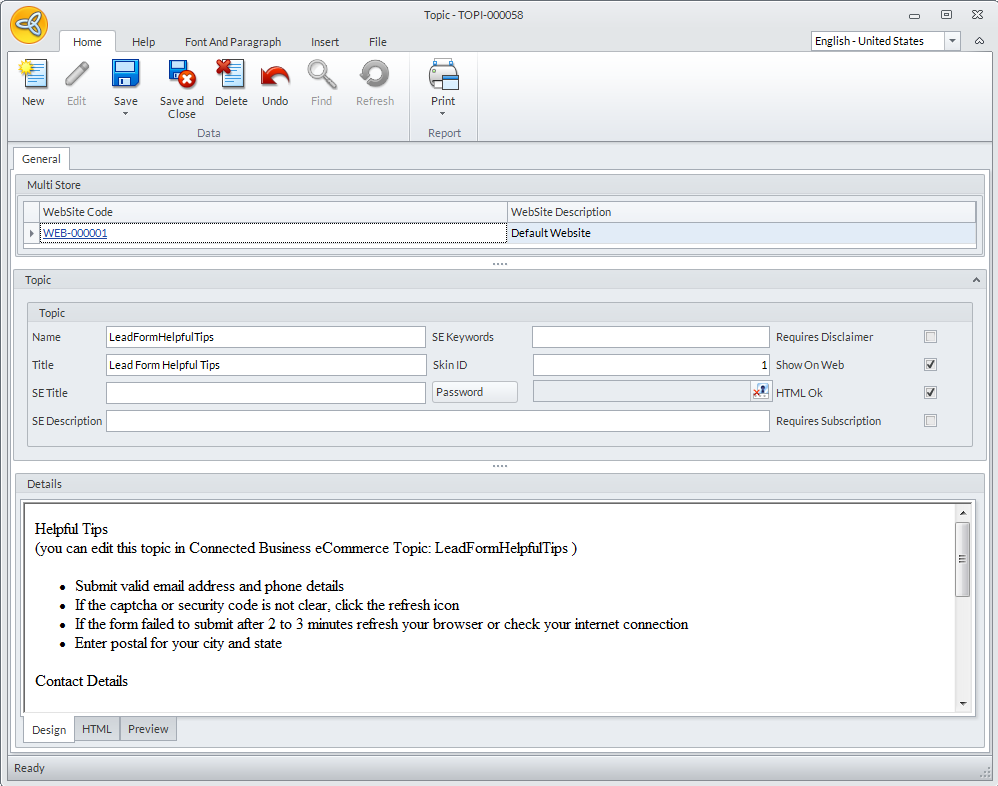
Click Image to Enlarge
Modify the text on the Details section as needed then click Save and Close.
Go to the Lead Form Page of the webstore to see the applied changes.
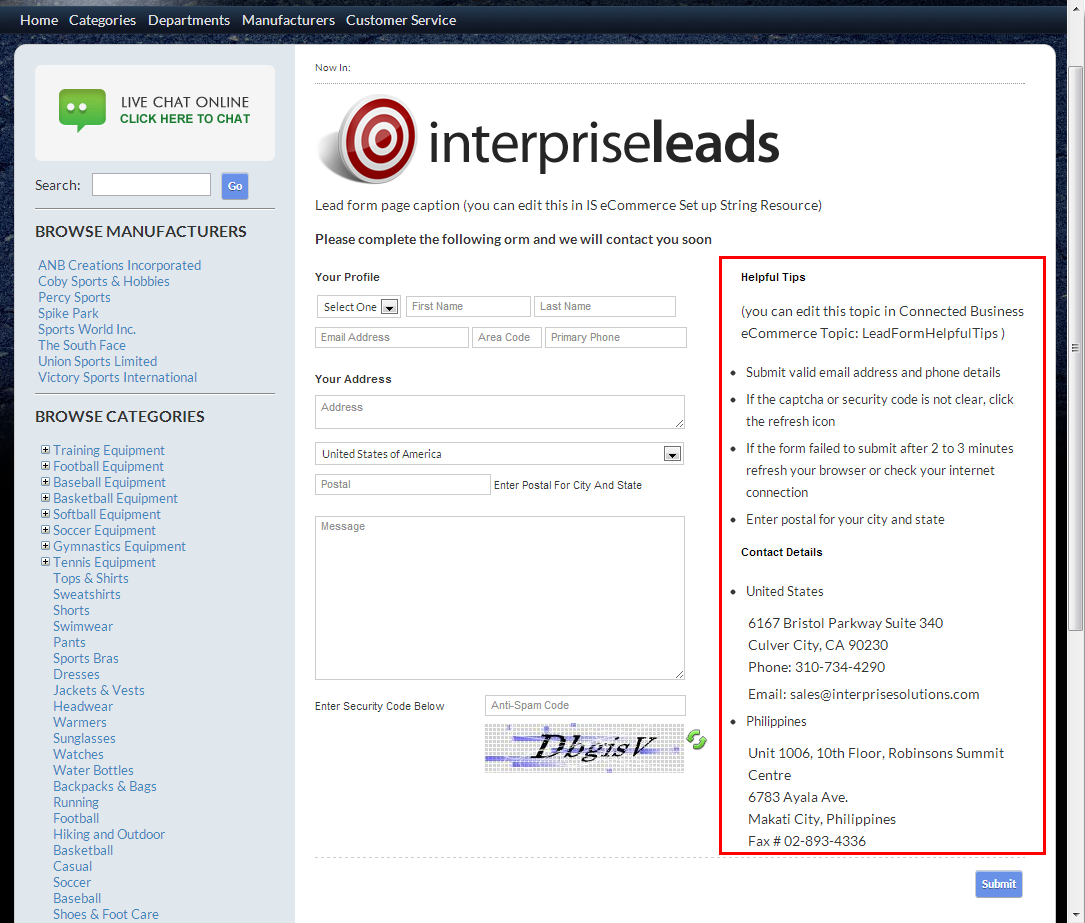
Click Image to Enlarge
- The LeadFormThankYouPage topic is the page that appears after completing the submission of the Lead Form details.
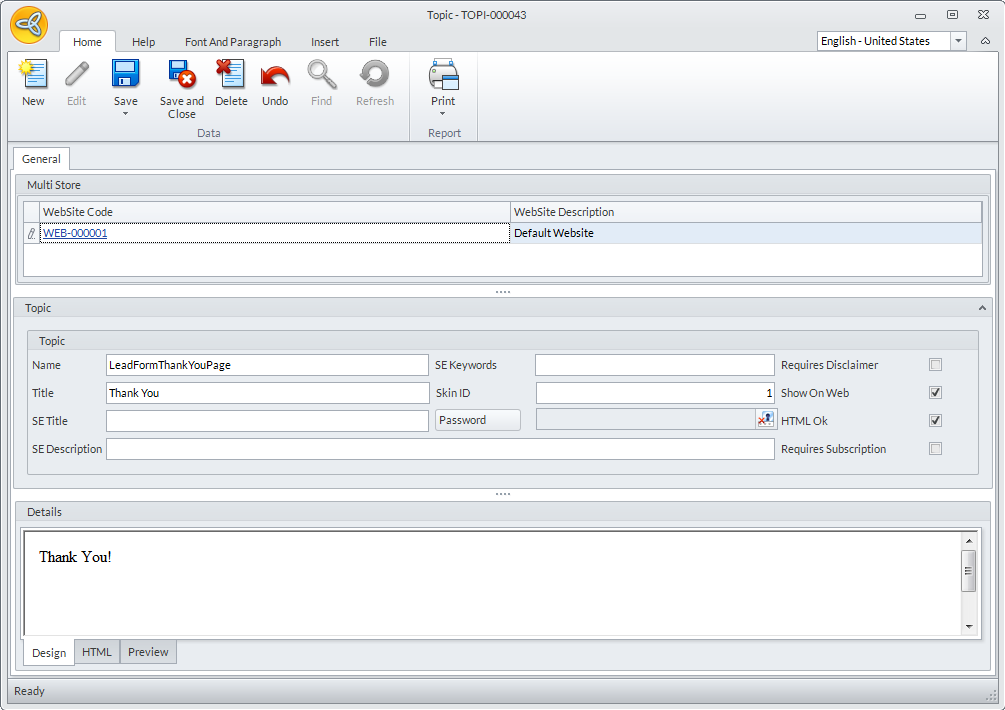
Click Image to Enlarge
Modify the text on the Details section as needed then click Save and Close.
Go to the Lead Form Page of the webstore to see the applied changes.

Click Image to Enlarge
- The LeadFormHelpfulTips topic enables you to place notes beside the Lead Form.
![]()