Switch Skin Template
As we have discussed before, eCommerce is designed in such a way that you, as the administrator of this product, has the total control to its workings and overall functionality. By this fact, we could say that there are limitless possibilities as to how this product can be customized. One way of customizing your online store is by performing a “template switching”.
For some store developers they want to design their store in such a way that, for some of its page(s), a deviation to its set skin is necessary. By setting a particular page (category, department, or manufacturer page) in the store site to a particular design different to its set skin, you can design a website that changes in appearance per page. This process is called Template Switching.
The following discussions summarize how this setup is done.
Enable the Application Configuration Parameter
Connected Business eCommerce module allows you to change between available templates for your specific webstore pages. This can be done from the Application Configuration form.
- Access the Application Configuration (AppConfig) form from the eCommerce Module > Setup > Application Configuration. The AppConfig form will be displayed. Type in "template" to view appconfigs related to the template switching function of your webstore.
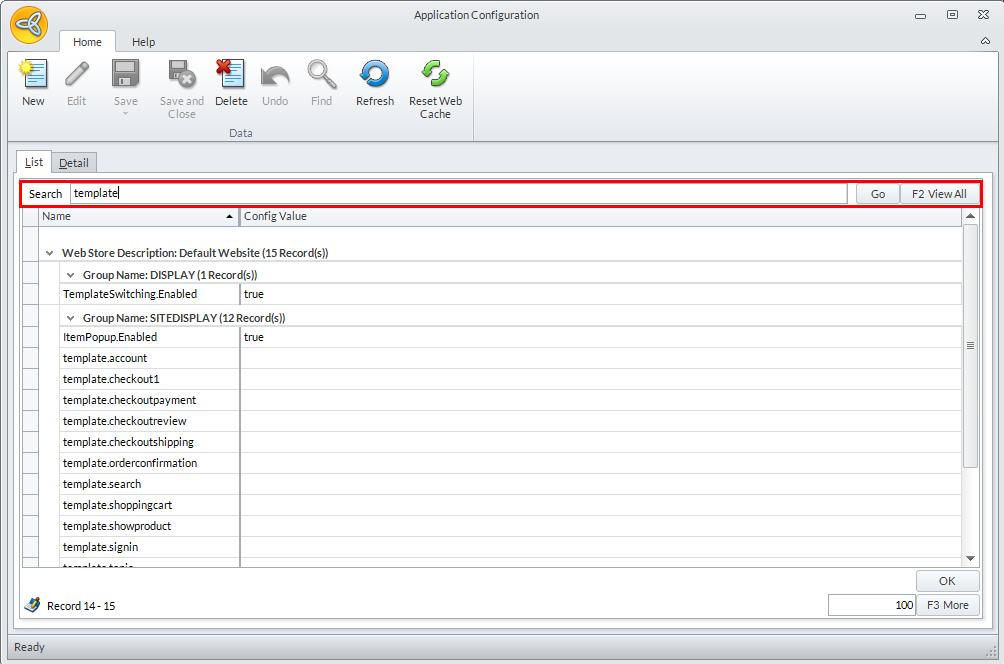
Click Image to Enlarge
- Select the TemplateSwitching.Enabled appconfig to view the Detail tab displaying the properties of the selected appconfig.
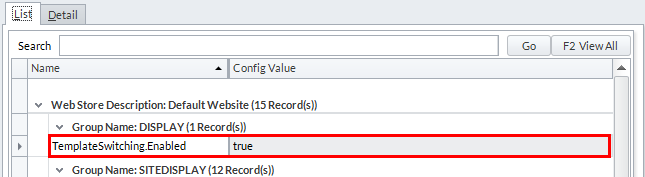
Click Image to Enlarge
Input "true" in the Config Value field.
Click Image to Enlarge
Click Save from the menu bar to apply your changes.
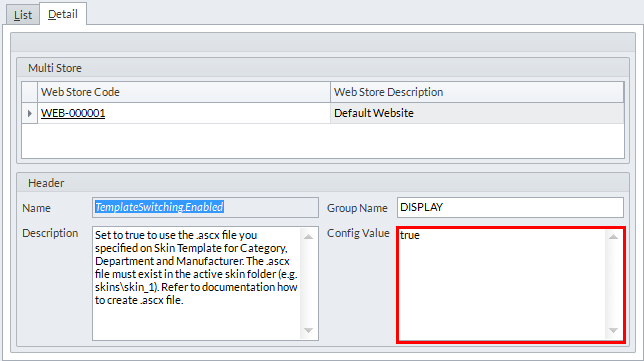
- From the AppConfig list screen, the SITEDISPLAY Appconfig Group consists of appconfigs that let you define templates each .aspx page.
Click Image to Enlarge
Access each AppConfig Detail Tab of each appconfig entry to define templates for each. Take note to include the .aspx extension for each template file.
Create New Template.ascx File
- Go to the installation folder of the eCommerce webstore.
- Copy the template.ascx file by right clicking on it and selecting the Copy option from the shortcut menu. Following this, in the same directory, right click in it then select Paste.
- Rename this copy to a new one. We suggest that you give it a name relative to its application in the store. (e.g. ITTemplate.ascx, etc.)

Be careful in changing this to a new file format (not .ascx), otherwise this will become unreadable to your store site.
Edit New Template
Upon creating this new template to use for a certain page of the store site, modify this according to your preference.
- Search for and right click the new template file then open it with Notepad.
- Edit the file as necessary then save to apply changes.
Set Template to Use for the Page
The store environment and the template to use for a certain page in the store site are now ready. The only thing missing is the assignment of the new template this will be applied into.
- From the Connected Business eCommerce module > Category > Find. The list of Categories will be displayed.
- Select a category from the list the new template will be applied to.
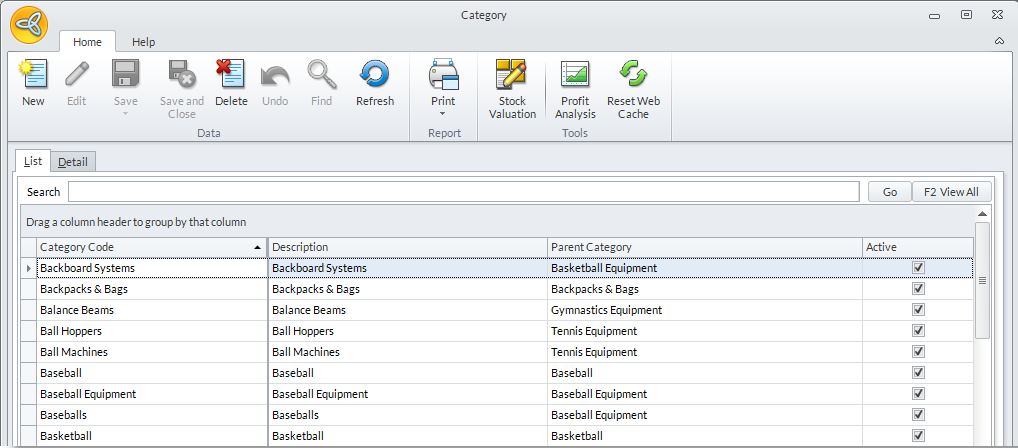
Click Image to Enlarge
- In the configuration window of the selected entity, switch to the Web Option tab.
- In theWeb Store section, select the Web Store this setting will affect.
- In the Settings sub-tab enter the filename of the template into the Skin Template field.

Click Image to Enlarge
- Click Save and Close to apply changes.
Check Store Site
A modified skin template is only available to the skin where it is defined. (e.g. If the definition of the new template is on Skin_1, template switching has no effect if Skin_2 is set as the default skin.