Set Up Selling Unit Measure
Along with the default unit measurements included in Connected Business and Connected Sale, users can freely create and add new unit measures that suits according to the needs of the webstore, and incorporate them in the POS.
This is integral in completing transactions for bulk items using your POS, as the price will automatically correspond to the unit measure’s quantity assigned by the user.

This feature is only available in Connected Business v14 and higher.
Create New Unit of Measure
Unit of measures that are not on the default list can be created directly from the POS. To do this:
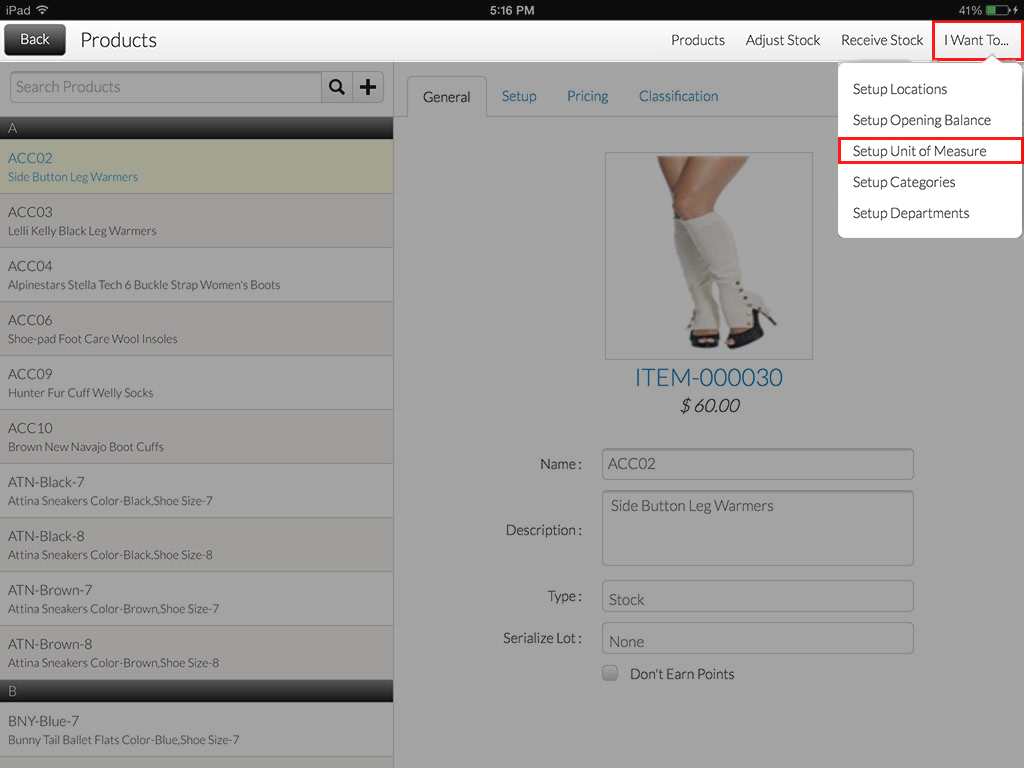
- From the POS main screen, go to Products menu.
- Tap the I Want To tab to display the menu dropdown. Select Setup Unit of Measure to create a new unit of measure.
Click Image to Enlarge
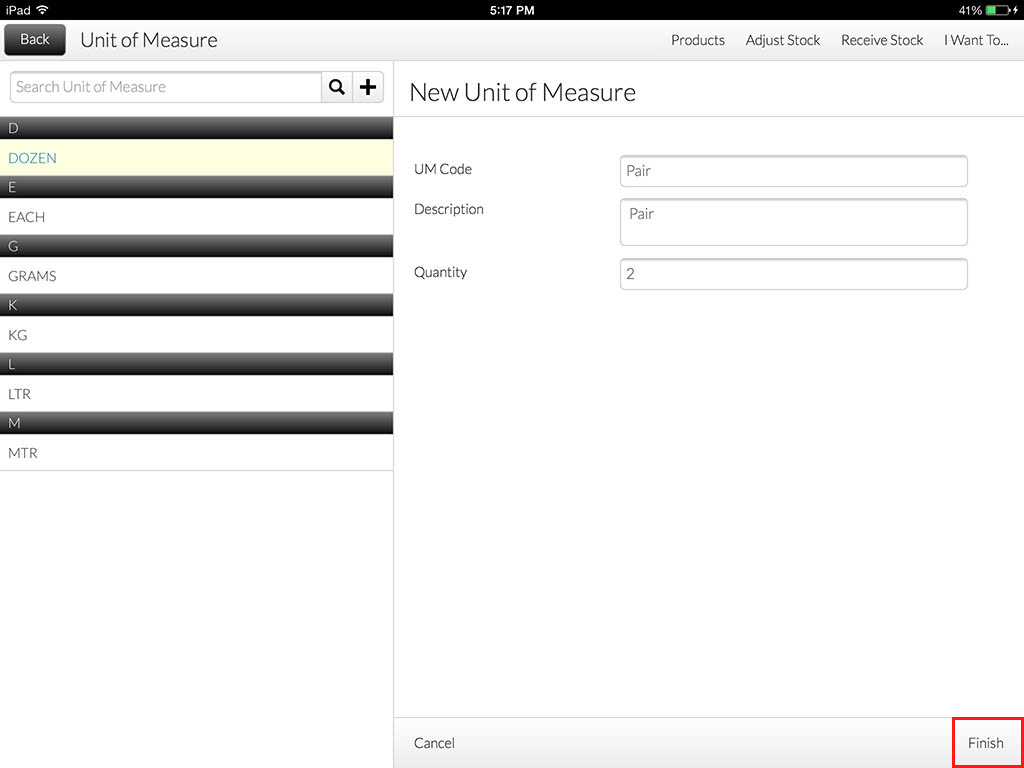
- On the New Unit of Measure form, enter the UM Code and its corresponding quantity. Tap Finish to go back to the Product page.
Click Image to Enlarge
Create new unit measures can also be done in the Connected Business backend. Refer to Define Unit Measures, Set Up Products and Services Default Details for more information.
![]()
Set Default Selling Unit Measure
Once the new unit of measure has been successfully created, users can now assign this as the item’s default Selling Unit Measure. To do this:
- From the Products tab, select the item that you want to change the default selling UM.

Click Image to Enlarge
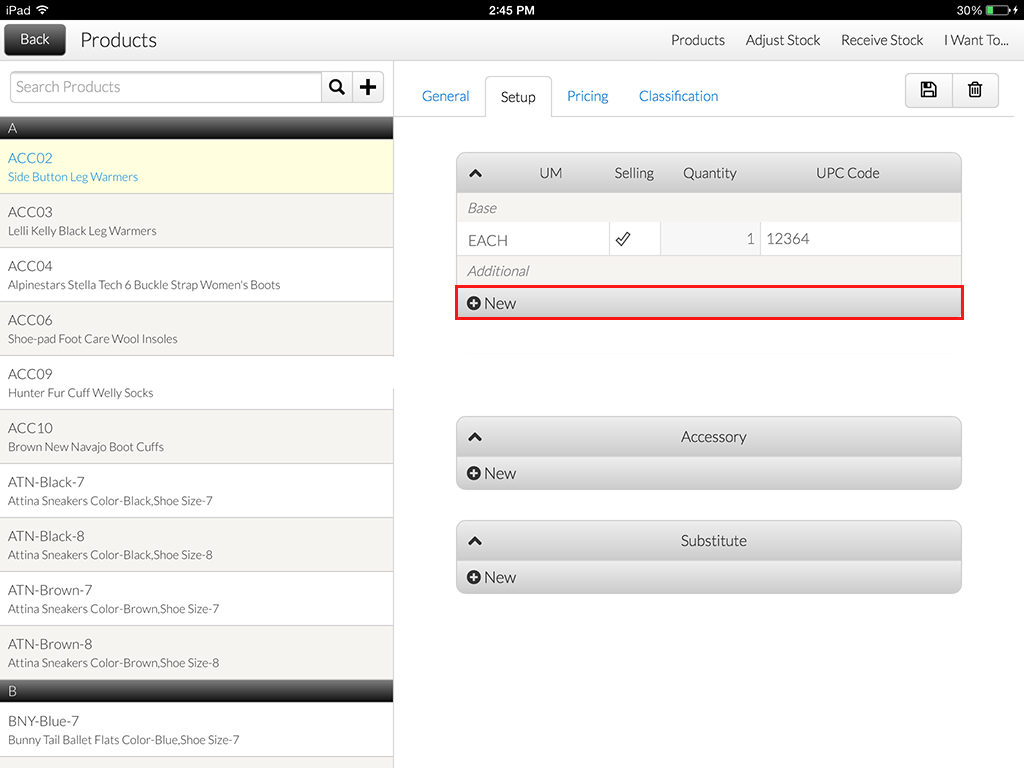
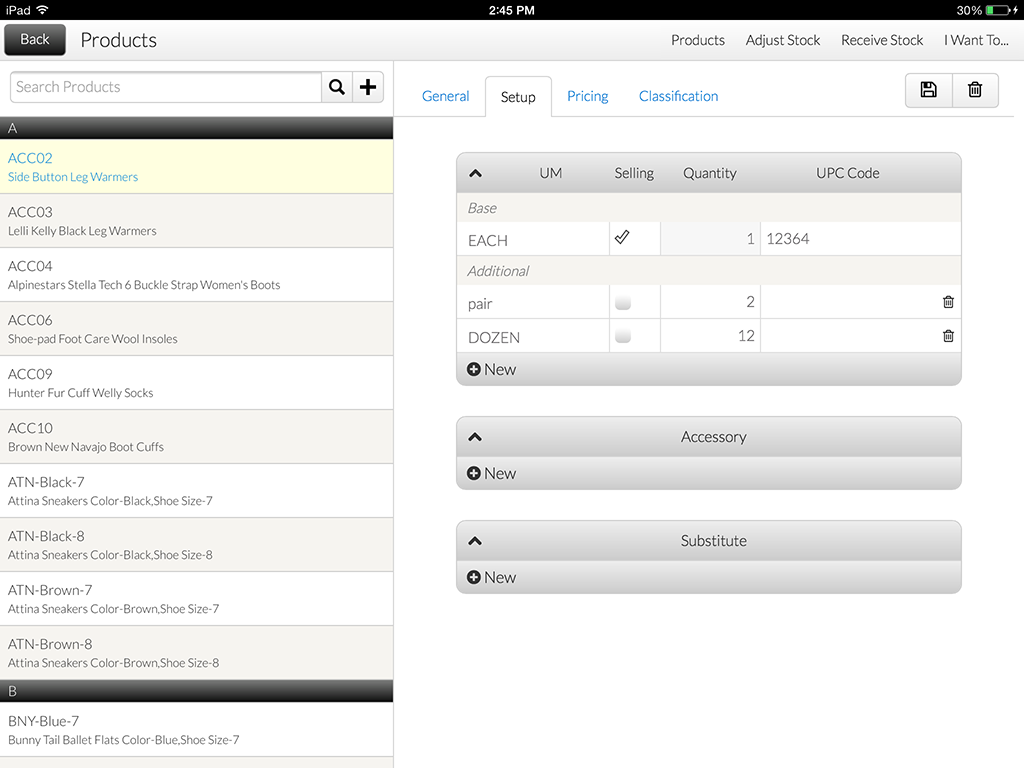
- Tap the Setup tab. From the UM table, tap the Plus button to add a new UM column.
Click Image to Enlarge
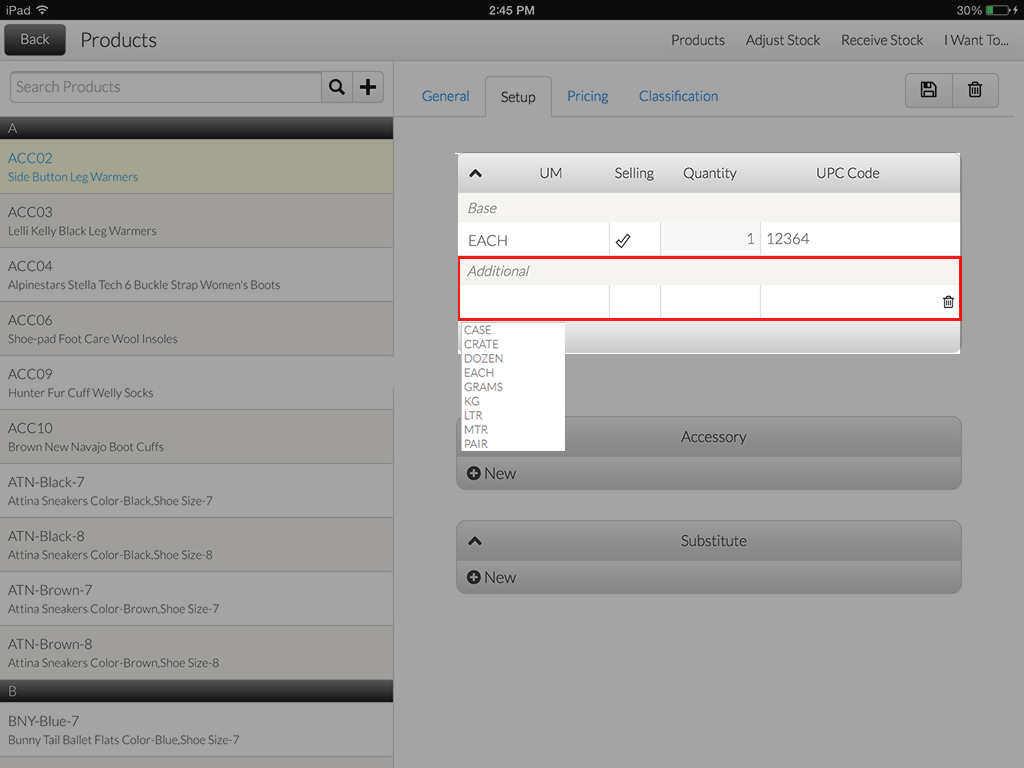
- Tap the blank cell of the Additional column to display the UM dropdown list. You can add more UM as needed.
Click Image to Enlarge
Click Image to Enlarge
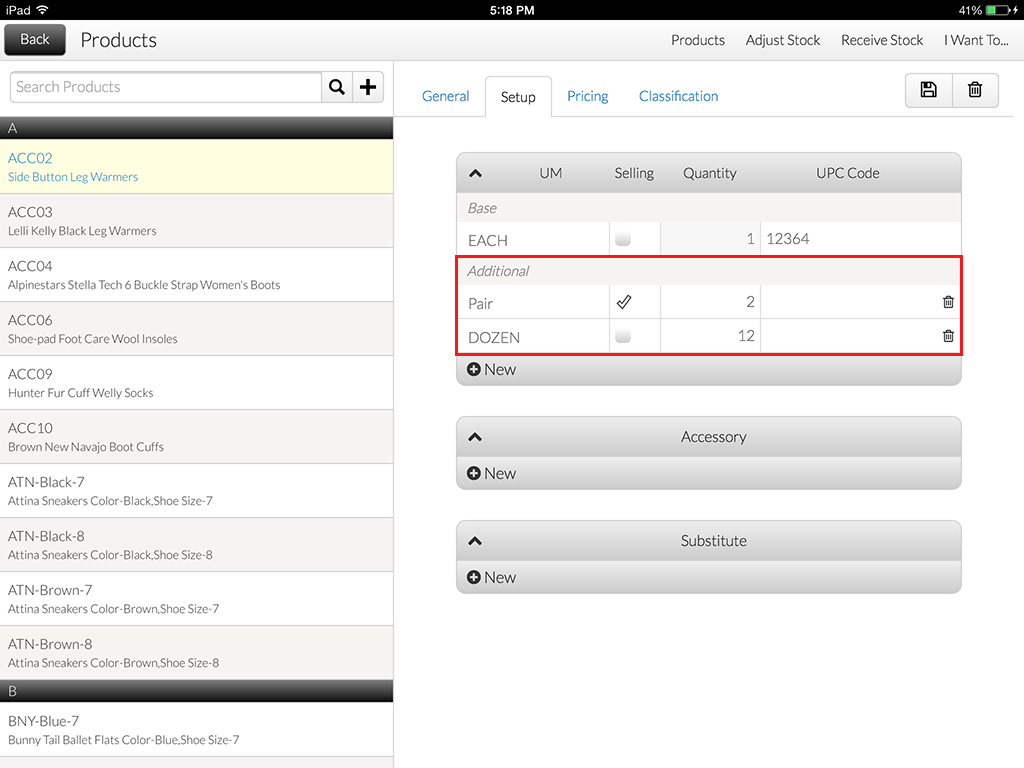
- Tick the Selling UM checkbox in the Selling column to set the selected unit measure as the item’s default.
It is ideal to assign a UPC code to an item. Using the UPC Code will search the item with the assigned Selling UM, and will automatically include it on the transaction tape.
Click Image to Enlarge
- Tap the Save icon apply changes.
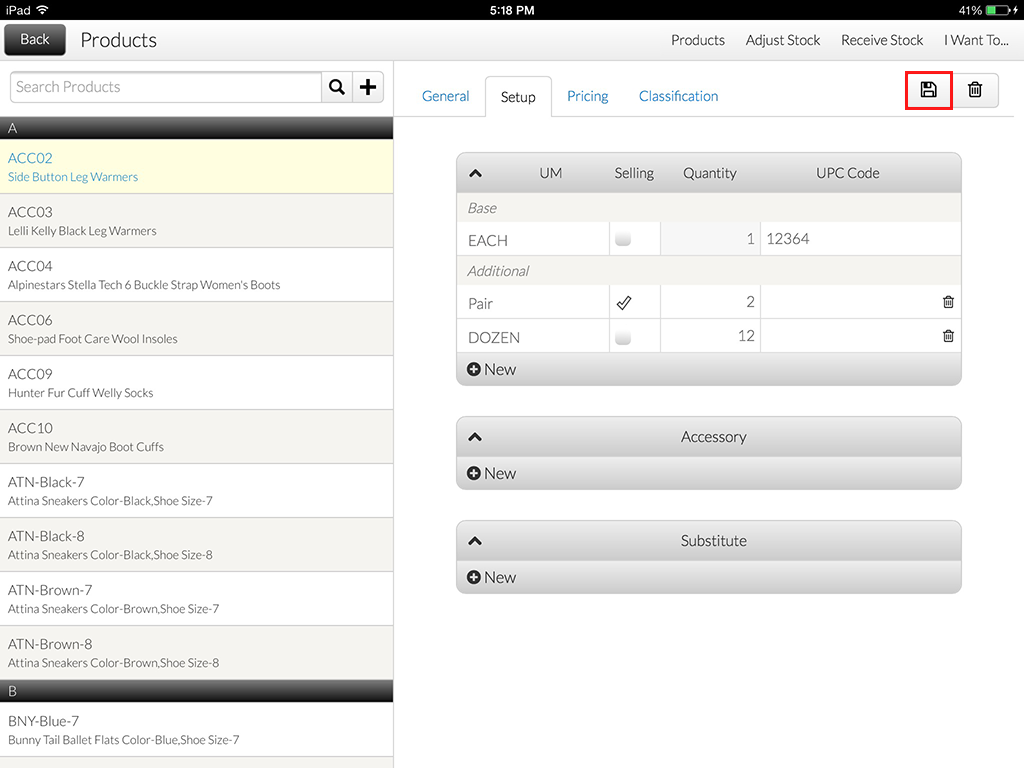
Click Image to Enlarge
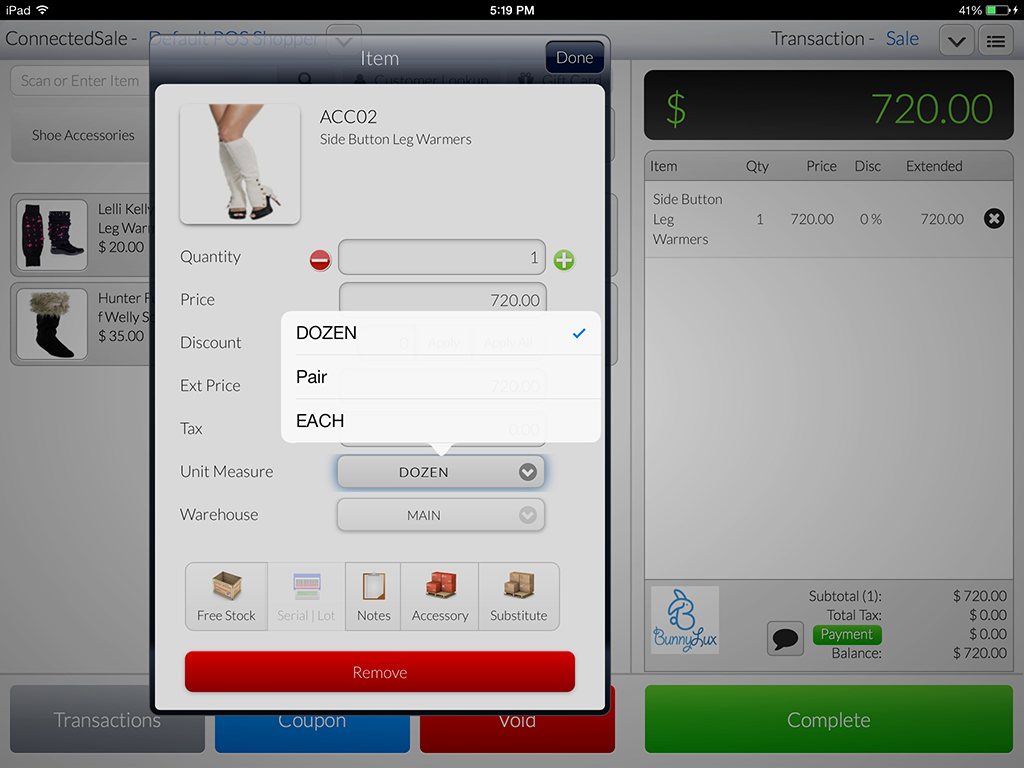
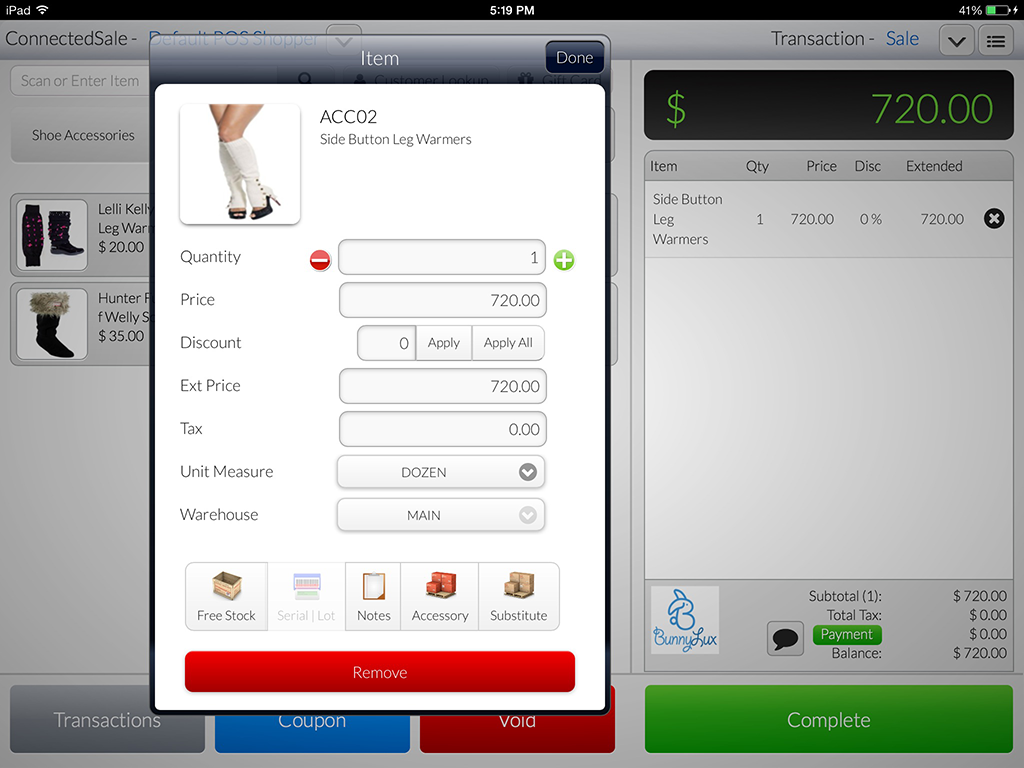
To check, go to the POS main page and select the product that you have assigned the Selling UM to.
Tap the item name on the transaction tape to display the item details and drill down the Unit Measure button to view the UM list for the item.

Click Image to Enlarge
Here, you can now directly select and change the UM when needed. The price will now conform to the quantity of the unit of measure for price adjustments.
Click Image to Enlarge
Click Image to Enlarge
When using other Selling UM with 2 or more number of quantities, the Quantity column in the transaction tape will count the item as a “whole”, instead unit of per item.
![]()