Require Customer P.O.
Customer PO is used by businesses to track purchasing transactions in Connected Business. This allows business owners to keep track of all sales transactions by cross-referencing the Customer PO to their own records. The value in the Customer PO is user-entered and it can be a value assigned by the business owner to track the sales transaction on their end.
Customer PO is usually added when making business to business sales transactions in the Connected Business backend. With the Connected Sale Mobile POS, you can now directly enter the Customer PO in the POS application without having to go to the backend.

This feature is only available in Connected Business v14 and higher.
To enable this option in Mobile POS,
- From the Connected Sale dashboard, go to Settings > General. The General Settings page will be displayed.
- At the bottom section of the page, tap ON any or all of the following options: Ask for Customer PO, Ask for Ship Date, Ask for Source.

Click Image to Enlarge
You can also tap OFF any of the options. Doing so will disable the field of the selected option in the PO Details form.
- Tap Back to save changes.

Enter Customer PO Details
- Open the POS menu from the Connected Sale dashboard and create a sale/quote/order transaction using any payment method.
- Upon processing the payment, the PO Details form will be displayed.
- Enter the details for any or all of the following.
- Customer PO - Indicates the customer PO or any value assigned by the user or business owner as reference for the transaction.
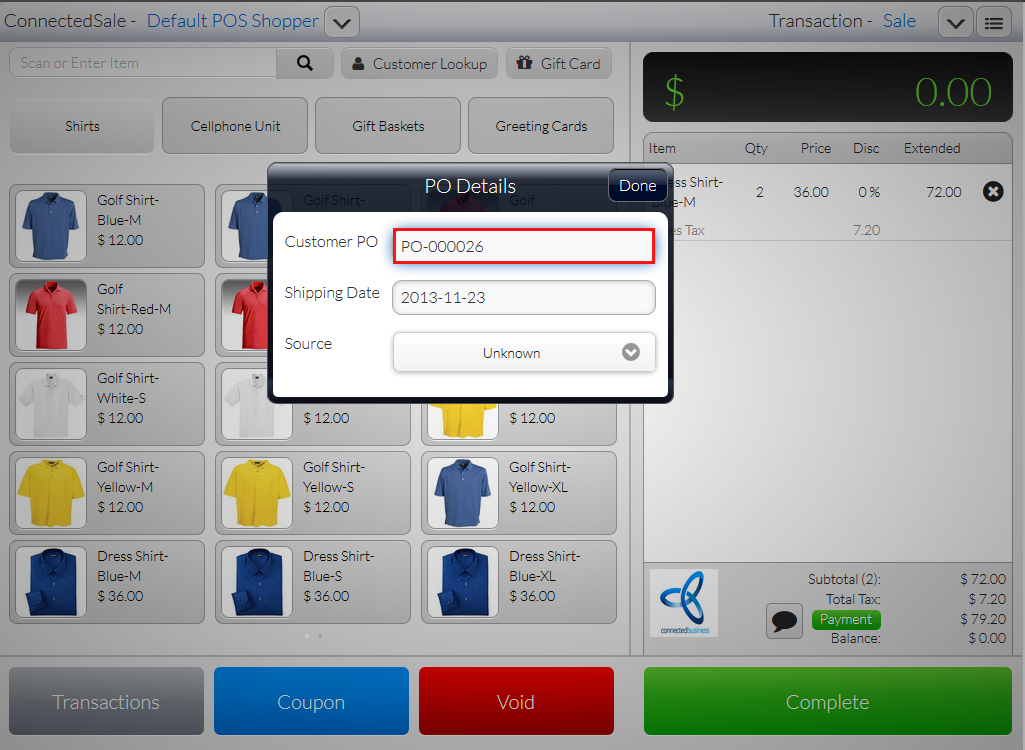
Click Image to Enlarge
- Shipping Date - Indicates the date when the items will be shipped.
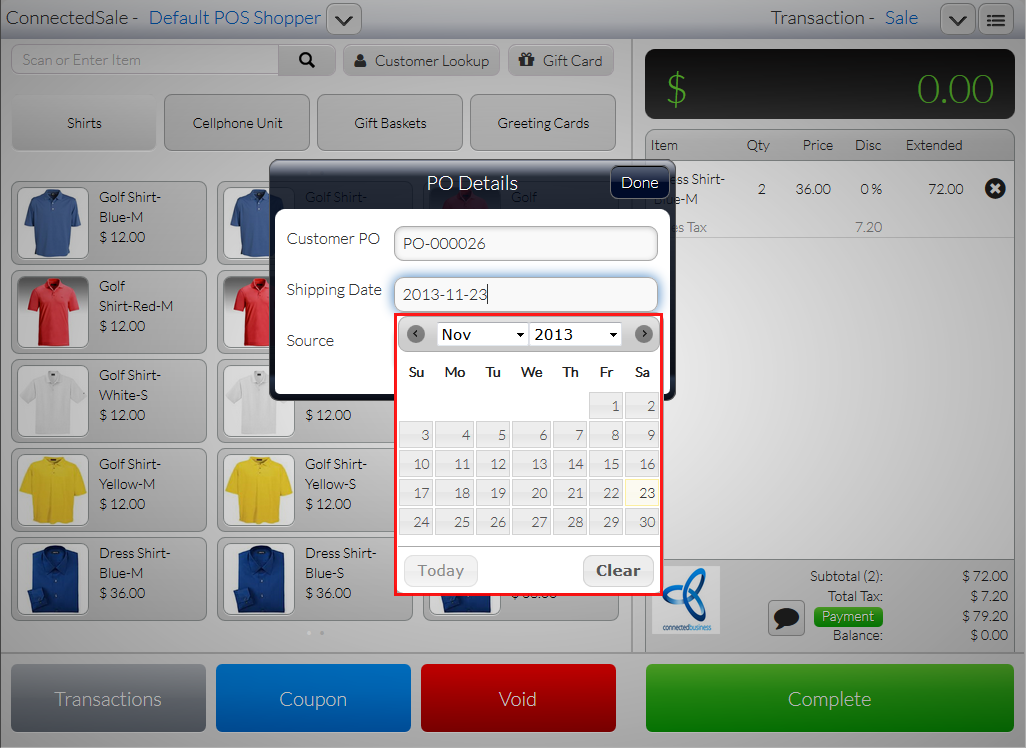
Click Image to Enlarge
- Source - Indicates how the customer knew of the item or the store.

Click Image to Enlarge
- Customer PO - Indicates the customer PO or any value assigned by the user or business owner as reference for the transaction.
- After entering all the details, tap Done and complete the transaction.
- The Customer PO will be reflected in the transaction document from the backend.
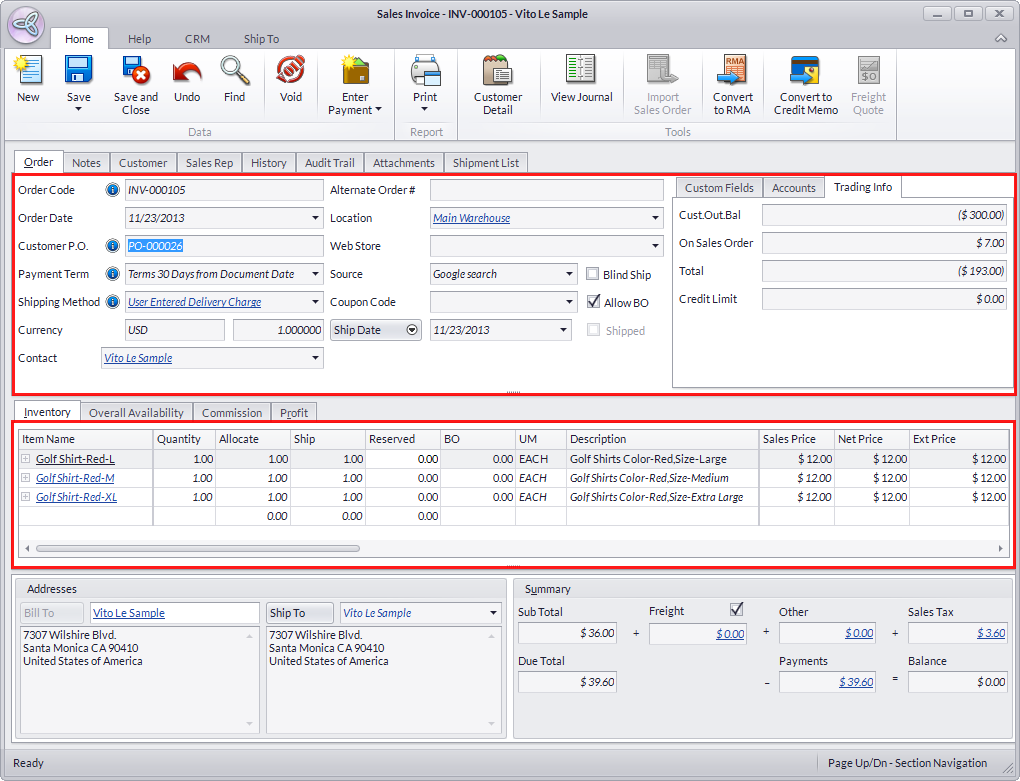
Click Image to Enlarge


