Promote/Demote Custom Objects
|
Content
|
|---|
After creating various custom objects in the data dictionary, you need to add it in to be used and automatically include in the Connected Business system.
The following demonstrates how to add or remove different custom objects in an SQL environment.
PROMOTE NEW TABLE
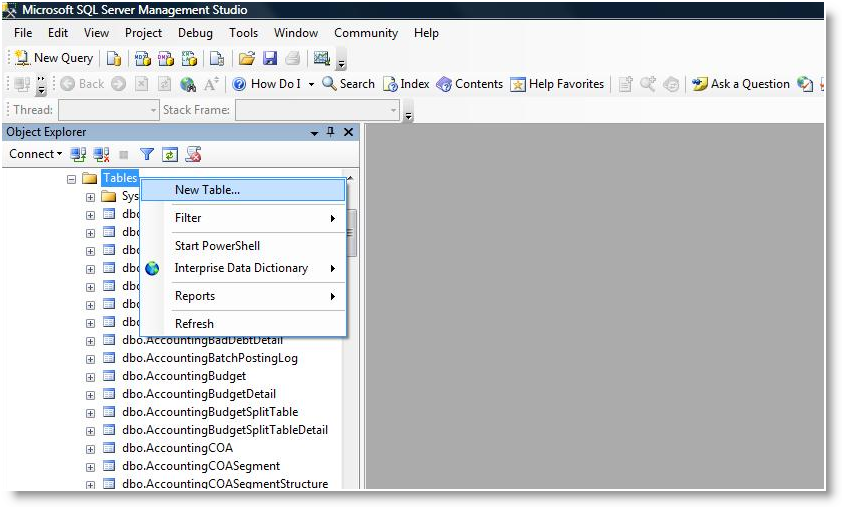
- Right click on Table > New Table. The table designer will load.

The IsCache and IsImportable options are also made available in the Table Data Dictionary Property Panel.
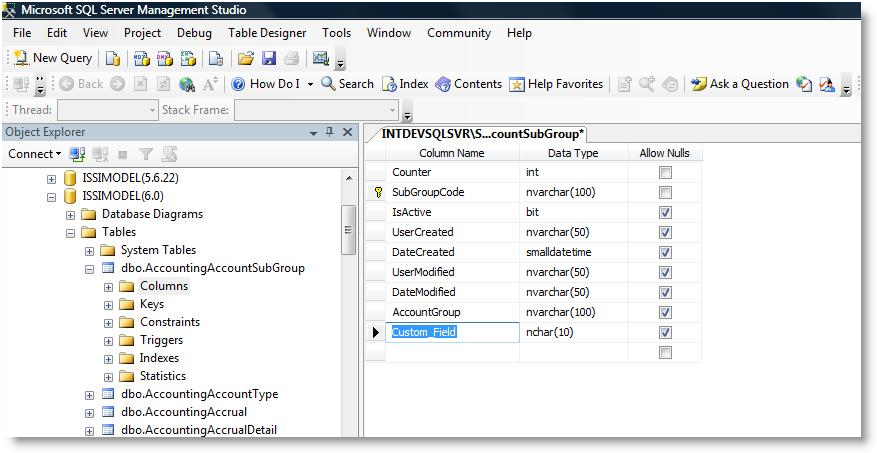
- Create fields for your table. Fill in any required or applicable fields.
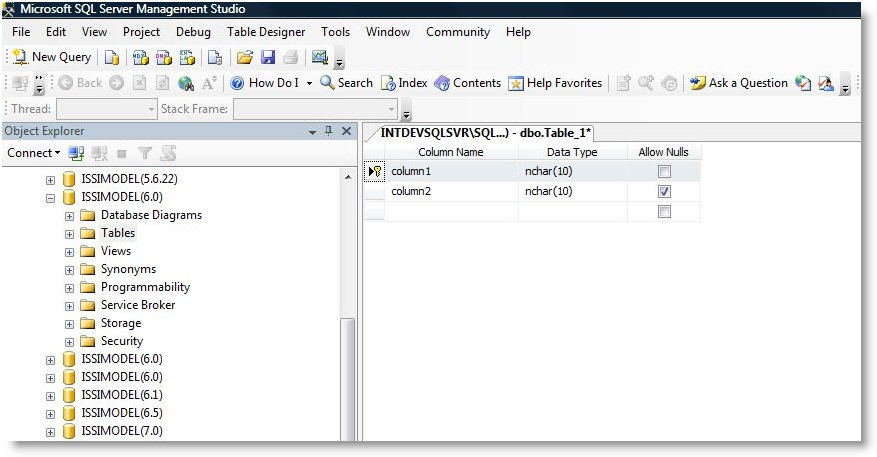
- Save the Table. Enter the name for your table.
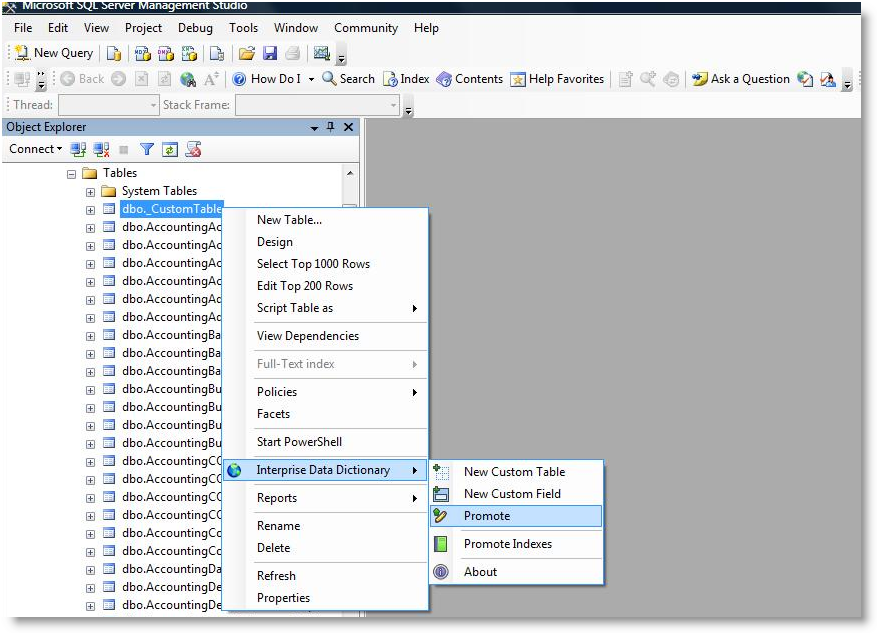
- Right click on the New Table > Interprise Data Dictionary > Promote.
After promoting the table (with primary key), check the Create/Read/Update/Delete stored procedures.
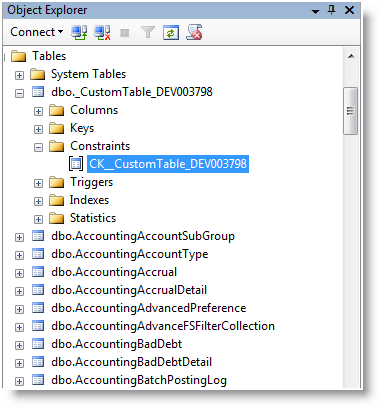
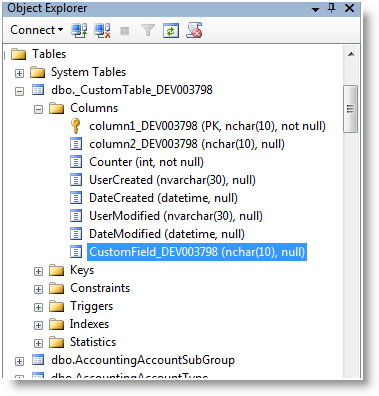
- Refresh the table list in the Object Explorer. Verify if the table and column has a developer ID.
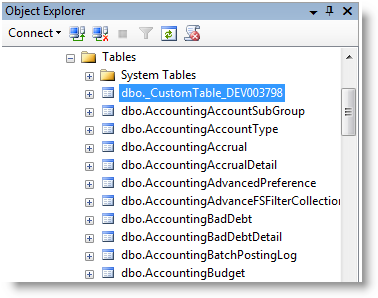
- To remove the object in the Data Dictionary Table, right click on New Table > Interprise Data Dictionary > Demote.

![]()
PROMOTE NEW FIELD
- Right Click on Column > Interprise Data Dictionary > New Custom Field. The Table designer will load.
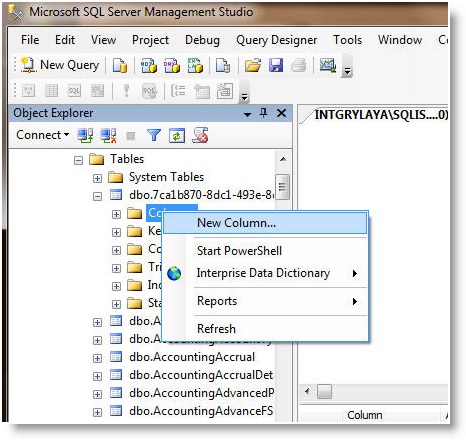
- Enter the new custom field name.
- Save the changes. You will be prompted to enter the table name for the custom field created.
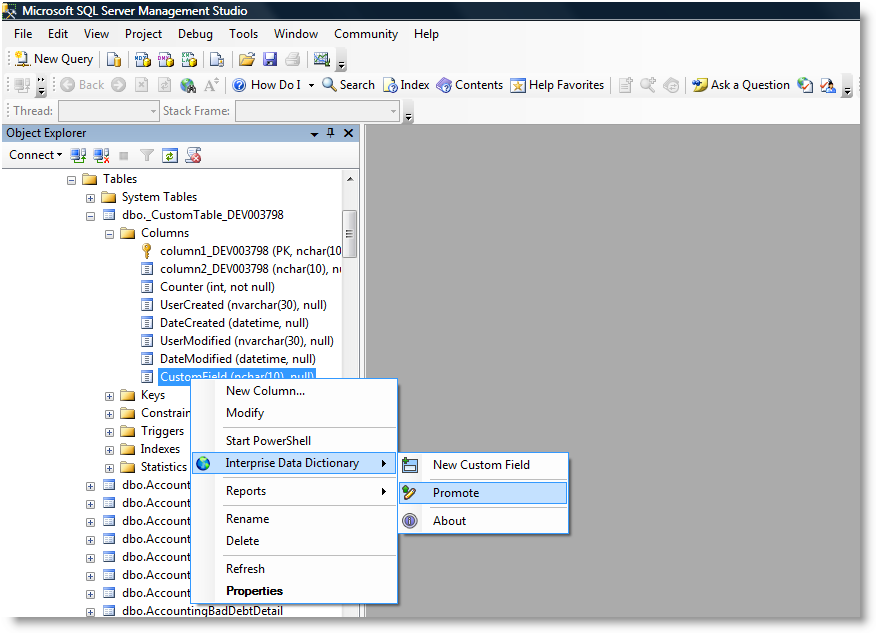
- Refresh the table list and verify if the column has a developer ID.
Demote option is NOT available for field. Demoting object can be done on the parent table.
![]()
PROMOTE NEW VIEW
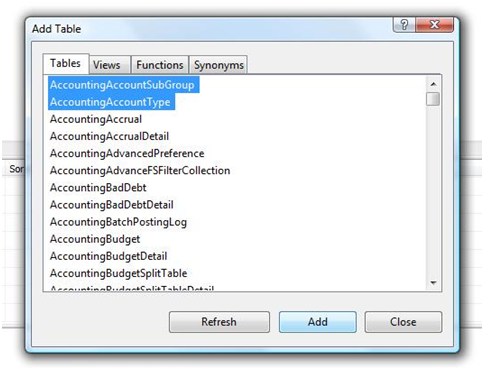
- To promote new view, right click on Views > New View. The View designer will load.

- Select tables for the view and save changes.
- Right click on new View > Interprise Data Dictionary > Promote. For client databases, the available option is Promote Custom. Note: After promoting the table (with primary key), check the Create/Read/Update/Delete stored procedures.
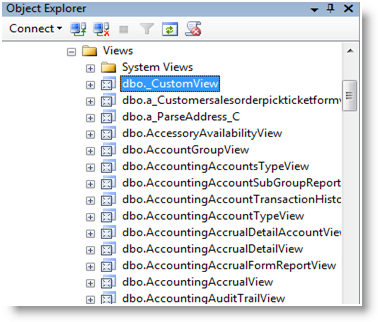
- Refresh the table list in the Object Explorer. Verify if the view has a developer ID.

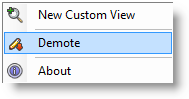
- To remove object in the Data Dictionary Table, right click on new View > Interprise Data Dictionary > Demote.
![]()
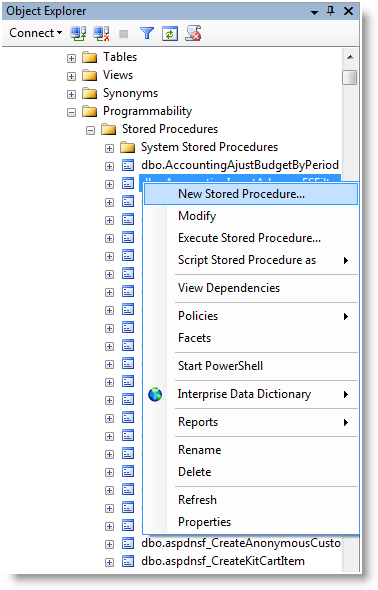
PROMOTE NEW STORED PROCEDURE
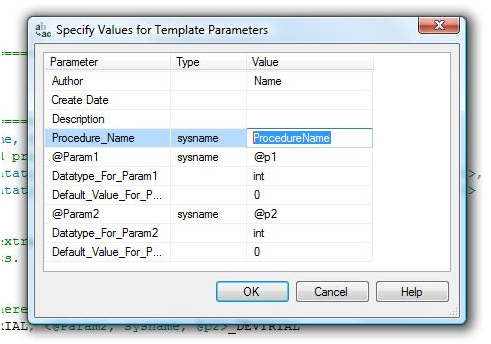
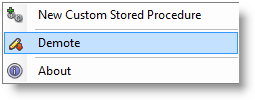
- To promote new stored procedure, right click on Stored Procedures > New Custom Stored Procedure. The script for new procedure will load and the template parameter pops up. If the template parameter does not load, press CTRL + Shift + M.
- Fill in the required or applicable fields in the template parameter. You can also enter the details directly in the script.
- Execute the query of press F5.
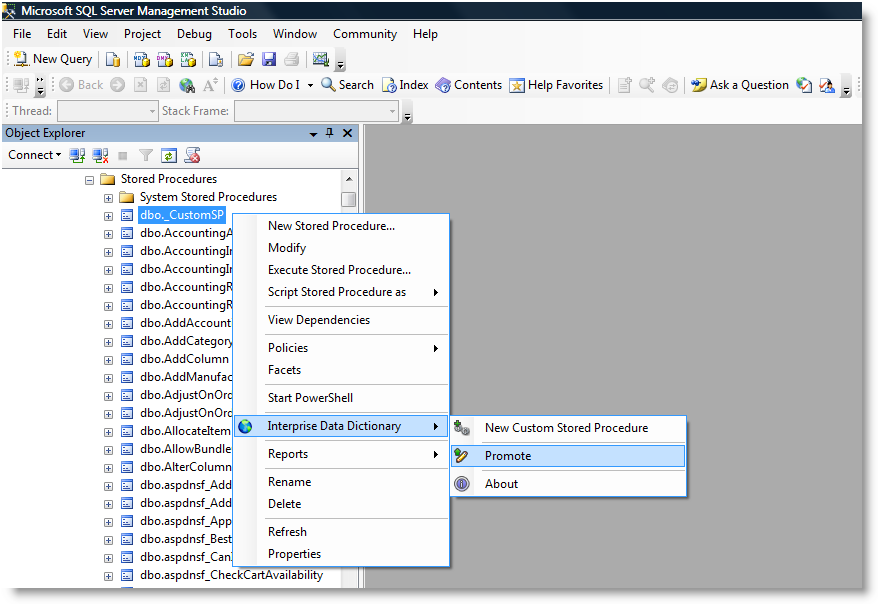
- Right Click on new Stored Procedure >Interprise Data Dictionary > Promote.
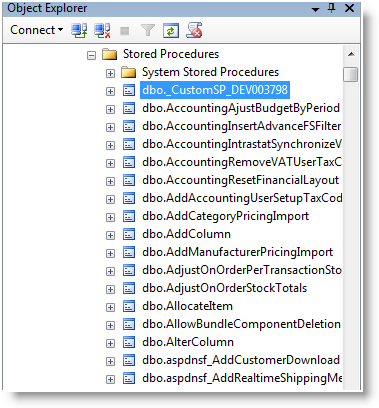
- Refresh the Stored Procedure list in the Object Explorer. Verify if the stored procedure has a developer ID.
- To remove the object in the Data Dictionary Table, right click on New Stored Procedure > Interprise Data Dictionary > Demote.
![]()
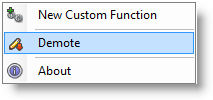
PROMOTE NEW FUNCTION
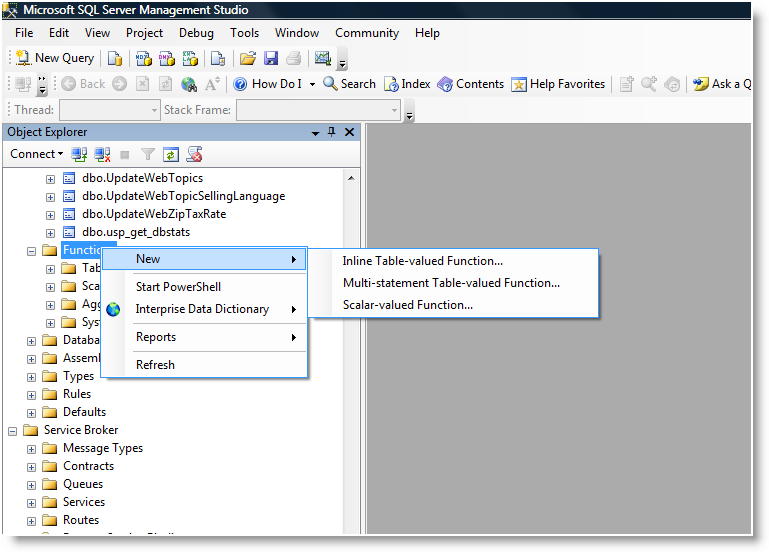
- To promote new function, right click on Functions folder > New Custom Function. The script for new function will load and the template parameter pops up. If the template parameter does not load, press CTRL + Shift + M.
- Fill in the required or applicable fields in the template parameter. You can also enter the details directly in the script.
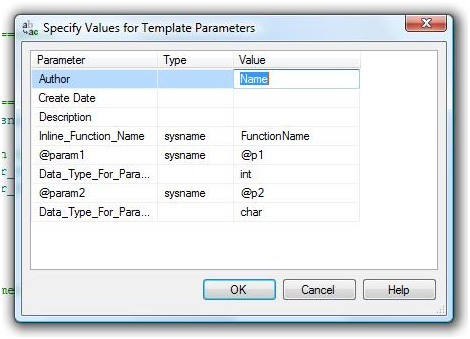
- Execute the query of press F5.
- Right click on new Custom Function > Interprise Data Dictionary > Promote.

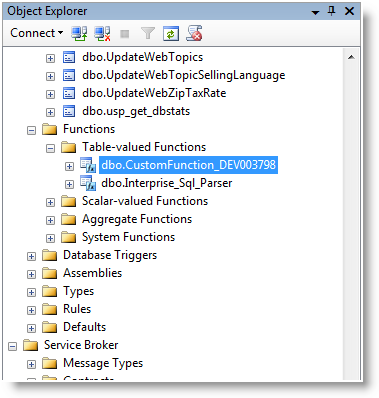
- Refresh the Function list in the Object Explorer. Verify if the function has a developer ID.
- To remove the object in the Data Dictionary Table, right click on new Function>Interprise Data Dictionary > Demote.
![]()
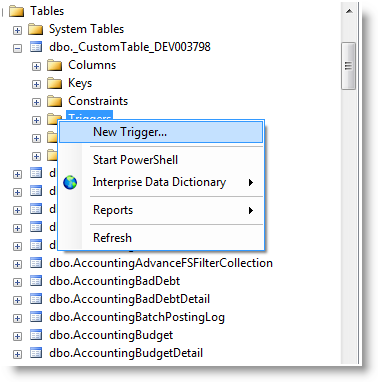
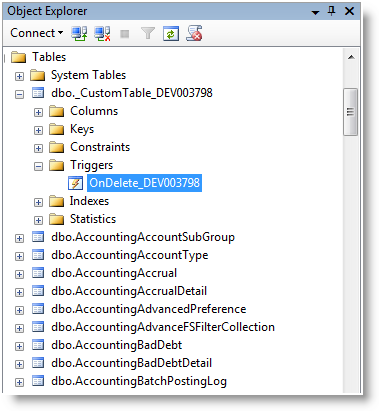
PROMOTE NEW TRIGGER
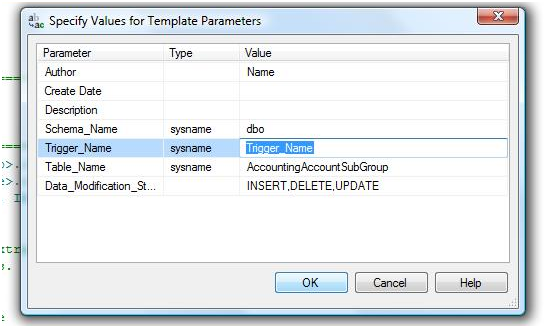
- Right click on Table Trigger folder > New Custom Trigger. The script for new trigger will load and the template parameter pops up. If the template parameter does not load, press CTRL + Shift + M.
- Fill in the required or applicable fields in the template parameter. You can also enter the details directly in the script.
- Execute the query of press F5.
- Right click on new Custom Trigger > Interprise Data Dictionary > Promote.
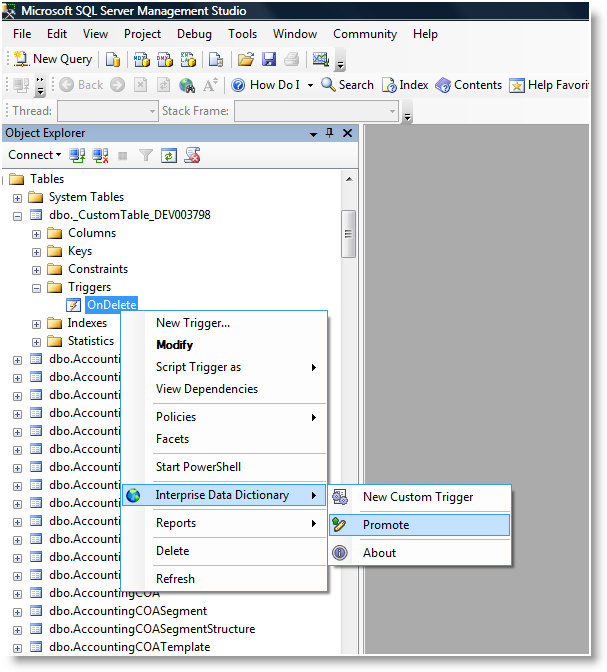
- Refresh the trigger list (Table > Trigger list) in the Object Explorer. Verify if the trigger name has a developer ID.
- To remove the object in the Data Dictionary Table, right click on new Trigger > Interprise Data Dictionary > Demote.
![]()
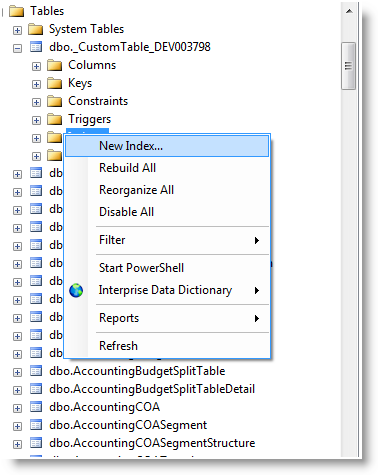
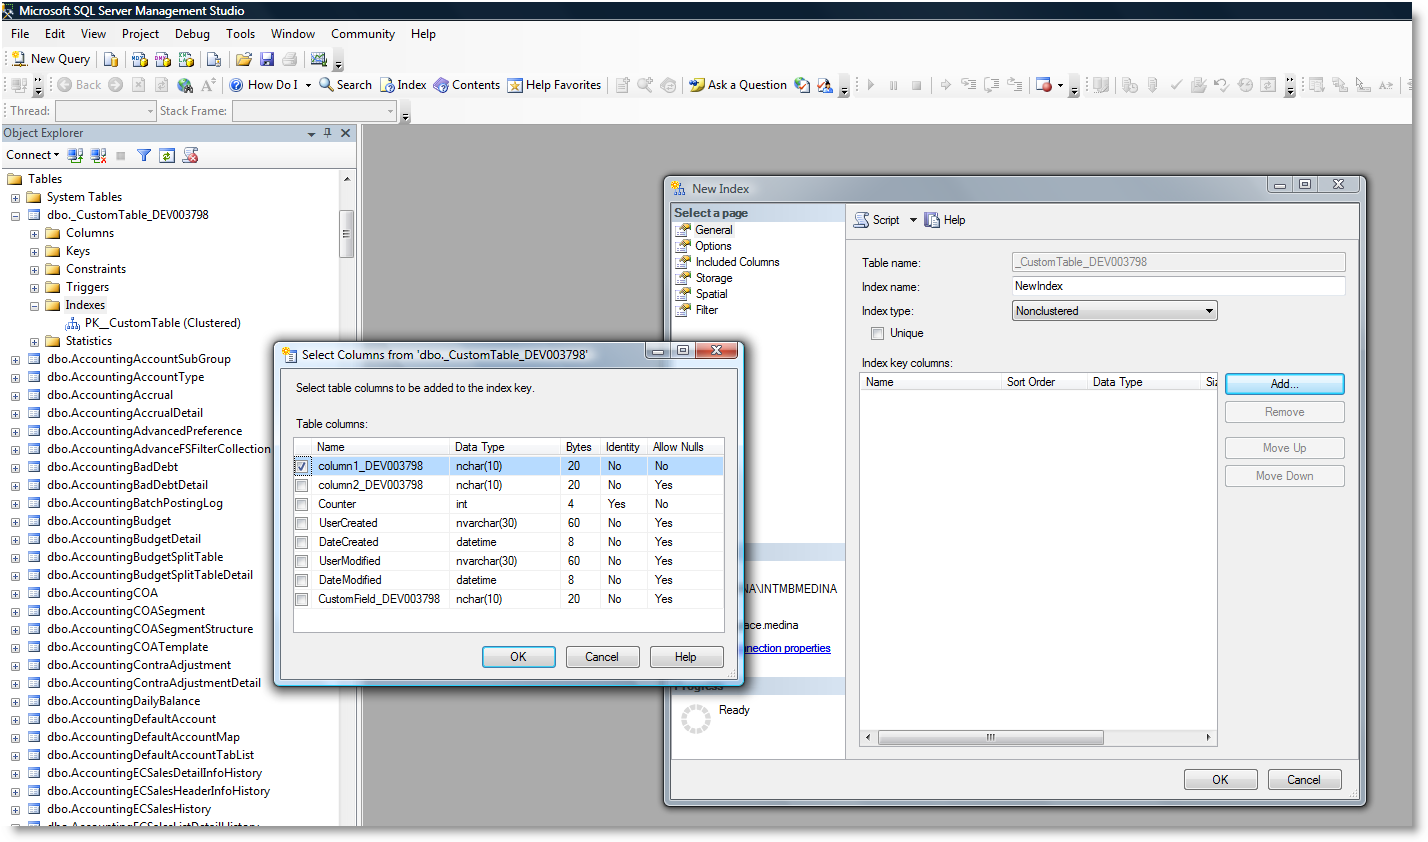
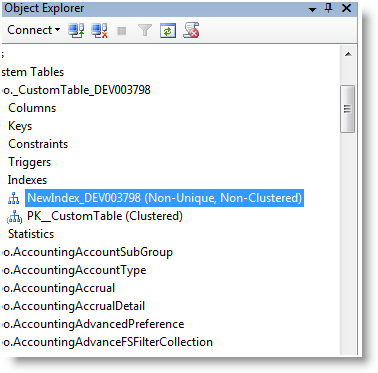
PROMOTE NEW INDEX
- To promote new index, right click on Indexes Folder > New Custom Index. The script for new index will load and the template parameter pops up. If the template parameter does not load, press CTRL + Shift + M.
- Fill in the required or applicable fields in the template parameter. You can also enter the details directly in the script.
- Execute the query of press F5.
- Right click on new Custom Index > Interprise Data Dictionary > Promote. For client databases, the available option is Promote Custom.
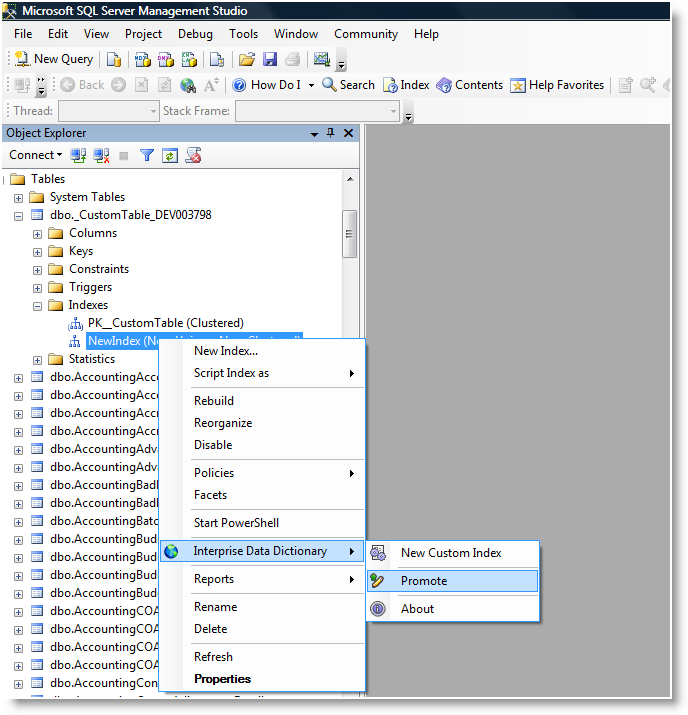
- Refresh the index list (Table > Index list) in the Object Explorer. Verify if the index name has a developer ID. Users can also create indexes using the New Index Menu in SQL then promote it later on.
Demote option is not available for index. Demoting object can be done on the parent table.
![]()
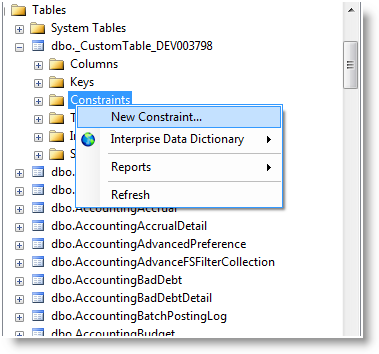
PROMOTE NEW CONSTRAINTS
- To promote new constraints, right click on Constraint Folder > New Constraint. The New Constraint dialog window will load.
- Click Add and fill in required fields
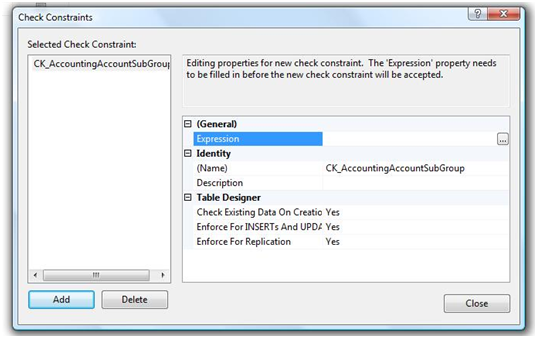
- Save the table.
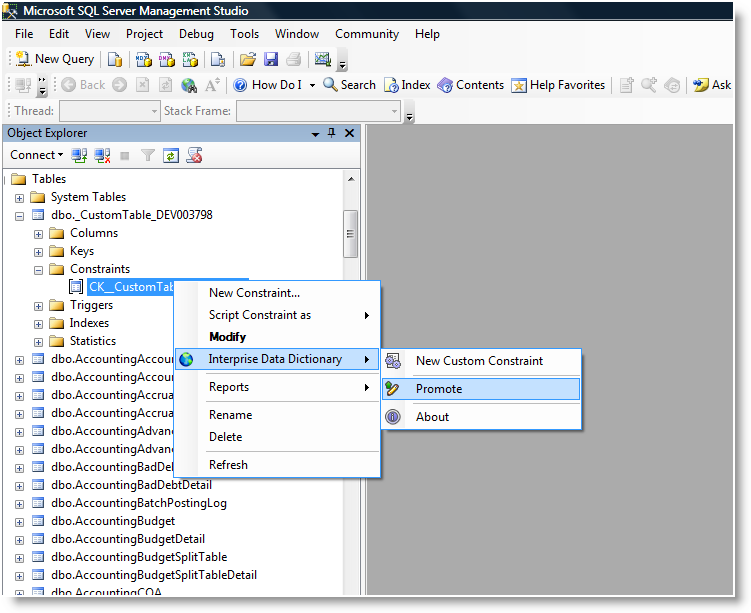
- Right click on new Custom Constraint > Interprise Data Dictionary > Promote.
- Refresh the constraints list (Table > Constraints list) in the Object Explorer. Verify if the constraint name has a developer ID. Note: Demote option is not available for constraints. Demoting object can be done on the parent table.