Process Provision for Bad Debts
The process below discusses on how to create an accrual schedule.
Steps
- From the Accounting module, select Bad Debt > New Bad Debt Provision button from the menu options. TheBad Debt Provision Wizard will display.
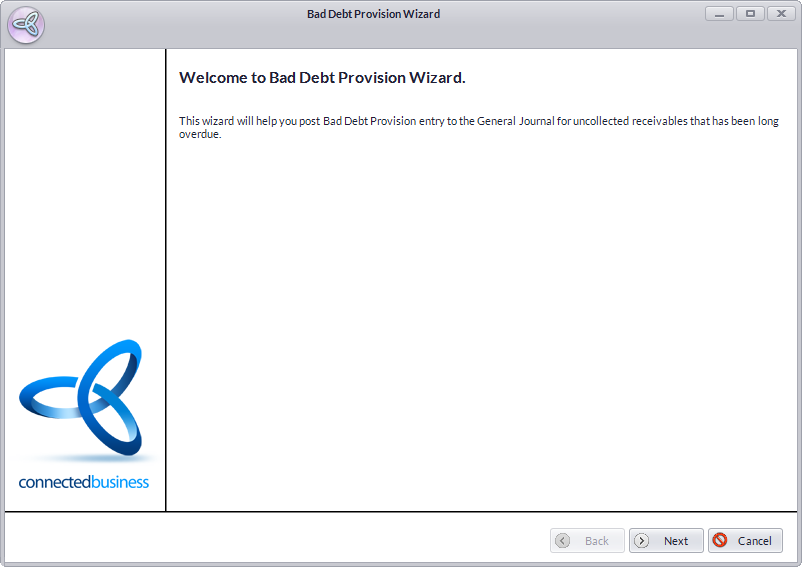
Step 1
Click Next button to start.
Step 2- Enter the document date for the bad debt provision in the Provision Date field. By default, this is set to the current date.
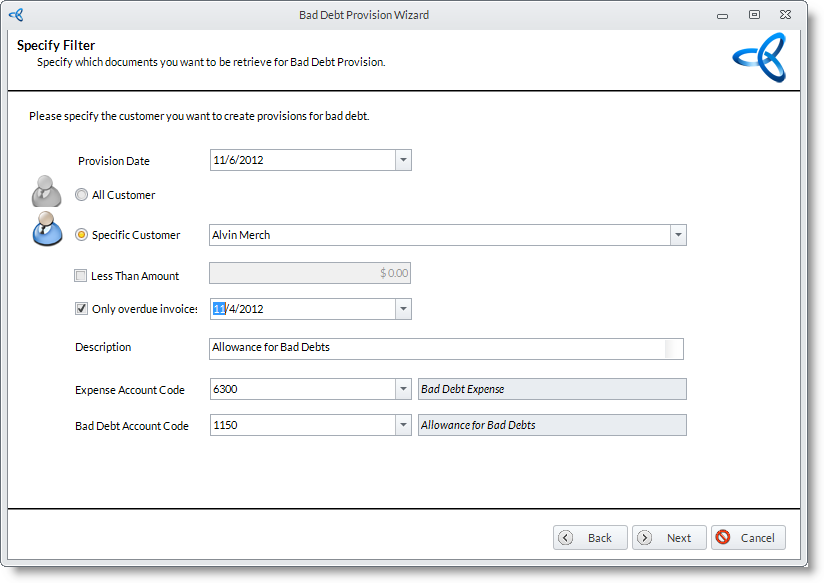
- Filter the documents that will be subject to bad debt provision by customer. You can select the customer from the list that has past due credits and the account that will be used for the bad debt provision.
- All Customer / Specific Customer – The options whether to choose all customers or specific customers to subject to bad debt provision.
- Less Than Amount – When checked, allows you to set the upper limit of the invoice amounts to be filtered.
- Only overdue invoices – When checked, allows you to set the overdue date from which overdue invoices will be filtered.
- Enter the Description for the bad debt provision. By default, this is set as "Bad Debt Provision".
- Enter the expense account code for the provision in the Expense Account Code field.
- Enter the bad debt account code for the provision in the Bad Debt Account Code field. By default, this is set to the default bad debt provision account code.
- Click on the Next button to continue.
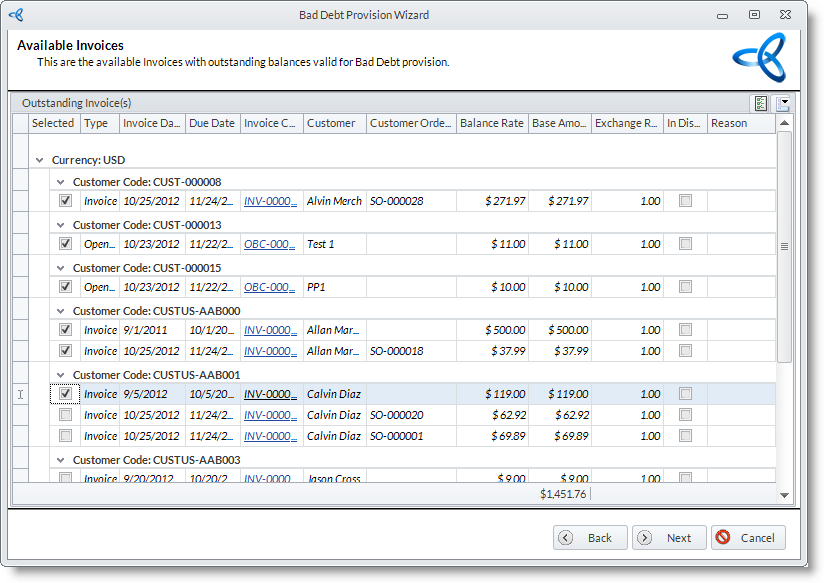
Step 3
The filtered invoices that are to be provisioned are listed. Select the invoices to process by checking the Selected checkbox of the appropriate document. Click Next to continue.
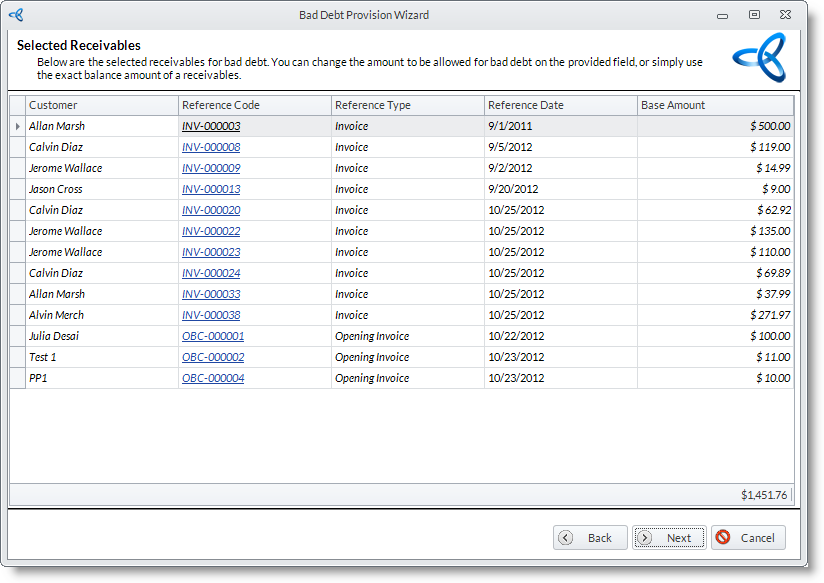
Step 4
The selected receivables are then listed. Click Next button to continue.
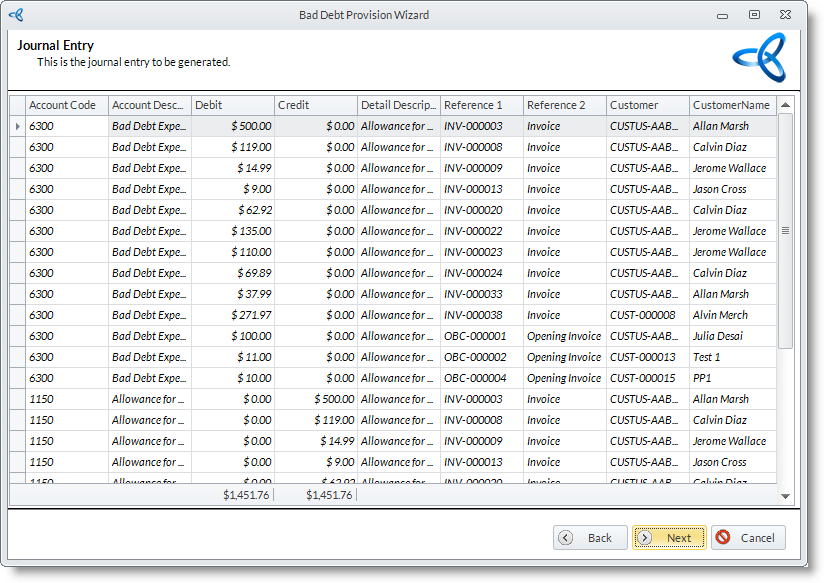
Step 5
After selecting the transactions, it summarizes the journals for you. Click Next button to continue.
Step 6- You can choose to view the bad debt provision you created. To view and close the wizard, clickFinish button. The Print Preview of the created bad debt provision will display.
- From here you can print or send the bad debt provision document.
- Enter the document date for the bad debt provision in the Provision Date field. By default, this is set to the current date.