Other Sales Order Processes
Some of the sales order processes not mentioned from the previous operations are listed below. When you need to create an order that can be easily acquired through your supplier, creating a special order requires this process.
Create Special Orders
When you sell items that are easily acquired from the supplier or you simply do not stock in a warehouse, you may create a special order for the items as you enter them in the customer’s order.
- After entering the items in the customer’s order, click on the Create Purchase Order button. The Special Order window will display.

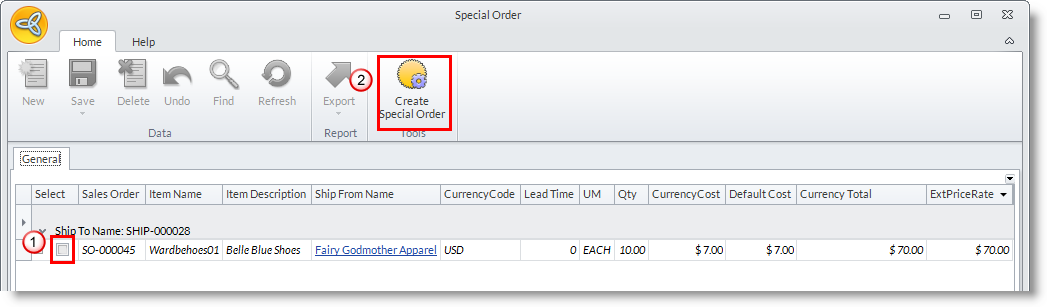
Make sure that the Allocate column is less than the Quantity column to make the special order.

Click Image to Enlarge
- Select the item to include in the special order by clicking on the adjoining checkbox. Click on the Create Purchase Order button form the menu. The Special order form will display.
- Check the Sales Order you want to create the purchase order. You may select another Supplier to order from.
Click Image to Enlarge
- You may change the Base Cost with the current cost price of the item.
- Click OK to create the purchase order(s).
- Choose Yes in the prompt to view the purchase order(s) or No to view them later in the Supplier Module.
Click Save and Close button before closing the form.
Dropship Items
Items that are delivered directly from suppliers to your customers are handled through the dropship feature.
- After entering the items in the customer’s order, click on the Create Dropship Order button. The Dropship form will display.
Make sure that the Allocate column is less than the Quantity column to make the special order.

Click Image to Enlarge
- Select the item to include in the special order by clicking on the adjoining checkbox. Click on the Create Purchase Order button form the menu. The Special order form will display.
- Check the Sales Order you want to create the purchase order. You may select another Supplier to order from.

Click Image to Enlarge
- You may change the Base Cost with the current cost price of the item.
- Click OK to create the purchase order(s).
- Choose Yes in the prompt to view the purchase order(s) or No to view them later in the Supplier Module.
Click Save and Close button before closing the form.
Process Dropship Orders Later in the Supplier Module
You may tag items for dropship in the sales order and process the purchase orders from Create Dropshipments option in the Supplier Module.
- In the Sales Order form, tag items for dropship by ticking on the checkbox in the Drop column for every line item to dropship.
- To process the dropship purchase orders, select Create Dropshipments option under the Tools menu of theSupplier module. The Dropship form will display.
- Select the items for dropship by checking the adjoining checkbox.
- You may select the default Supplier for the item and change the default information such as current Cost Price.
Automatically Tag Items for Dropship
You can tag items for dropship to automatically indicate them for dropship in the Sales Order.
- Select Item under the Find menu of the Inventory module. The Item search screen will display.
- Select an item in the list to display the Item detail form.
- Go to the Setup tab and check the Dropship checkbox.
- Save the details before closing the form.
Drop Ship Orders with Adjusted Quantities on the Items
For drop ship orders with adjusted quantities, any changes made on the quantity column will automatically reflect on the linked Purchase Order.
If you void the drop ship order, the linked Purchase Order will automatically be voided.
If you void the linked Purchase Order for the Drop Ship order, the reservation will be deleted on the Drop Ship Order making it still an open order ready for fulfillment.
- Create a new drop ship order by going to the Customer module > Order > New Orderoption. Select a customer from the Ship to Customers tab.
- On the Sales Order form, enter the quantity and tick the Drop checkbox. Save the order and click on the Create Drop Ship Order from the menu options.
- On the Drop Ship window, select the item(s) where you want to create a Purchase Order. Click on the Create Drop Ship Orders button.
- When a Purchase Order is created for the Drop Ship Order, you can see that the value in the quantity ordered and quantity reserved are exactly the same as what was indicated in the Sales Order. You may now close the Purchase Order.
- To change a quantity ordered or quantity reserved, open the recently created Drop Ship Order. Change either the values for quantity or reserved columns, then press [Enter] key. The system will automatically refresh and update the values entered from the Drop Ship order against the linked Purchase Order.
- You can view the changes on the Drop Ship Order and Purchase Order in the snapshots below.
Recurring Sales Orders
You can use the Recurring Transaction option to set up and process recurring sales orders. Regular or repeat orders are easily reprocessed through this option.
Set a Recur Schedule for the Sales Order
- Select Recurring button under the Tools menu page group of the Customer module. A search list of Setup Recurring, Available Recurring Transaction, Amend Recurring Transaction and History tabs are displayed.
- Go to the Setup Recurring transactions tab to view a list of open and closed sales orders that you can recur. Select a transaction from the list to display the Recurring Transactions form.
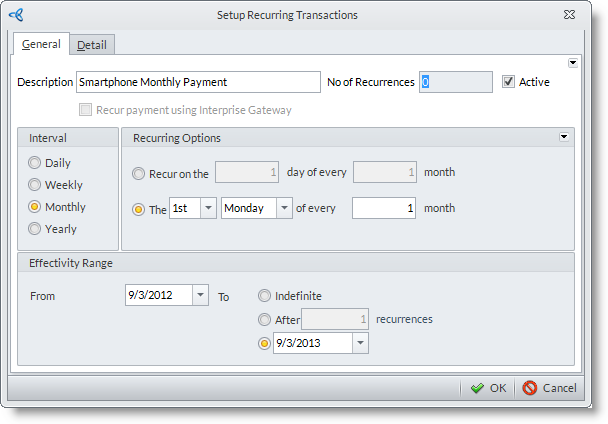
- Enter a Description for the recurring transaction.
Click Image to Enlarge
- Check the Active checkbox to set the recur schedule to active status.
- Select the Interval of the recurrence. You can specify Recurrence Options for any interval you choose e.g. every first Monday of the month.
- You can specify the Effectivity or leave it as indefinite.
Process the Recurring Transactions
- Go to the Available Recurring Transactions tab. The recurring sales order schedules list will display.

Click Image to Enlarge
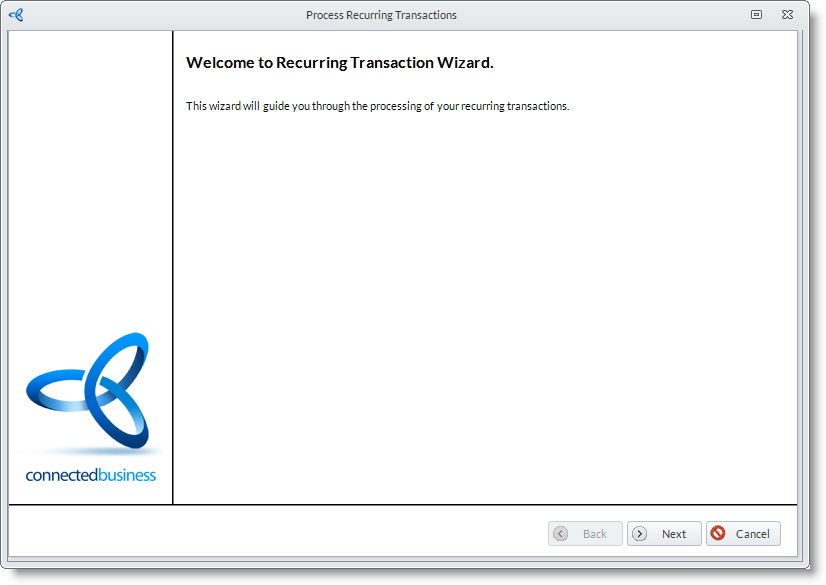
- Select the recurring document in the list by checking the document code. The Process Recurring Transaction Wizard will be displayed.
Click Image to Enlarge
- Click Next button to start.
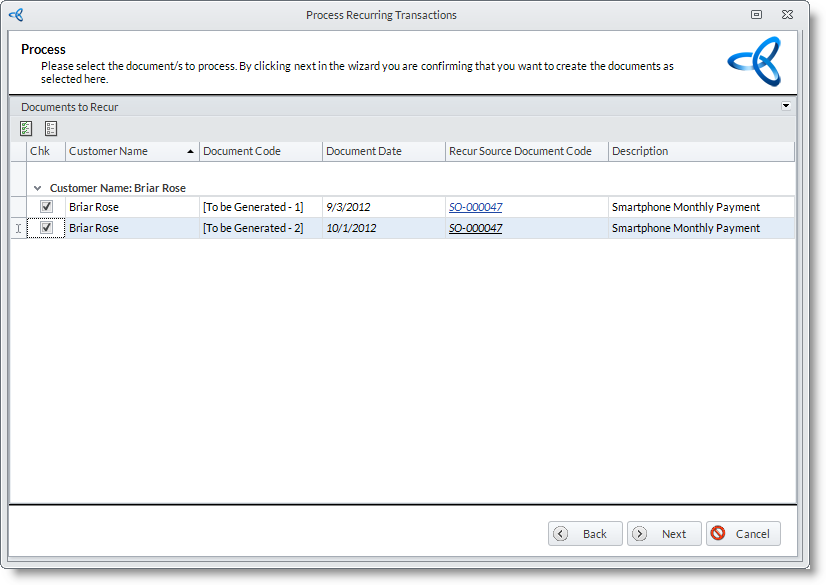
- Select the documents to process. The sales order documents are grouped by customer. Click Next button to continue.
Click Image to Enlarge
- The progress of processing the sales orders will follow. The processed sales orders are displayed. You may drill down on the Document Code to view the sales order document. Click Next button to continue.
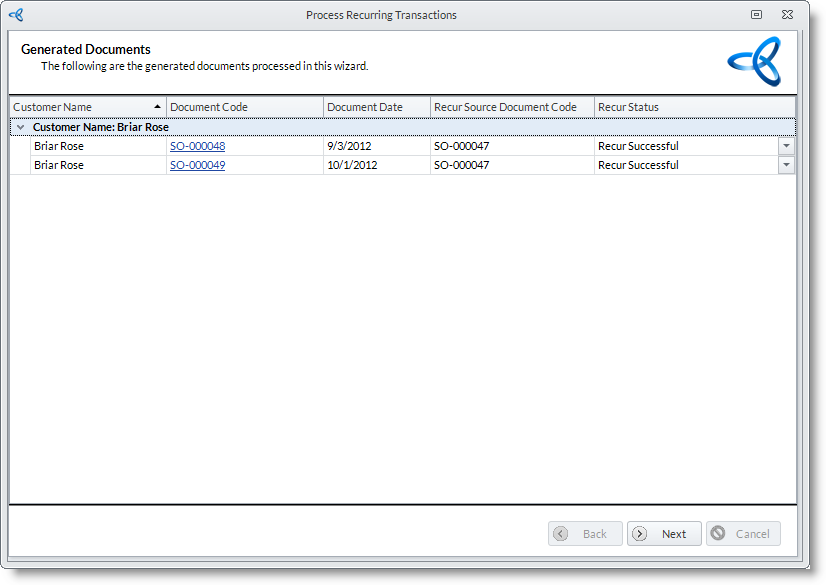
Click Image to Enlarge
- Click Finish button to process and close the wizard. You may view the processed sales orders from Find >Sales Orders.
Change the Recur Interval of the Order
- Go to the Amend Recurring Transactions tab.
- Select the recurring order transaction from the list and you will be brought back to the Recur Options window to change the schedule of the recurring order.
View a History of Recently Processed Recurring Transactions
- Click on the History tab to view a history or recently processed recurring transactions.
Duplicate Sales Orders
You can duplicate an open or completed sales order document anytime using the Duplicate Sales Order option in the toolbar menu of the Sales Order form. The order details and line items are copied into the new sales order record.
- From the Customer module, select Order > Find Order. A search list of open and closed sales orders will display.
- Select a sales order record in the list to display the Sales Order form. You may select an open or closed sales order record.
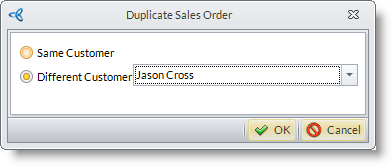
- Click on the Duplicate Sales Order option from the menu. The Duplicate Options window will display.
Click Image to Enlarge
- Select if you will create the sales order for the same customer or a different customer and click OK button.
- A new sales order is created reflecting the details in the sales order.
- Take note for the dates in the new sales order document and amend if necessary before saving.