Other Ribbon Menu Customizations
|
Content
|
|---|
Learn how to customize ribbon menu options by following the steps below:
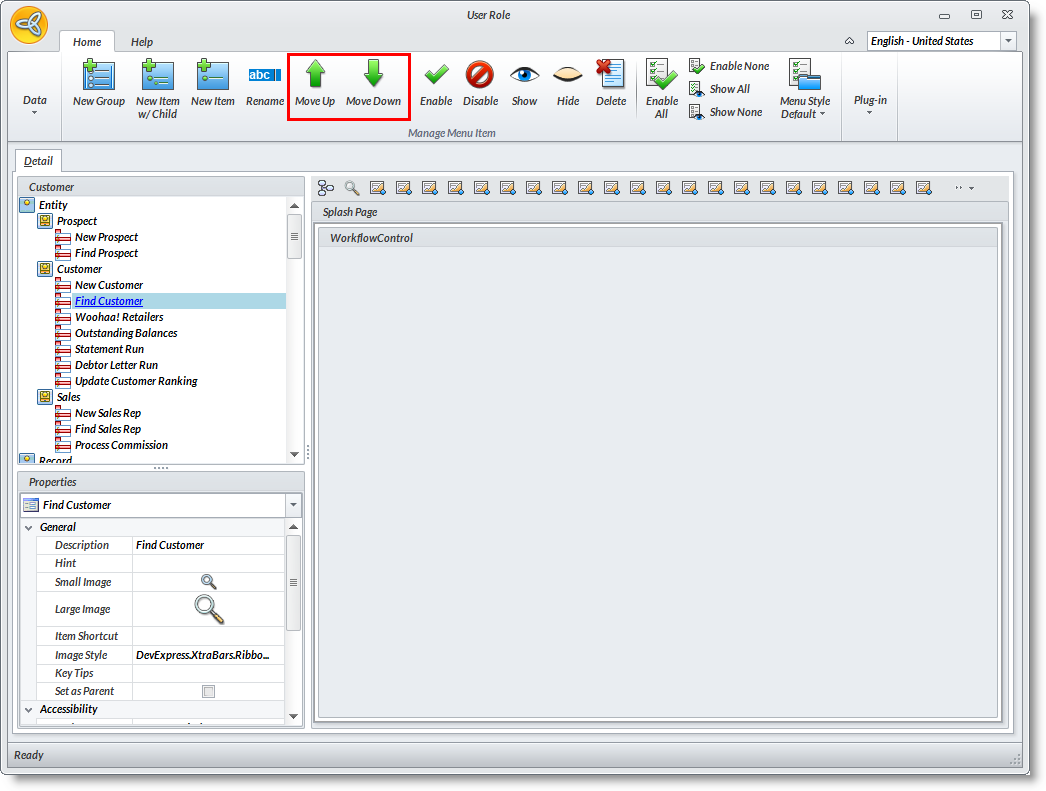
SORT MENU FOLDERS OR RIBBON MENU ITEMS
- In the User Role form, select the module that you want to add a menu item option.
- Follow the steps below to create the options for your ribbon menu.
![]()
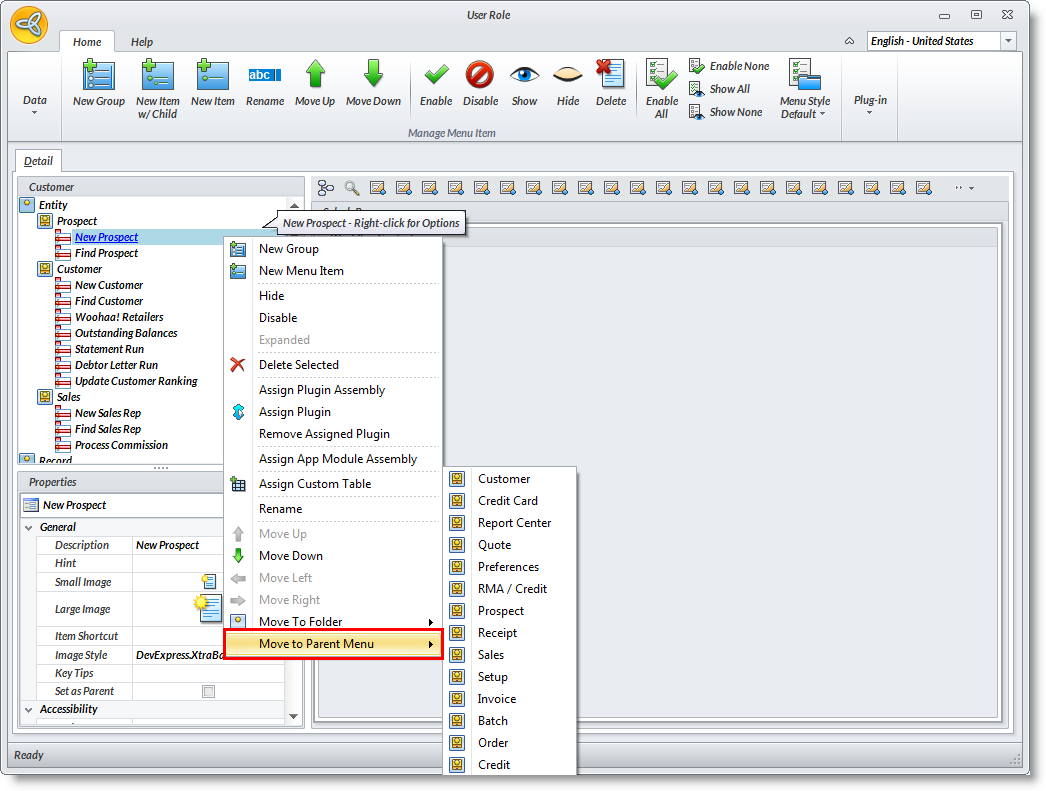
MOVE RIBBON MENU FOLDERS OR RIBBON MENU ITEMS
- Right click on the menu item in the tree list and select Move to Folder option.
![]()
ASSIGN/REMOVE A PLUG-IN
Assign/Remove a Plug-in Form
- To assign/insert a plug-in form to a menu item, select Assign Plug-in in the ribbon menu.
- To remove a form assigned to the menu item, select Remove Plug-in on the ribbon menu. Alternatively, select Assigned Plug-in option from the right-click menu.
Assign/Remove a Plug-in Dashboard
- To assign/insert a plug-in dashboard to a menu item, select on the menu item and click Assign Plug-in Assembly from the ribbon menu.
- To remove a plug-in dashboard assigned to the menu item, right-click on the menu item and select Remove Assigned Plug-in.
![]()
ASSIGN/REMOVE A CUSTOM TABLE
- To assign/remove a custom table to a menu item, select on the menu item and click Assign Custom Table from the ribbon menu. A list of custom tables will display.
- Select the custom table in the list to assign the the custom table.
![]()
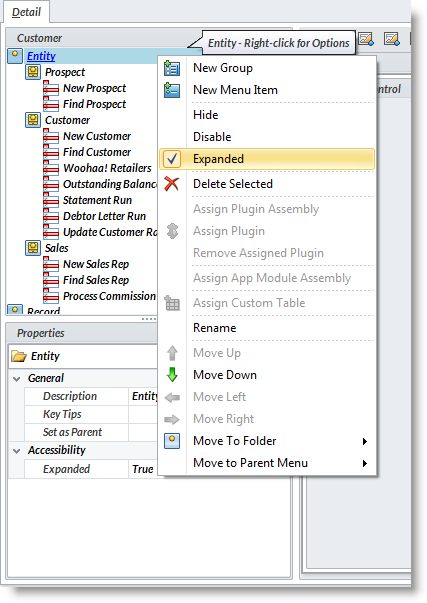
EXPAND MENU FOLDERS
- Select the menu folder in the tree list, then click Expand Menu Folder from the right click options. Alternatively, you can set True or False on the Properties Pane to expand or compress when viewing the menu items in the tree list, respectively.
![]()
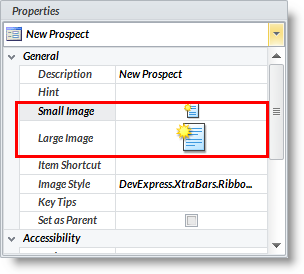
ADDING IMAGES AND IMAGE STYLE
- Select the menu folder in the tree list that you want to add an image.
- On the Properties Pane, click on Small Image or Large image. It will then point to the location of the folder where you want to upload the images.
- On the ribbon menu page, select Menu Style Default button and click on the options on the dropdown menu to customize the view of your images that will be displayed on the ribbon menu. Alternatively, you can edit menu style through the Image Style panel on the Properties pane. You can select on the following options:
- Default/Large - displays the large image and the text label defined for the button. Select DevExpress.XtraBars.Ribbon.RibbonItemStyles.Default or DevExpress.XtraBars.Ribbon.RibbonItemStyles.Large on the dropdown menu.
- Small With Text - displays the small image and the text label defined for the button. Select DevExpress.XtraBars.Ribbon.RibbonItemStyles.SmallWithText on the dropdown menu.
- Small Without Text - displays the small image without the text label defined for the button. Select DevExpress.XtraBars.Ribbon.RibbonItemStyles.SmallWithoutText on the dropdown menu.
- Default/Large - displays the large image and the text label defined for the button. Select DevExpress.XtraBars.Ribbon.RibbonItemStyles.Default or DevExpress.XtraBars.Ribbon.RibbonItemStyles.Large on the dropdown menu.
![]()