Manage Customers in Desktop POS
| Content |
|---|
This article will discuss how to create and manage customers as well as managing customer shipping information in Connected Business POS.
Create New POS Customer
Upon opening Connected Business Desktop POS, the default customer is set to Default POS Shopper. You can change this by going to the main menu > Settings > General preferences. Refer to Configure POS General Preferences.
To create a new customer,
- Click the dropdown arrow right beside the Default POS customer name and select Create Customer.
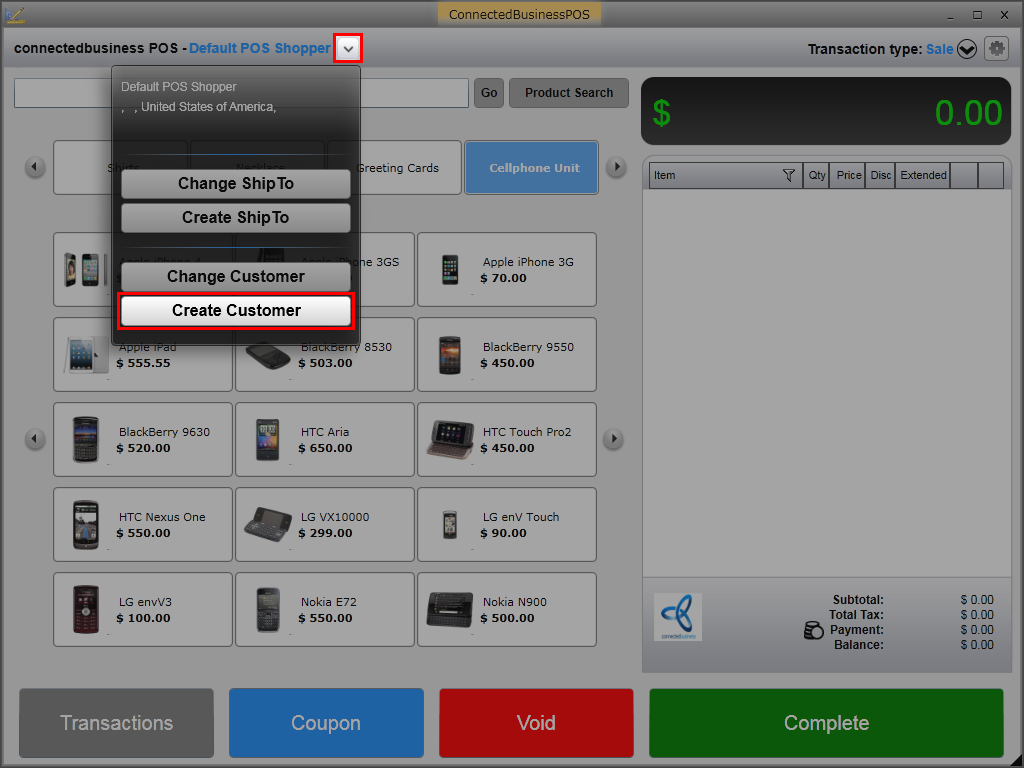
Click Image to Enlarge
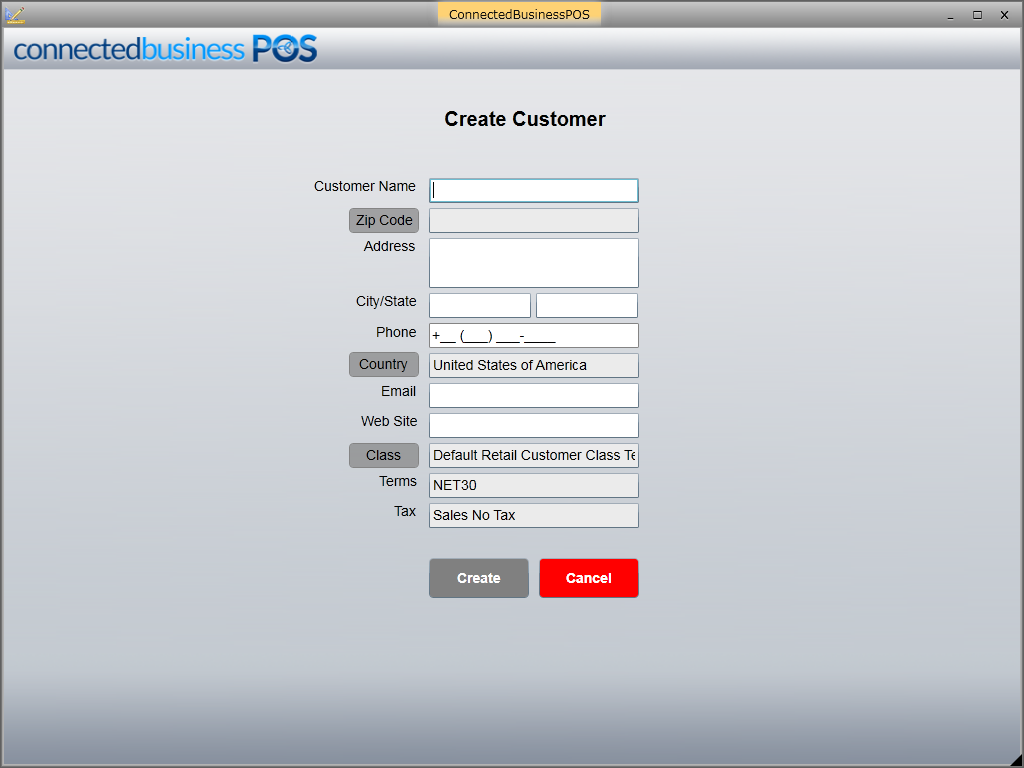
- The Create Customer window will be displayed.
Click Image to Enlarge
Specify the details for the following fields.- Customer Name
- Zip Code
- Address
- City/State
- Phone
- Country - Click on the Country button to change customer's country.
- Web Site
- Class - Click on the Class button to assign a default class template for the customer.
- Terms - The default payment term for the customer will be based on what is defined in the selected class template. You can change the payment term for the customer from the Connected Business backend.
- Tax - The default tax for the customer will be based on what is defined in the class template selected. You can change the tax for the customer from the Connected Business backend.
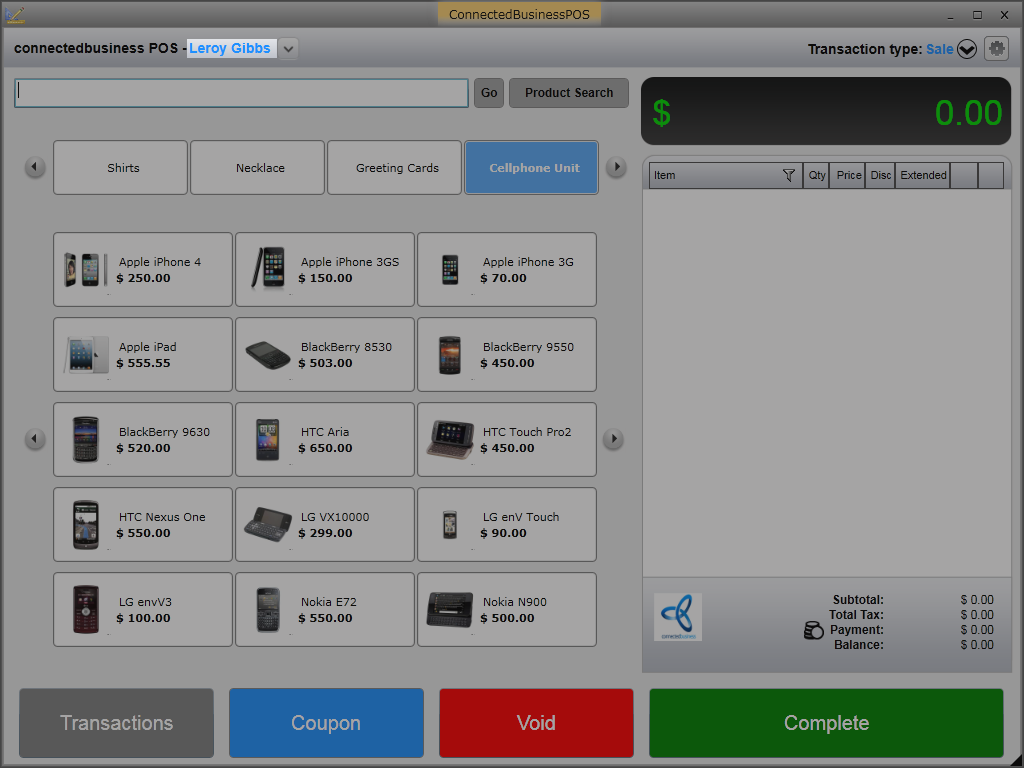
- After entering all the details, click Create. The default POS customer will be automatically changed to the customer's name.
Click Image to Enlarge
![]()
Change POS Customer
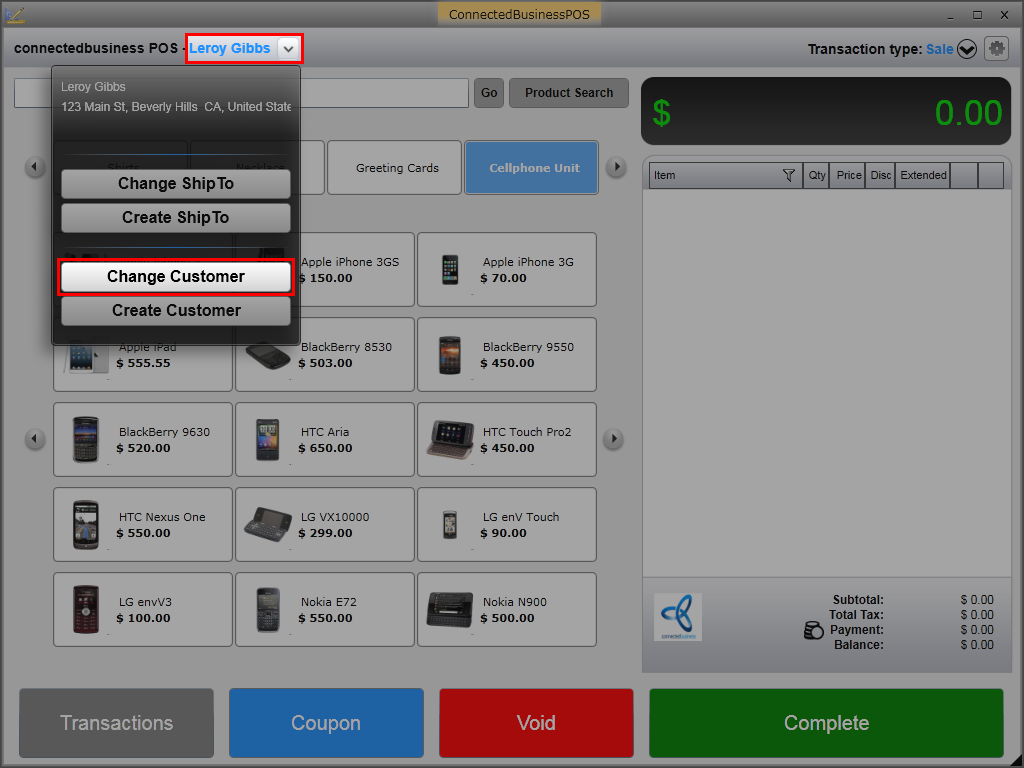
To change the current customer in the POS screen,
- Click the drop down arrow right beside the customer name and select Change Customer. Alternatively, you can click on the customer name directly to display the Customer list window.
Click Image to Enlarge
- Select the customer name from the list and click Select.
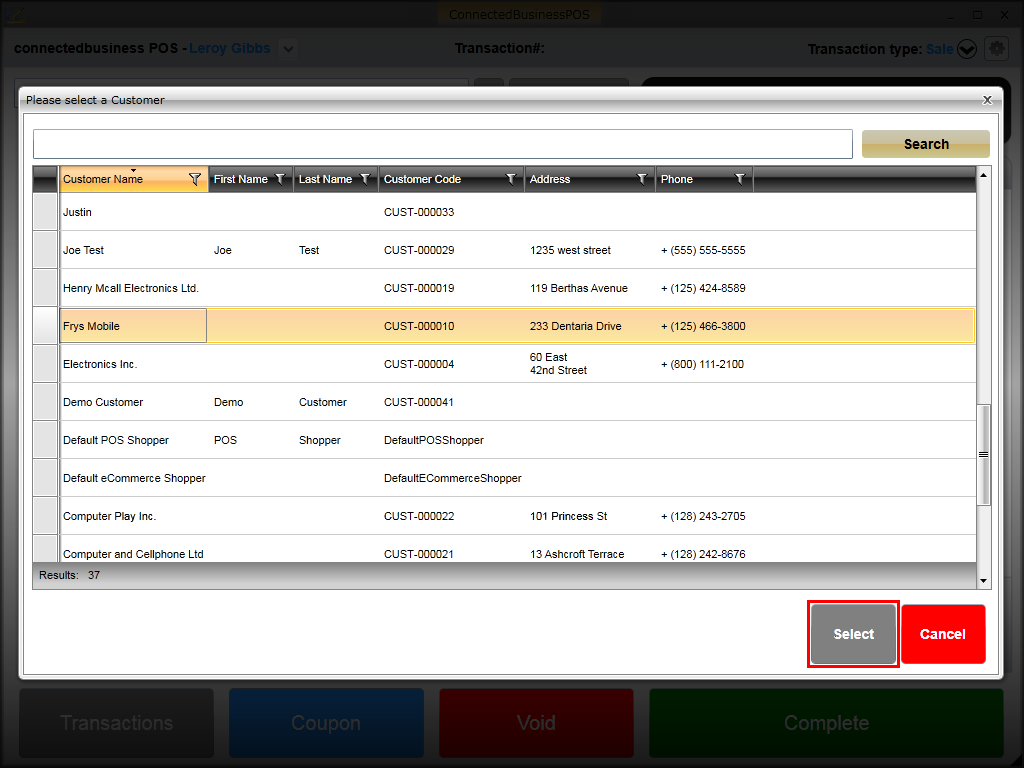
Click Image to Enlarge
You can also enter the customer's name in the search control field and click Search.
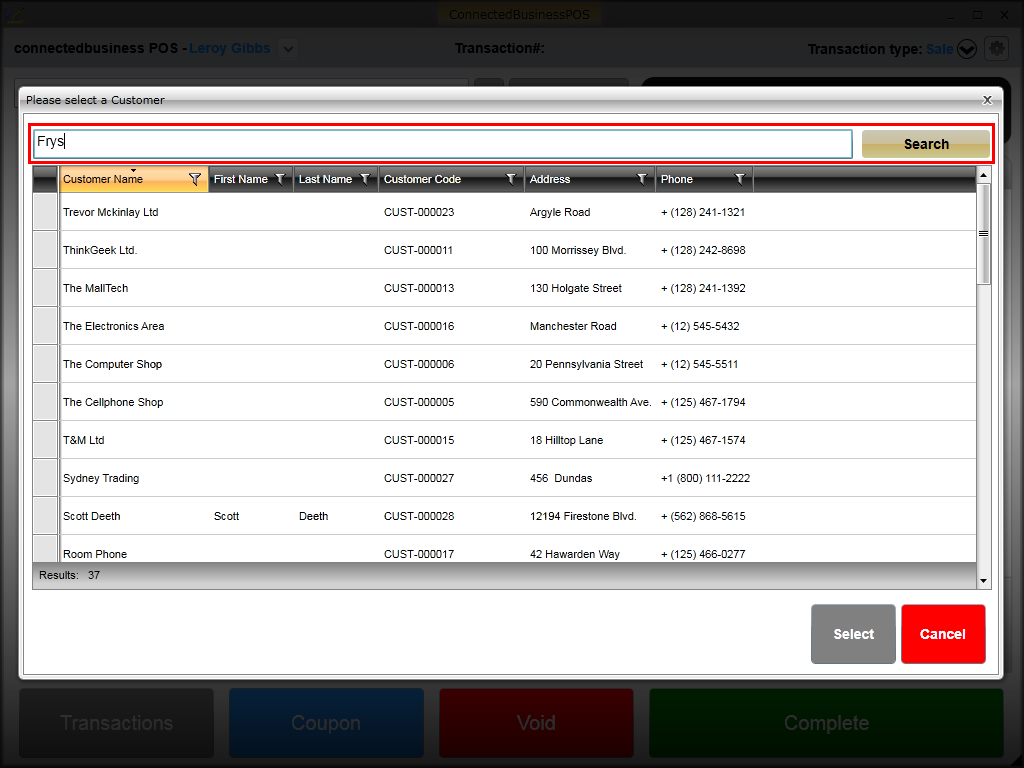
Click Image to Enlarge
The selected customer will be automatically loaded in the POS screen.
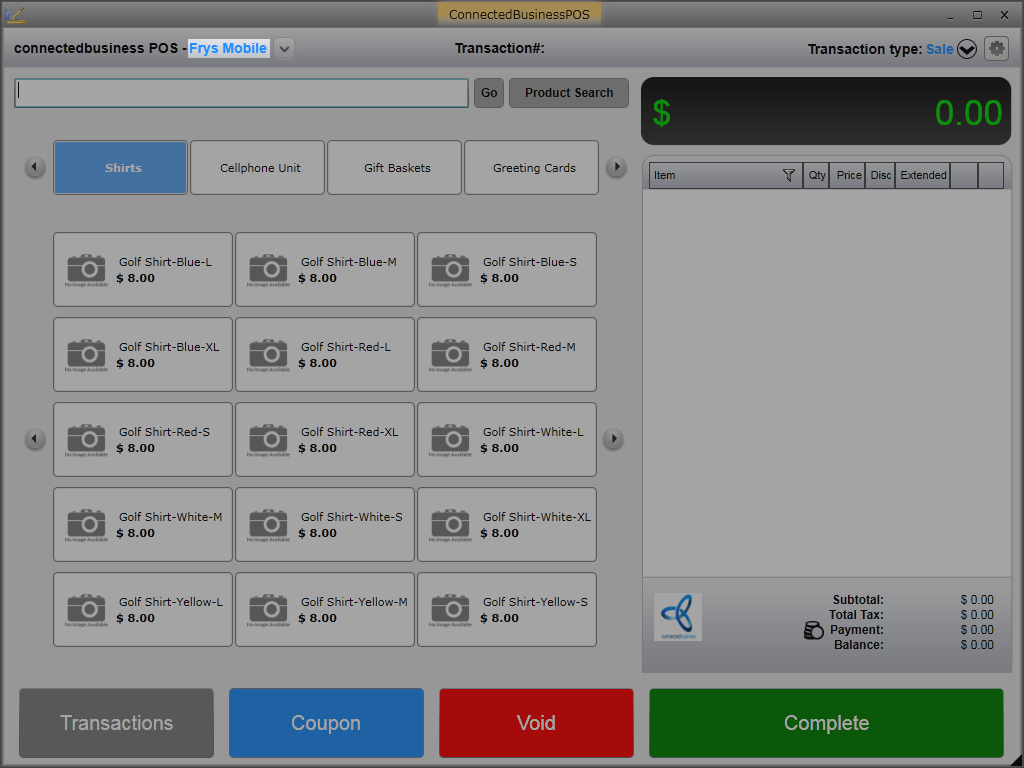
Click Image to Enlarge
![]()
Create New Shipping Address
To create a new shipping address for the currently selected customer,
- Click the drop down arrow right beside the customer name and select Create Ship To.
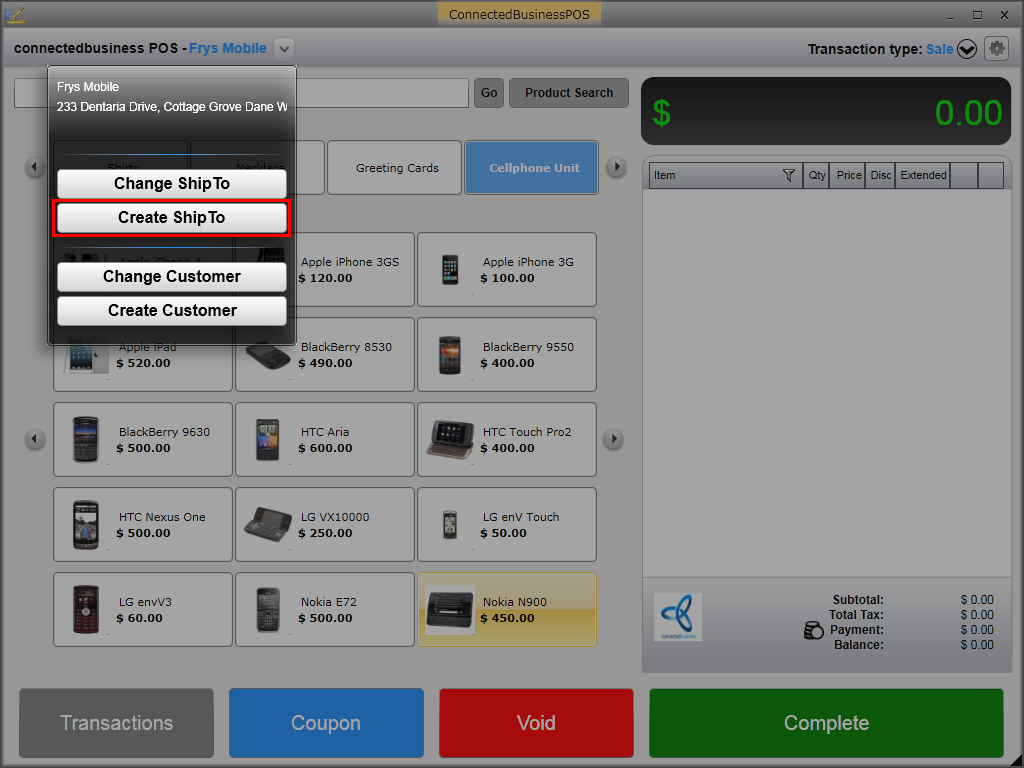
Click Image to Enlarge
- The Create Ship To window will be displayed.
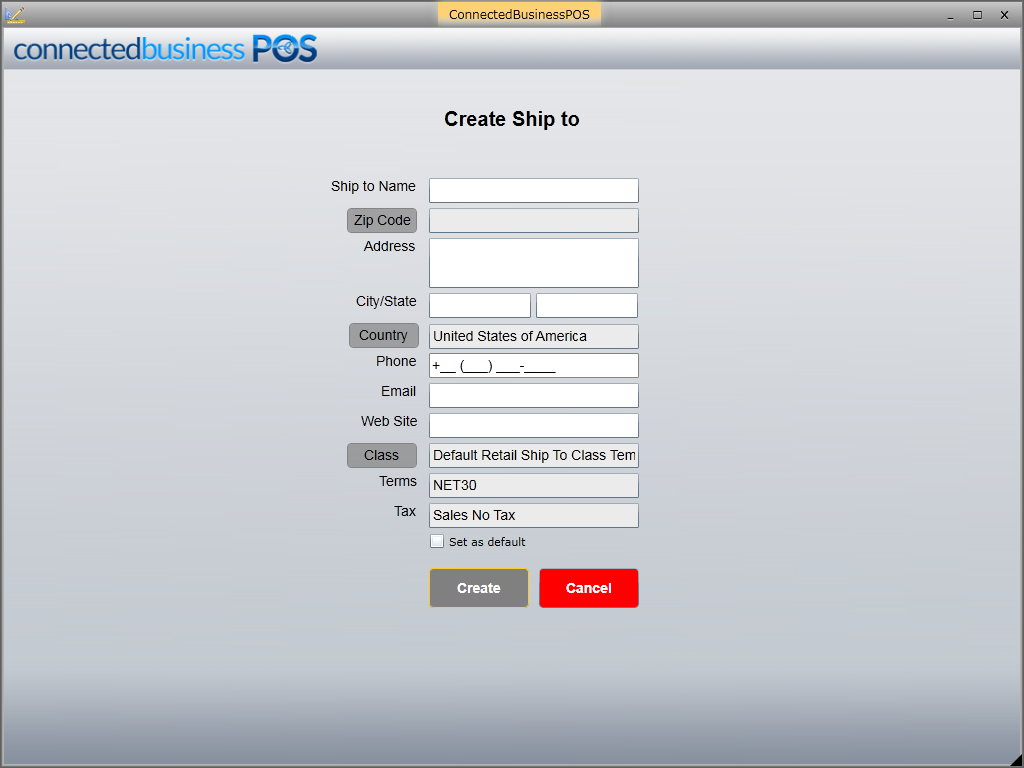
Click Image to Enlarge
Specify the details for the following fields.- Ship To Name
- Zip Code
- Address
- City / State
- Phone
- Country - Click on the Country button to change customer's country.
- Web Site
- Class - Click on the Class button to assign a default class template for the customer.
- Terms - The default payment term for the customer will be based on what is defined in the selected class template. You can change the payment term for the customer from the Connected Business backend.
- Tax - The default tax for the customer will be based on what is defined in the class template selected. You can change the tax for the customer from the Connected Business backend.

Tick the Set as default checkbox if you want set the newly-created shipto as the default for the customer.
- After entering all the details, click Create.
![]()
Change Customer Shipping Address
To change the customer's shipping address, simply click the drop down arrow right beside the customer name and select Change Ship To.

Click Image to Enlarge
The shipping details for the customer will be displayed with the list of existing ship tos. Select the preferrred Ship To name from the list and click Select.
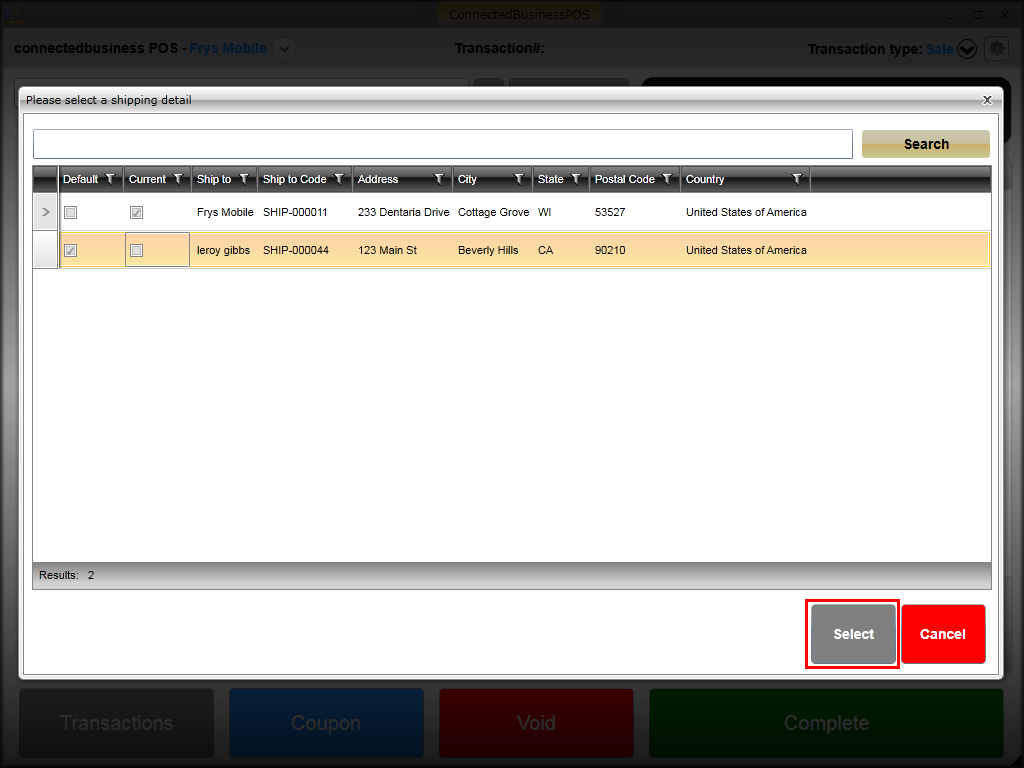
Click Image to Enlarge
![]()