JetPay
Below are the steps in setting up the JetPay Payment Gateway.
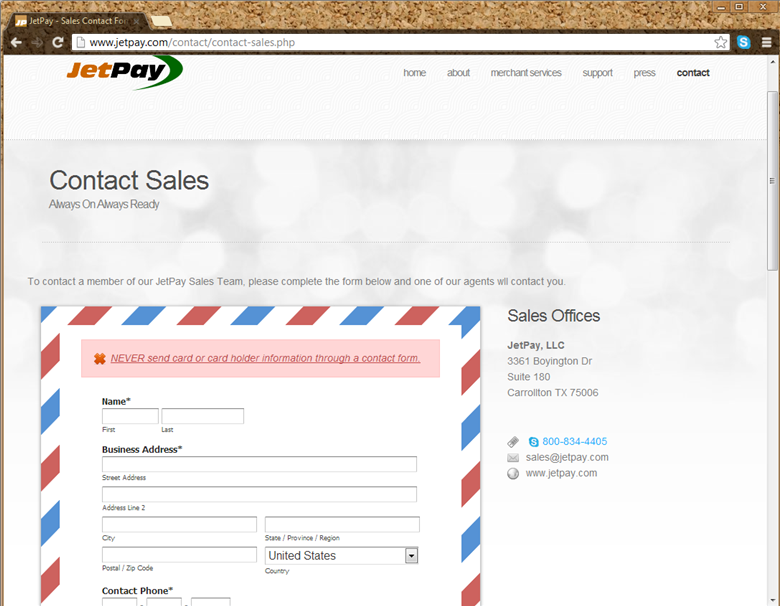
Apply for a JetPay Payment Gateway Account
You need to contact JetPay by phone or email to set up an account.
Click Image to Enlarge
Set Up JetPay Payment Gateway in Connected Business
- Open the Connected Business application.
- Go to Banking > Setup and select the Credit Card Gateway option. The list of supported credit card gateways will be displayed.
- Select JetPay from the list and the gateway details will be displayed.

Click Image to Enlarge

Click Image to Enlarge
Enter the details for the following fields:
- Terminal ID:
- Merchant Password:
- Allow Sale: Check / Uncheck
- Test Mode: Check / Uncheck

You need to contact JetPay to request for a test mode setup.
- After setting the configurations for JetPay, set it as the payment gateway for the website. Go to eCommerce module > Webstore and the list of existing webstores will be displayed.
- Select the webstore where you want to use the gateway and the webstore details will be displayed.
- In the Merchant Login field, select JetPay from the dropdown list.

Click Image to Enlarge
- Click Save and Close to save your settings.
The gateway setup only works in the website into which it was defined. You need to set up the gateway for every website you want to use it for.