Create Accrual Schedule
The process below discusses on how to create an accrual schedule.
Steps
- From the Accounting module, select Accrual> New Accrual button from the menu options. The Accural Wizard will display.
Step 1
Click Next button to start.
Step 2- The Accrual Code will be autogenerated.
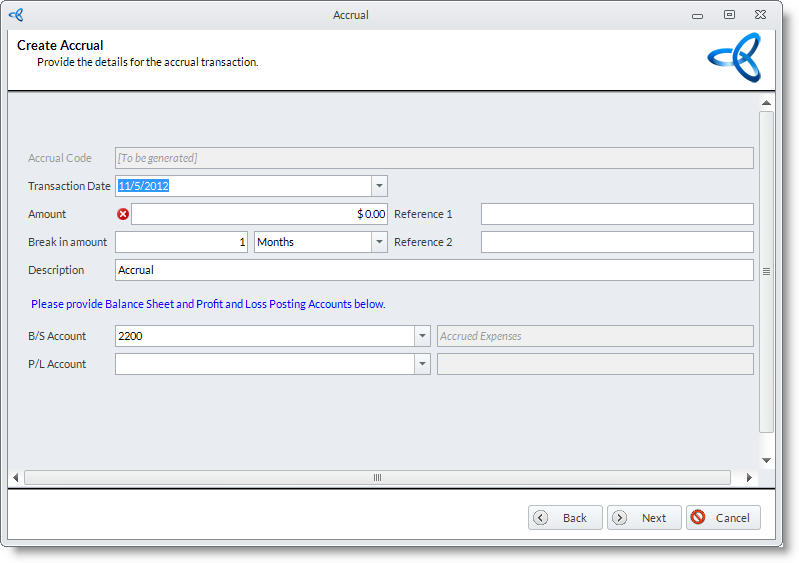
- Enter the starting date of the prepayment in the Transaction Date field. By default, this is set to the current date.
- Enter the total amount of the accrual in the Amount field then enter the number of times that the amount will be divided in the Break in Amount field.
- The Reference 1 field denotes the related record that the accrual is based on. The Reference 2field denotes the entity that initiate the accrual.
- Enter a Description for the accrual. By default, this is set to "Accrual".
- Select the balance sheet posting account for the accrual in the B/S Account field. By default, this is set to the default Accrual account.
- Select the profit and loss posting account for the accrual in the P/L Account field. Select the revenue or expense account where the accrual will be applied.
- Click on the Next button to continue.
Step 3
The schedule for the accrual transaction and their corresponding amounts will appear. You may change the dates and the amounts as needed. Click Next to continue.

Step 4
The actual journal entries to be done are listed for completeness and will be posted to the Unposted Journals list. Click Next button to continue.

Step 5- You can choose to view the prepayment schedule you created. To view and close the wizard, click Finish button. The Print Preview of the created prepayment will display.
- From here you can print or send the Prepayment document.
- The Accrual Code will be autogenerated.