Configure Connected Sale Mobile Categories
|
Content
|
|---|
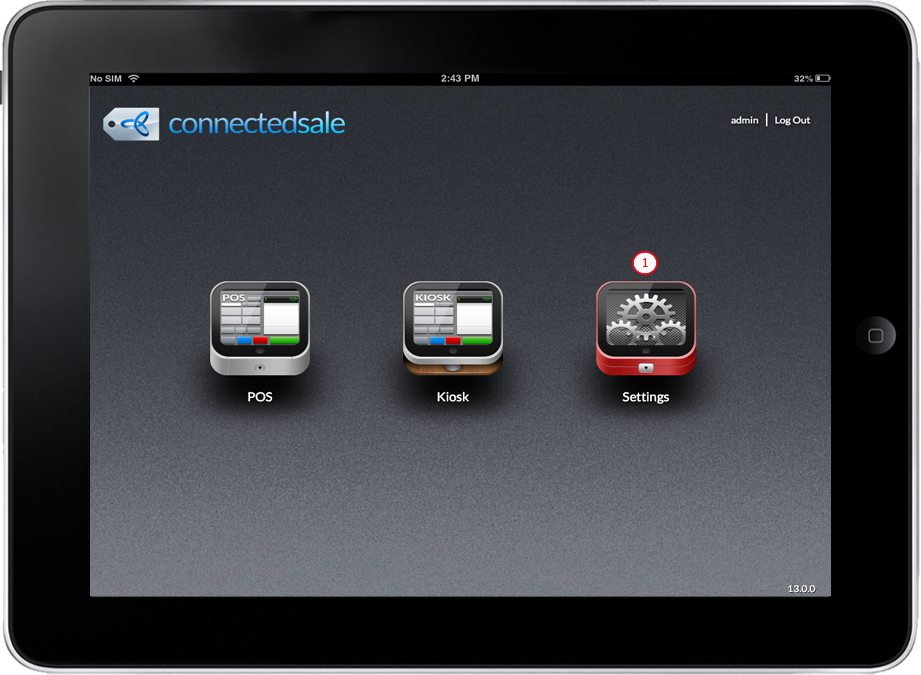
Click on “Preference” button on the top most, right corner part of the Connected Sale Mobile, a dropdown box with preferences options will be displayed then select “Settings”.
Adding a Category
- Tap on “Settings” icon located in the Dashboard.
Click Image to Enlarge
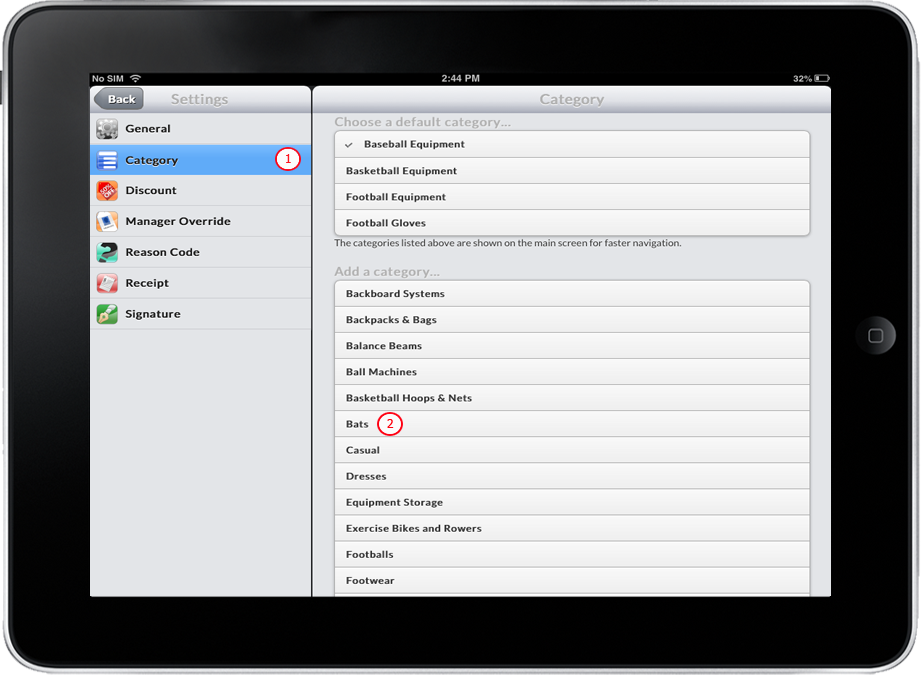
- Go to Category menu to display a list of available categories.
- Select a category or category from the list to add the categories to the category master list.
Click Image to Enlarge
Remove a Category
- Tap on “Settings” icon located in the Dashboard.
- Go to Category menu to display a list of available categories.
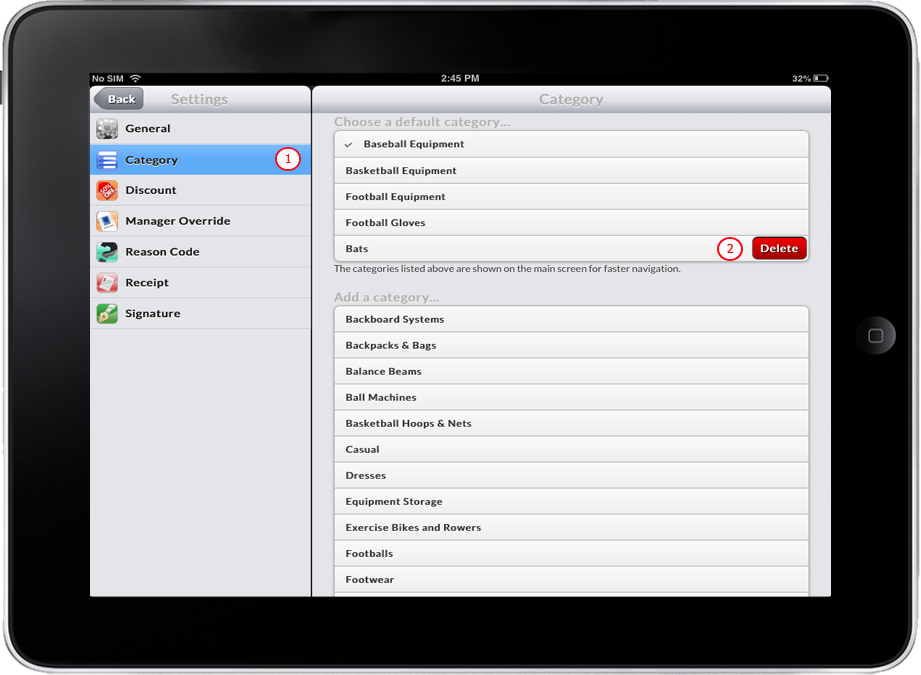
- Select and Swipe your finger (left-to-right or right-to-left) to a specific category on the upper category container. After swiping your finger a “Delete” button will appear.
Click Image to Enlarge
- Tap the “Delete” Button. The selected category will be hidden in the Connected Sale Mobile.

Setting the Default Category
- Tap “Settings” icon located in the Dashboard.
- Go to Category menu to display a list of available categories.
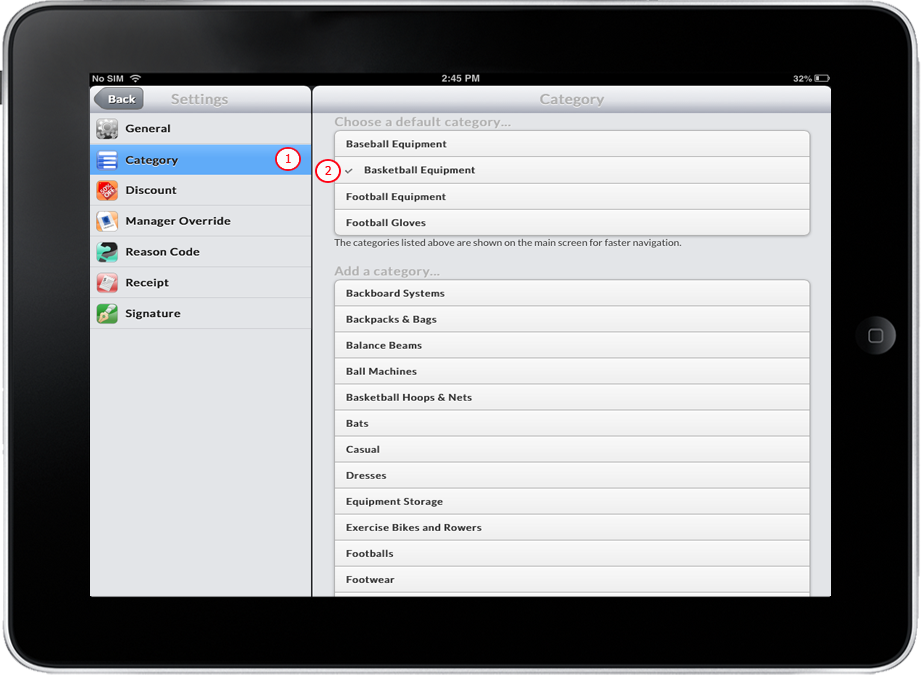
- In category master list window, tap a category other than the default category. A check symbol will appear on the category tapped and it will be the default category.
Click Image to Enlarge