Auto Allocate Stocks
Auto Stock Allocation allows automatic adjustment of stock quantity for a specific item if the current quantity does not meet the customer’s ordered quantity via POS dashboard.
This action allows users to auto-allocate stocks via the POS dashboard when a specific item does not have enough stocks to complete the current transaction. This happens when the web store’s physical number of stocks does not match with the number of stocks on record.
Enable Auto Stock Allocation
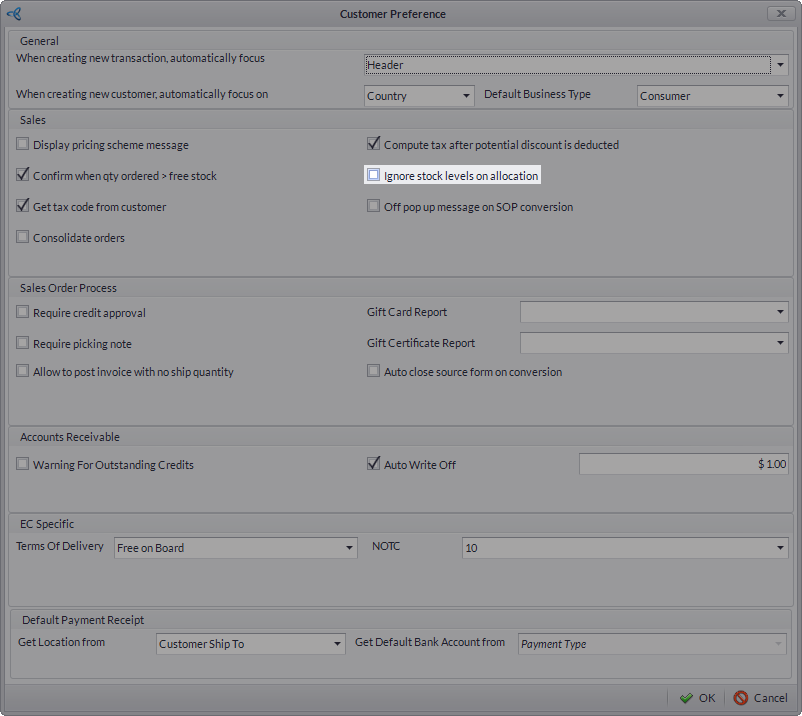
The Auto Stock Adjustment icon on your POS dashboard will only appear if the Ignore Stock Levels on Allocation option from the Connected Business backend is disabled. To do this:
- Go to Customer module > Setup >Preferences. The Customer Preference form will be displayed.
Click Image to Enlarge
- Uncheck the Ignore Stock Levels on Allocation checkbox.
- Click OK to close the form and apply changes.

![]()
Auto Adjust Stocks
To auto adjust stocks in POS:
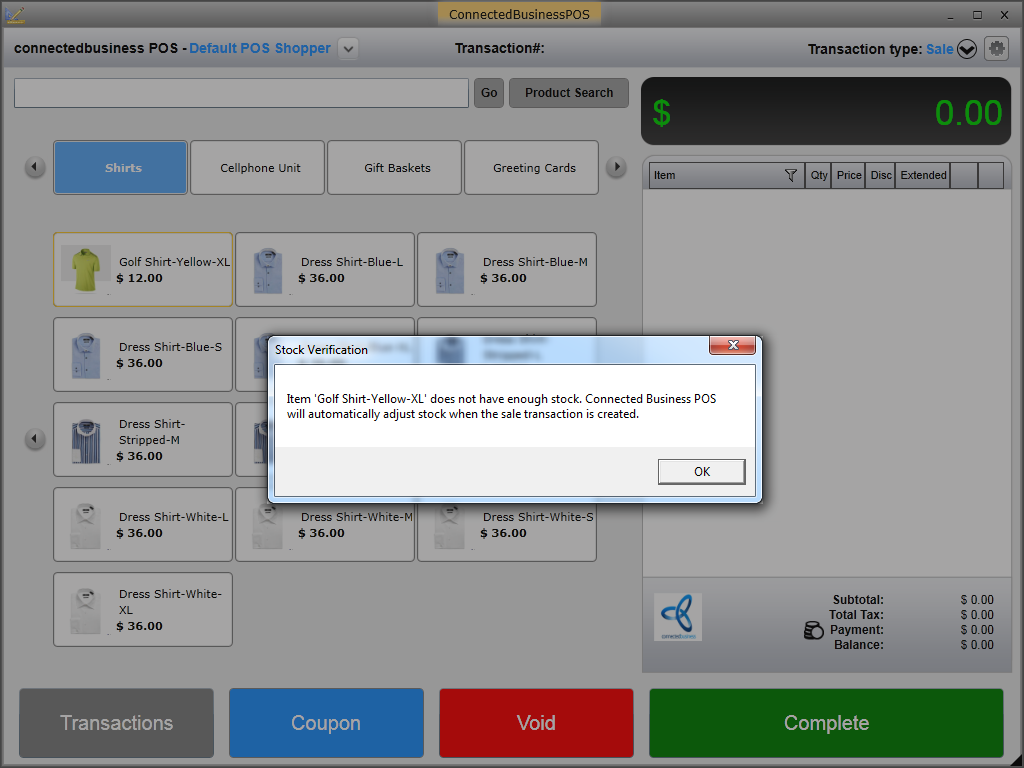
- Go to POS dashboard and create a transaction.
- The Stock Verification dialog box will appear if the item does not have enough stocks. Click OK to verify the stock adjustment on the item.
Click Image to Enlarge
- Complete the transaction. Once completed, a print preview of the receipt will display to confirm the quote/order/sales transaction made to the customer for the allocated item.


Click Image to Enlarge
![]()
Override Auto Stock Adjustment
Ideally, the usage of this function is only intended for POS users with Admin Roles. Non-admin users will be asked by the system for authorization before they can make any changes in the transaction.

Click Image to Enlarge
Administrators will have to enter their POS login credentials to proceed with the adjustment.

Click Image to Enlarge
After authorizing the adjustments, the user can now go through and complete the transaction. A print preview of the receipt will display to confirm the completed transaction.

Click Image to Enlarge

Administrators may grant Admin Roles to other users for them to directly access and perform this task. For more information, please refer to Assign Manager Override and Manage POS User Role.
All auto stock adjustments made from POS transactions will also reflect on the backend.
Go to Inventory > Stock > Stock Adjustment > Find Adjustment. Select from the list to display the item’s Stock Adjustment form.

Click Image to Enlarge
![]()