Authorize.Net
Below are the steps in setting up Authorize.Net payment gateway.
Apply for an Authorize.Net Payment Gateway Account
Go to http://www.authorize.net/signupnow/ and sign up for a merchant account.You will receive an email from Authorize.Net confirming your account activation along with your login credentials such as Partner ID, Login ID, Password, Login URL, Secret Answer, and Transaction POST URL

Click Image to Enlarge
Get the Payment Gateway Transaction Key
The Transaction Key is a gateway-generated, random alphanumeric string which is used to authenticate transaction request from the merchant to the payment gateway.
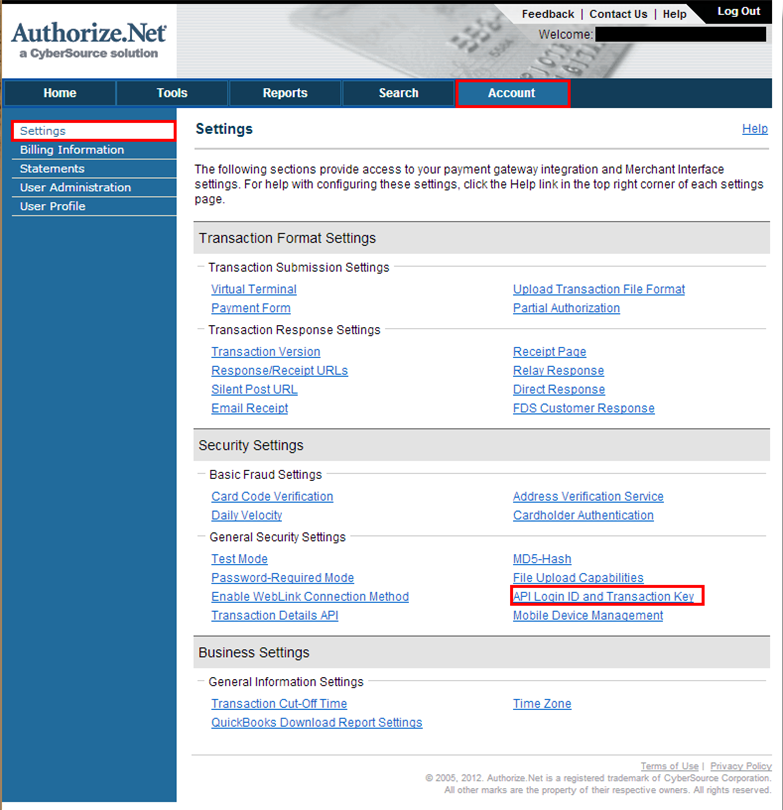
To get your transaction key,
- Sign-in to your merchant account using the login credentials provided in the email confirmation from Authorize.Net.
- Upon logging in, go to Account > Settings > Security Settings > General Security Settings and select API Login and Transaction Key.
Click Image to Enlarge
- Enter the answer for your secret question. The secret question and answer is set up during account activation.
- The transaction key will be generated.
Set Up Authorize.Net Payment Gateway in Connected Business
- Open the Connected Business application.
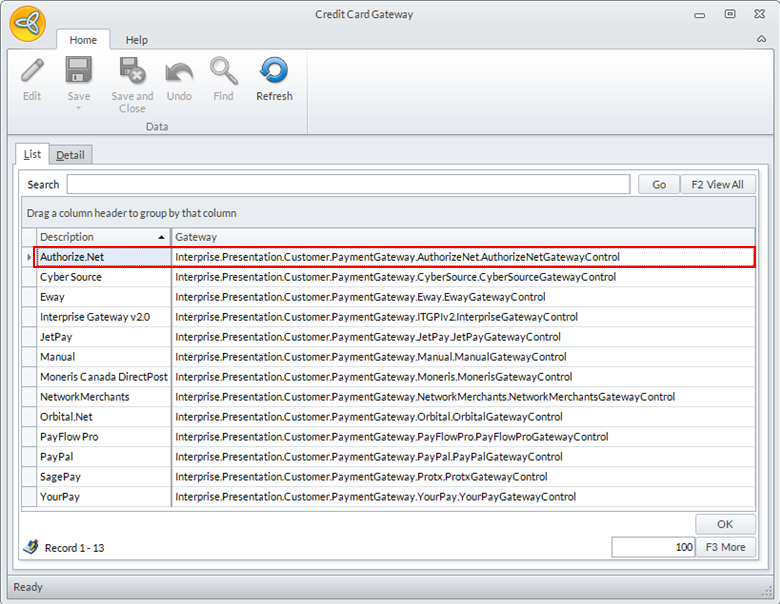
- Go to Banking > Setup and select Credit Card Gateway option.The list of supported credit card gateway will be displayed.
- Select Authorize.Net and the gateway details will be displayed.
Click Image to Enlarge
Click Image to Enlarge
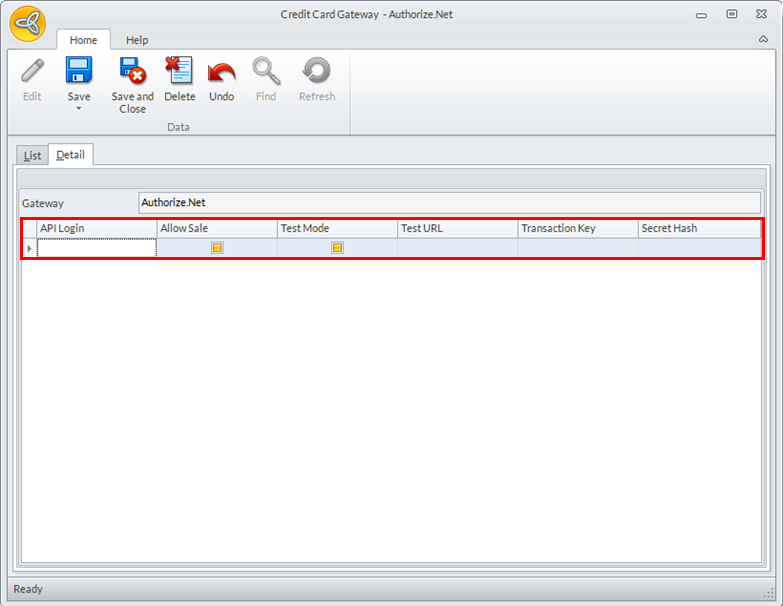
Enter the details for the following fields:
- API Login:
- Allow Sale: Check / Uncheck
- Test Mode: Check / Uncheck
- Test URL: Test / Live Account
- Transaction Key:
- Secret Hash: Optional
Click Save and Close to apply changes.

Unless you plan to go live with your system, DO NOT UNCHECK THE TEST MODE OPTION IF THE EBUSINESS SYSTEM IS STILL IN DEVELOPMENT STAGE, otherwise, you might incur charges for any transactions made using the gateway.
- After setting the configurations for Authorize.Net, set it as the payment gateway for the website. Go to eCommerce module > Webstore and the list of existing webstores will be displayed.
- Select the webstore where you want to use the gateway and the webstore details will be displayed.
- In the Merchant Login field, select Authorize.Net from the dropdown list.
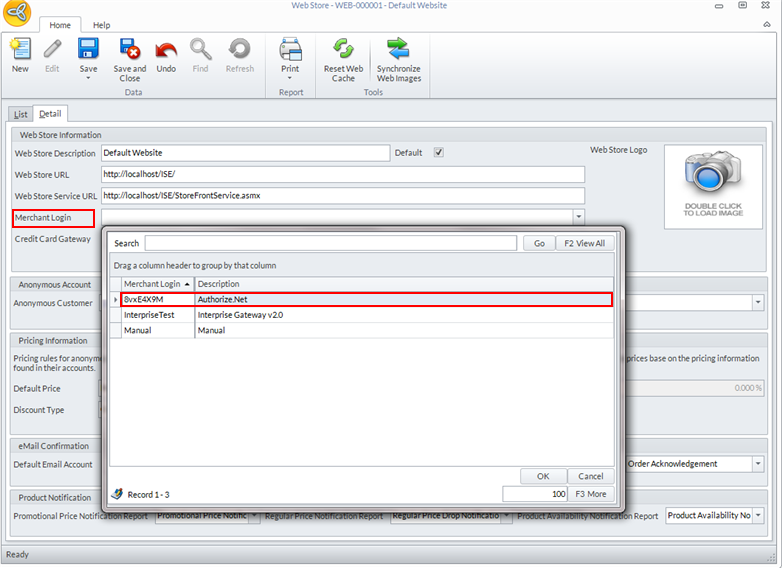
Click Image to Enlarge
- Click Save and Close to save your settings.
The gateway setup only works in the website into which it was defined. You need to setup the gateway for every website you want to use it for.