Assign Serial and Lot Numbers After Receiving New Stock
This document demonstrates the processing of recording serial and lot numbers for new stock received from your supply chain. Serial and lot numbers are manually entered to conform to the standards of your business process.
Configuring Serial and Lot Number Settings
The steps for configuring your item serialization settings are discussed in more detailed terms in our documentation titled Set Up Product And Services List: Configure Order and Allocation Settings.
Before processing stock from suppliers, you need to configure the advanced preferences. To do this:
-
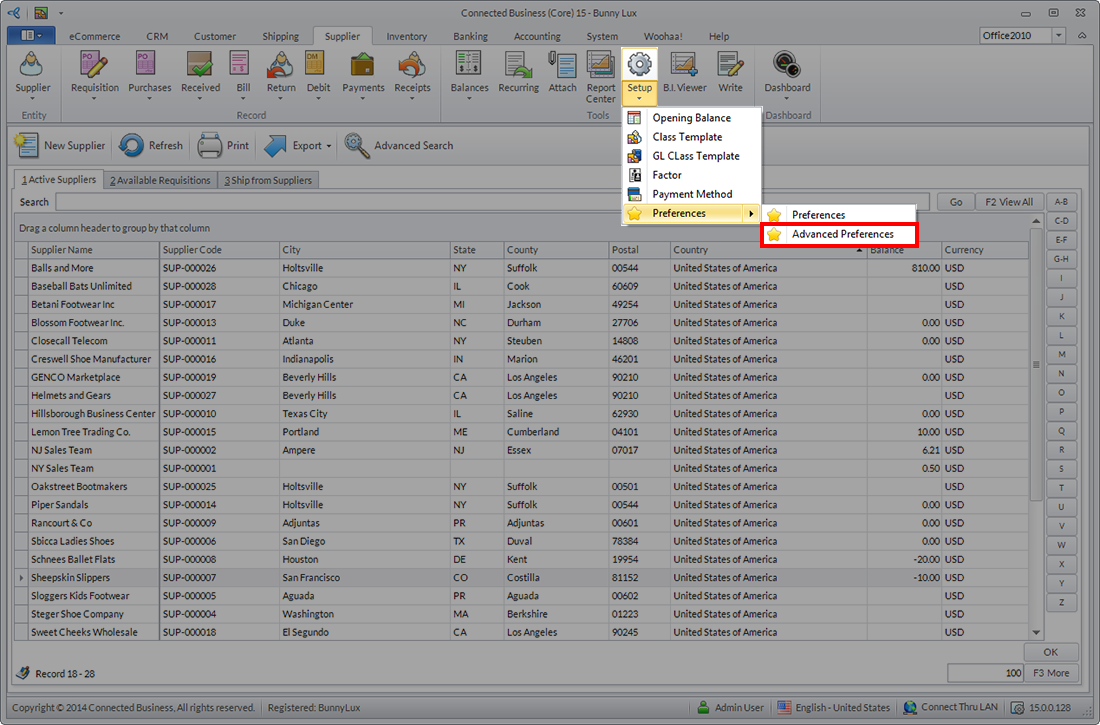
Go to Supplier > Setup > Preferences > Advanced Preferences to launch the form.
Click Image to Enlarge
-
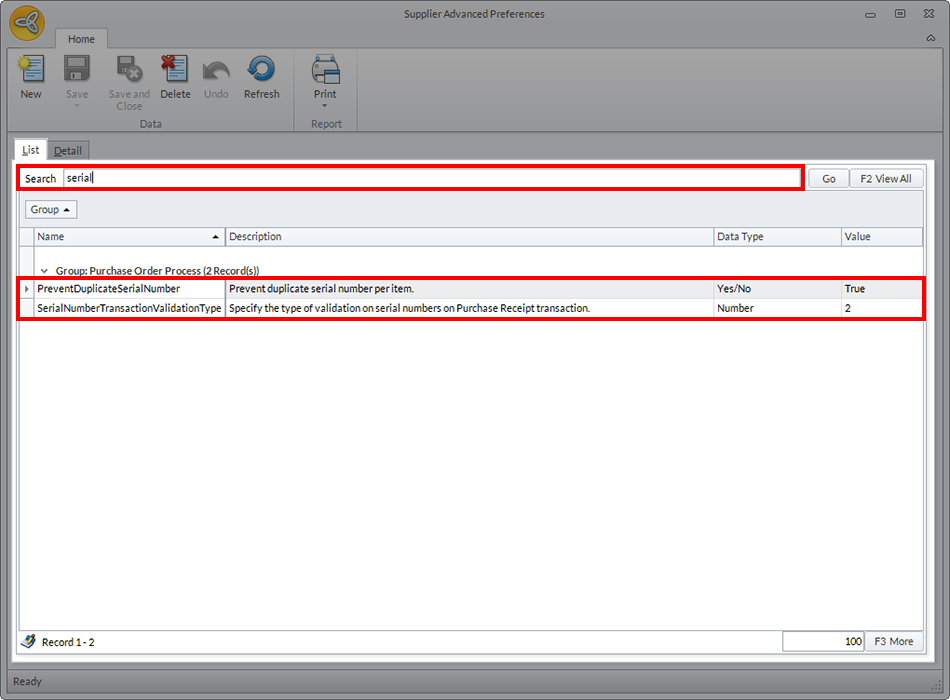
On the search bar located in the List tab, type the word "serial" to view the list of advanced configurations related to serial numbering. The relevant configuration settings for this process are PreventDuplicateSerialNumber and SerialNumberTransactionValidationType.
Click Image to Enlarge
-
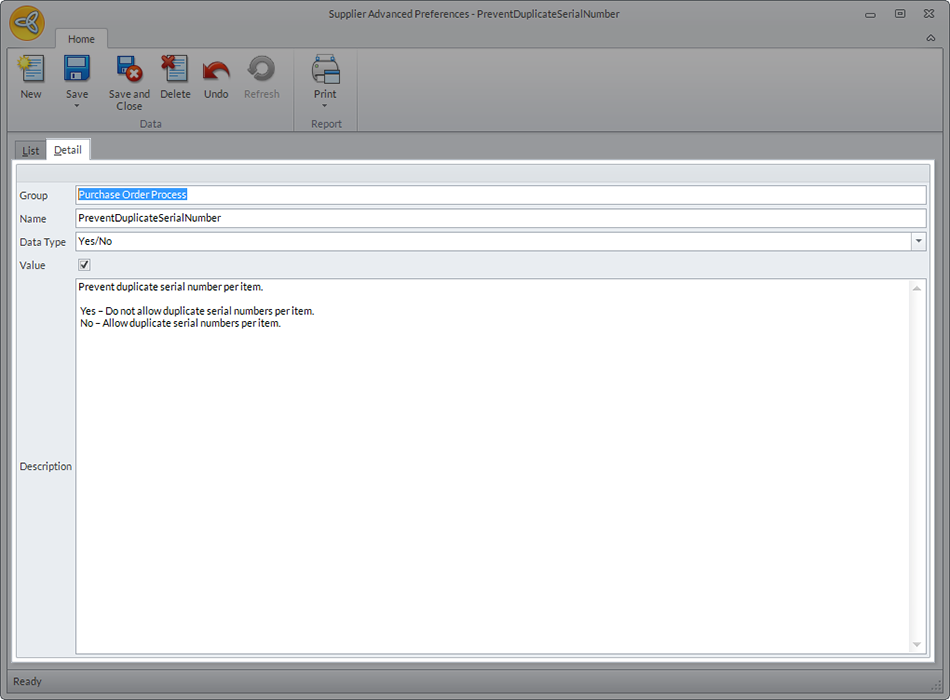
PreventDuplicateSerialNumber ensures that only unique serial numbers are assigned to every item quantity. Check the tick box labeled Value to indicate Yes or No.
Click Image to Enlarge
-
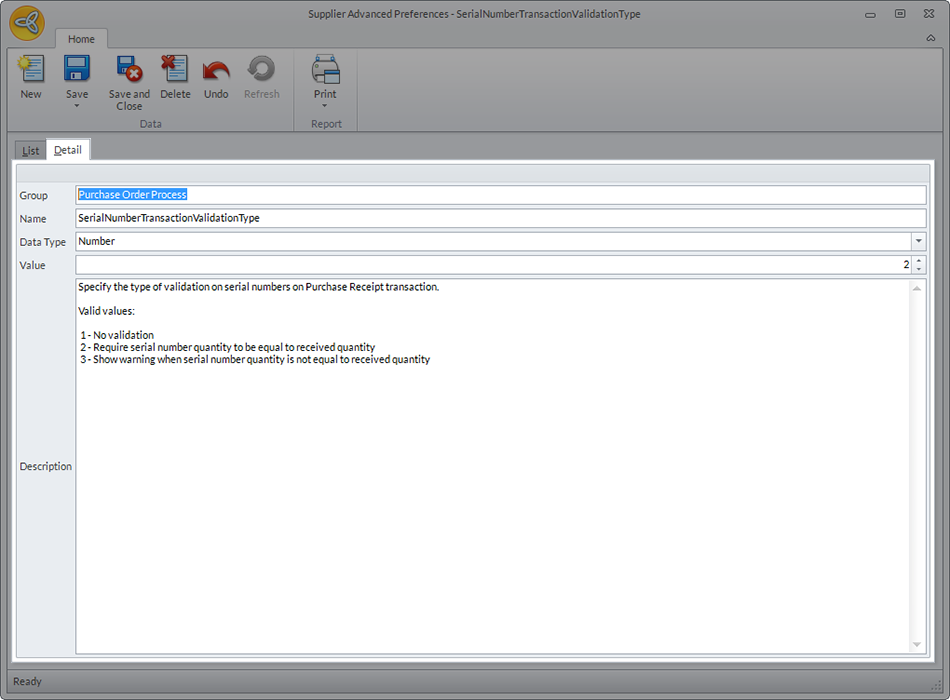
SerialNumberTransactionValidationType ensures that all the serialized quantities in a GRN are assigned their own serial codes.
Input the values 1 if you want an order to be processed without further validation, 2 if you want the process to continue only if all the quantities have been serialized or 3 if you want to show a warning that the serialized quantities are not equal to the received quantities.
Click Image to Enlarge
-
To be able to assign serial or lot numbers to specific items, go to Inventory > Item > Find Items and double click on the entry to launch the Item Form.
Under the Setup tab, find the field named Serialize Lot and choose from the dropdown list of numbering options.

Click Image to Enlarge
Click Save and Close.
Only items with the Serialized Lot option enabled will include the Serial or Lot tab when a Goods Received Note is created.
Encode Serial and Lot Numbers
-
To process serialized items from delivered by suppliers, go to the Supplier module to find the relevant Purchase Order (PO) and click on the Receive Items button.
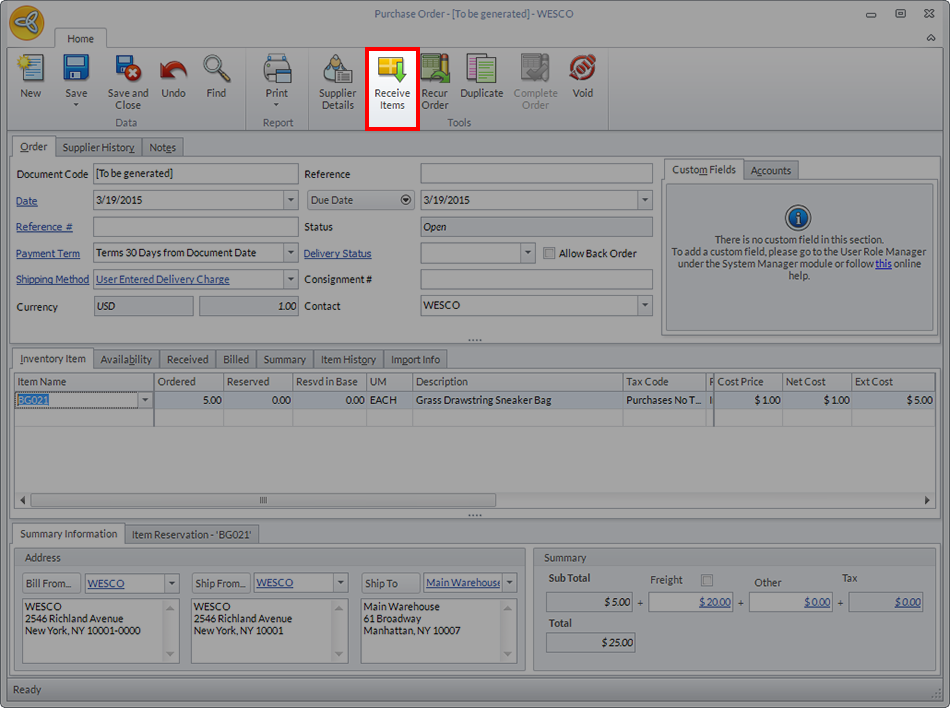
Click Image to Enlarge

The steps described here begin with processing POs after suppliers have delivered new stock. However, you can also perform actions on a newly created GRN.
-
The generated Goods Received form will include a Serial or Lot tab located at the bottom of the form.
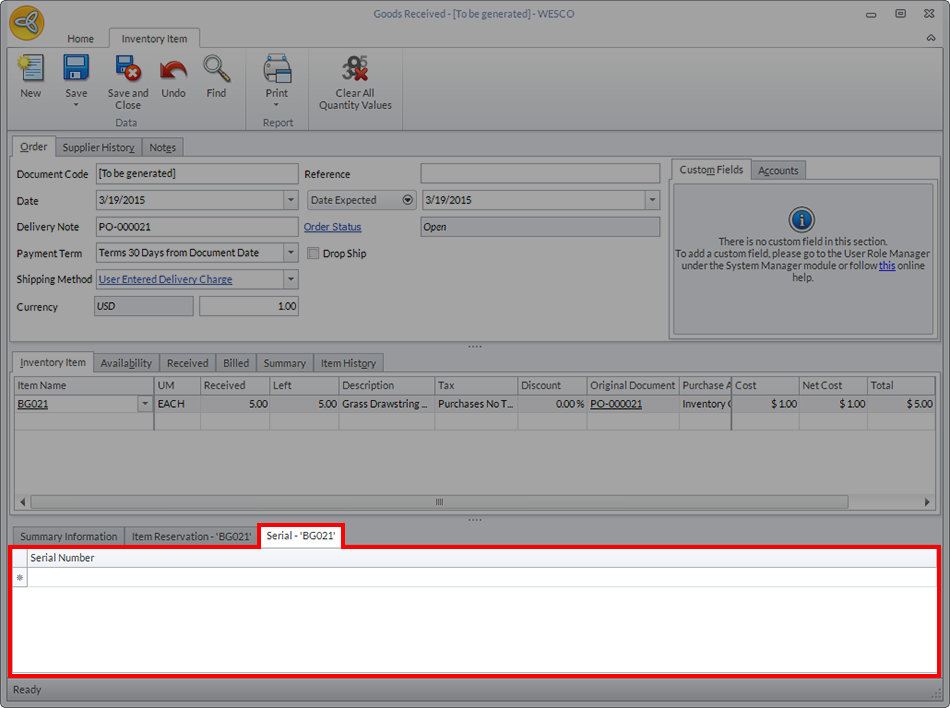
Click Image to Enlarge
-
If the item is assigned Serial codes, enter the required number of serial codes based on the quantities received.
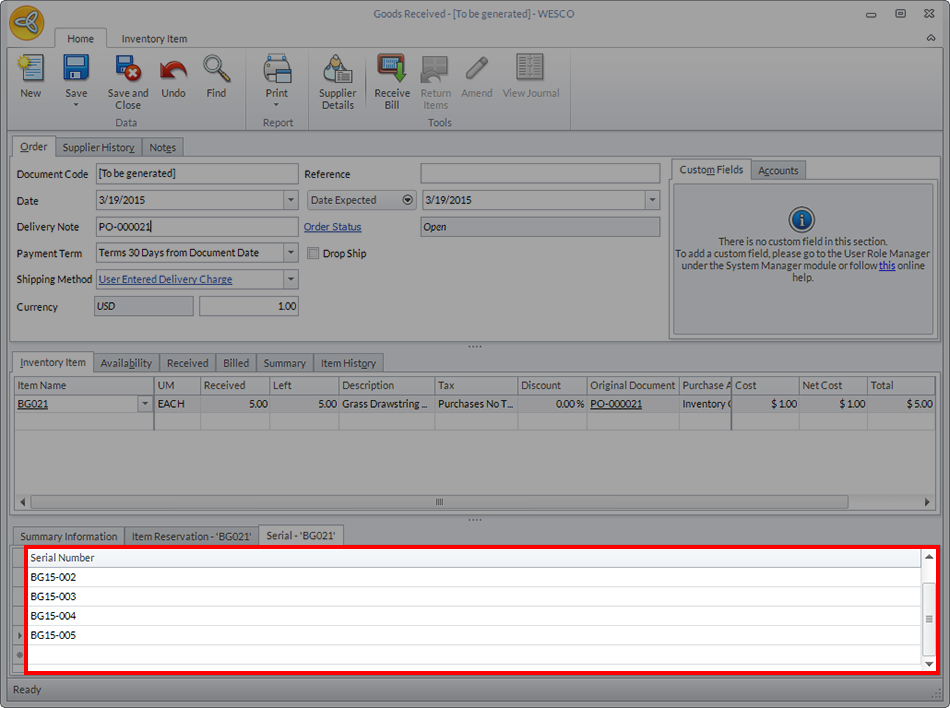
Click Image to Enlarge
-
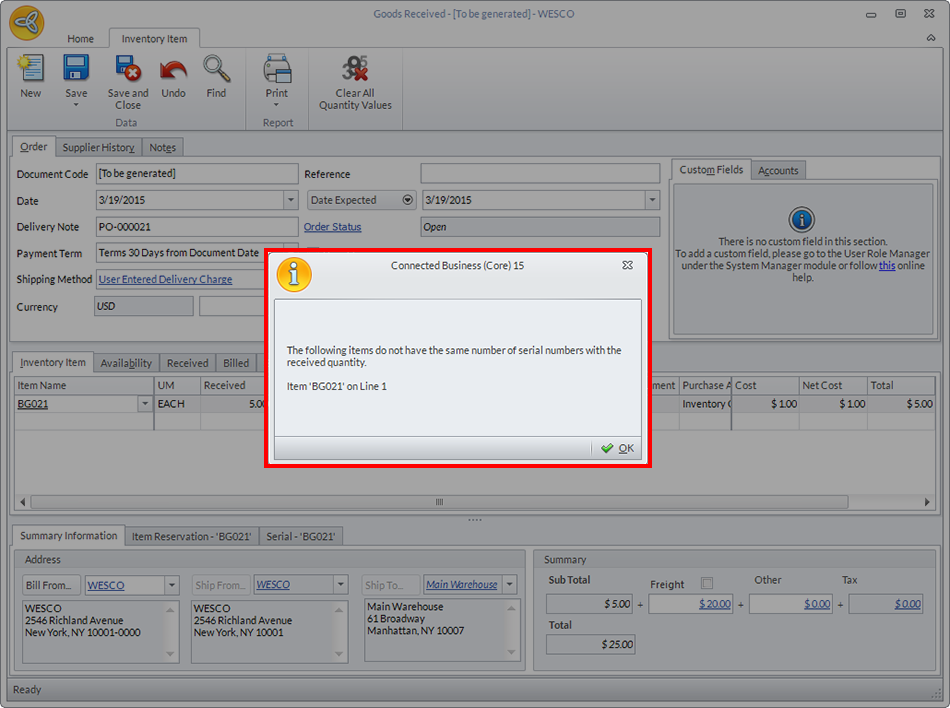
If there are an insufficient number of codes entered into the tab compared to the quantity in the order, a dialog box will be displayed warning you of the discrepancy. This prompt is controlled by SerialNumberTransactionValidationType under Advanced Settings.
Click Image to Enlarge
-
Another warning message will appear more than one unit has been assigned the same serial code. This is caused by the PreventDuplicateSerialNumber configuration, also in Advanced Settings.
Click Image to Enlarge
The warning against duplicate serial numbers only occurs if the code is the same for units of the same item. Having the same serial numbers for different items will not trigger this message.
-
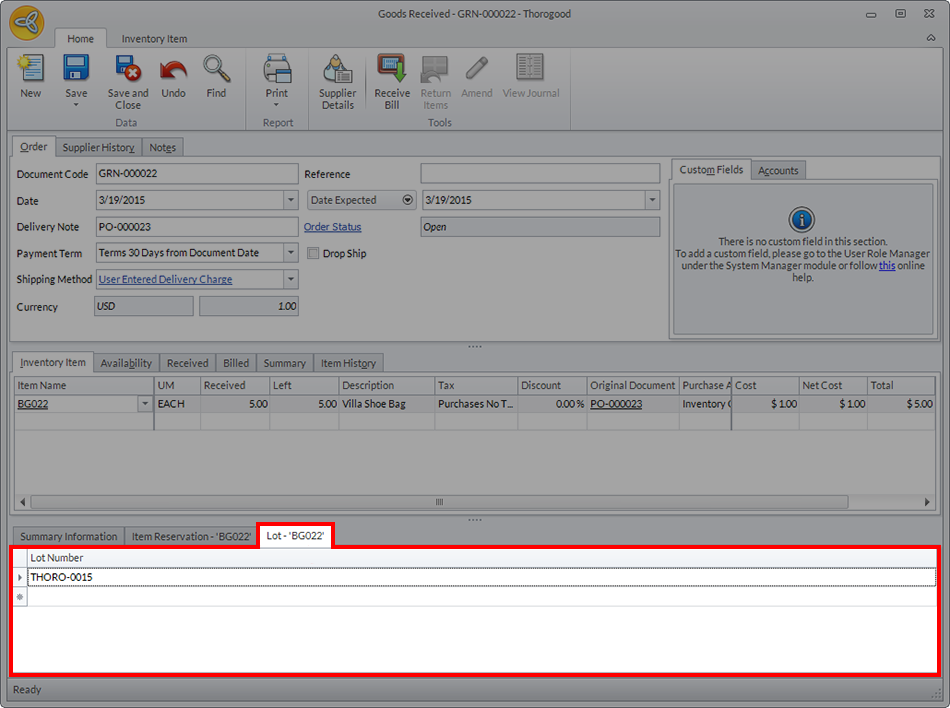
On the other hand, you can assign one lot number for a single batch of product orders. You can also assign the same lot order to multiple GRNs.

Click Image to Enlarge
-
To view the lot and serial numbers associated with received stock, go to Inventory > Item > Serial/Lot Numbers.

Click Image to Enlarge
-
The Purchases tab will contain the list of serial and lot numbers with their association GRN codes.
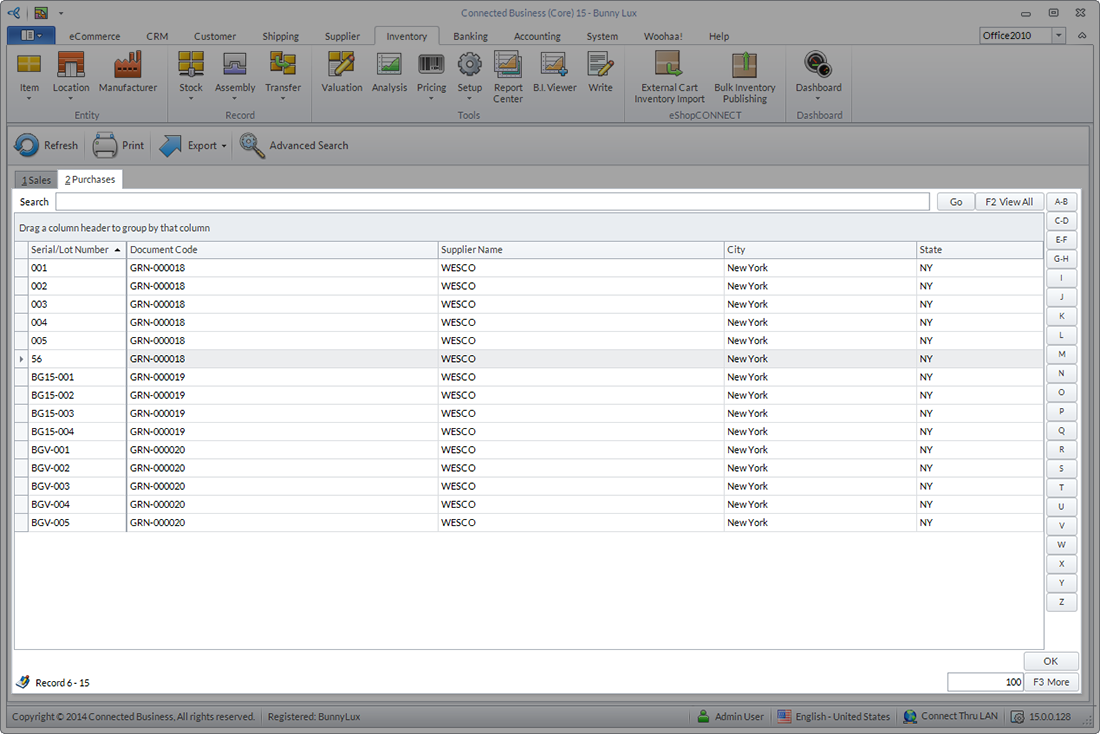
Click Image to Enlarge