Accounts Receivable Analysis Report
This article talks about the Accounts Receivable Analysis Report of Connected Business.
Maintaining balance between your accounts receivable and your cash flow is a crucial factor in sustaining business operations. With this, Connected Business has added the Accounts Receivable Analysis Report to help you review all your past financials and check your financial totals for the previous years.
This report contains a summary of balances owed by your customers for a specific period and is generally categorized into currency codes (if you are paying in multiple currencies). You can also view the outstanding balances owed by individual customers from all transaction types such as credit memo, refunds, sales invoices, etc.How To View A/R Analysis Report
The Accounts Receivable Analysis Report can be accessed from the Report Center menu of any modules in Connected Business. Click the Report Center menu to load the Report Center window, then from the Report Explorer panel, click on Reports > System Reports > Accounting > Retrospective Analysis > Accounts Receivable Analysis (All Transaction Types).
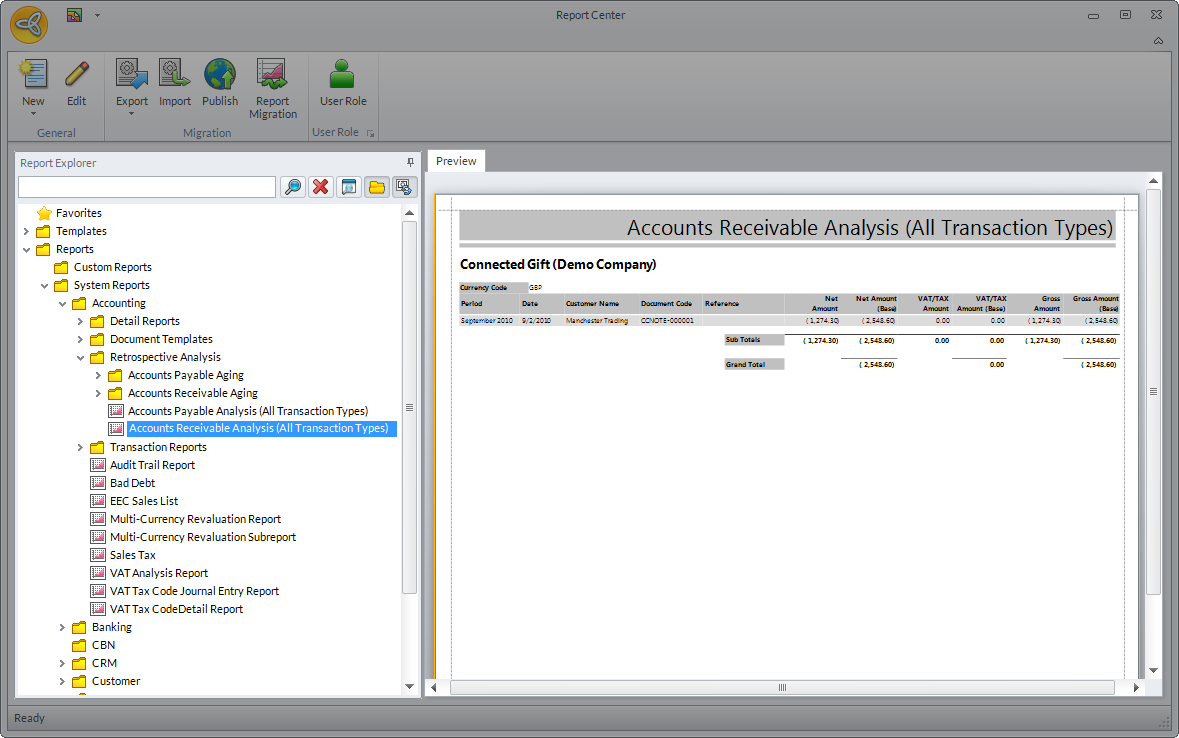
Click Image to Enlarge
You can also view this report from the Retrospective Analysis form. Go to Accounting module > Retrospective Analysis. In the form, select AR Analysis (All Transaction Types) from the Report Analysis dropdown list.
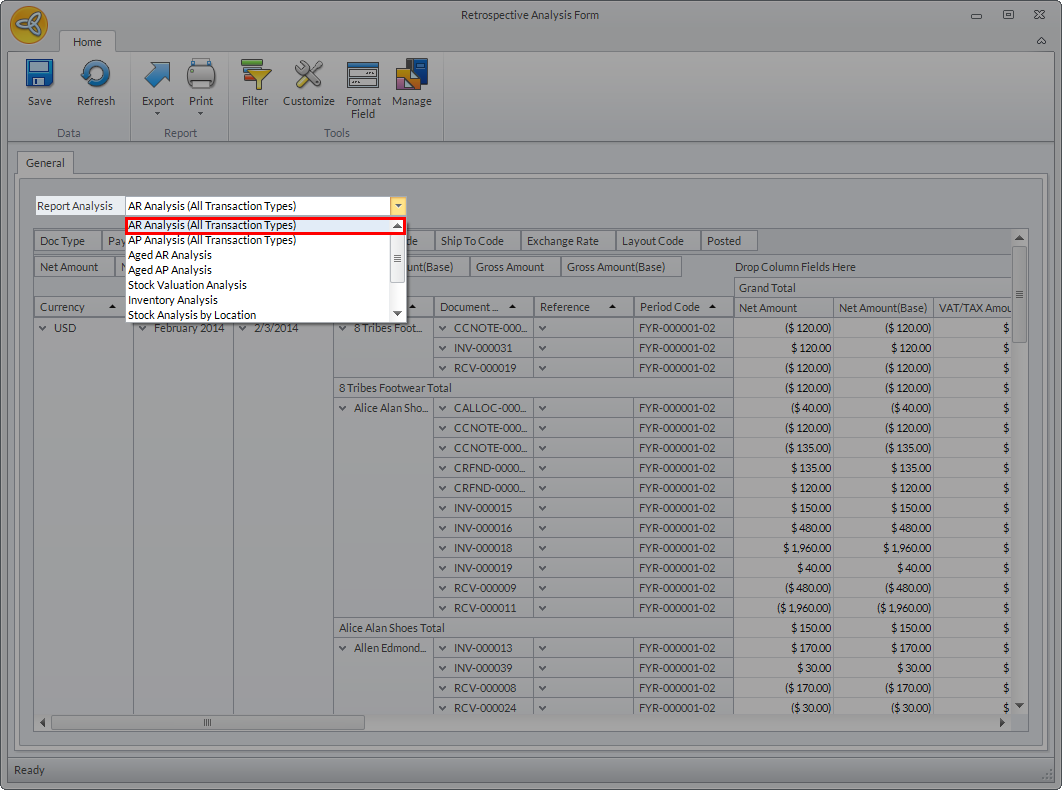
Click Image to Enlarge

The Retrospective Analysis form is only available in Connected Business v14. Refer to The Retrospective Analysis Form for more details.
In Connected Business v14, the following restrictions have been implemented to ensure that all transactions match your financial statements as well as the total indicated in the customer / supplier module.
- You cannot create a manual entry. The option to create a manual entry is disabled (by default) in the Accounting Preferences form to prevent the user from using the same account codes used in posting transactions since manual entries are not reflected in the outstanding balance of the customer.
- You cannot reverse a journal entry created on a transaction level. If you want to reverse the journal entry, simply void the invoice. The corresponding credit memo, created from the voided invoice, will reverse the journal entry.
These restrictions are applicable in all AR and AP transactions in Connected Business v14.
![]()
How To Filter A/R Analysis Report Data
You can also set a filter if you want to view specific data on the report. To set the filter criteria,
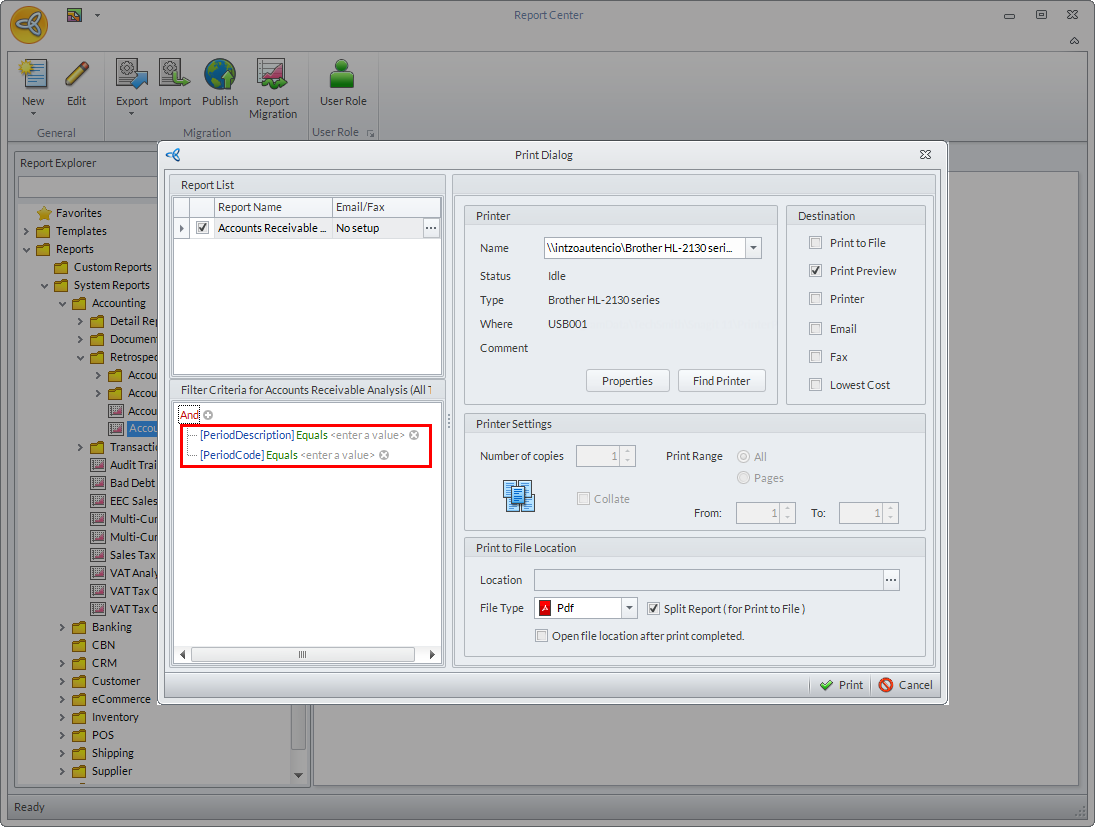
- Right-click on the Accounts Receivable Analysis Report and select Print Dialog. The Print Dialog form will be displayed. Alternately, you can double-click on the report to load the Print Dialog form.
- In the Filter Criteriapanel, set the conditions for the filter.
- Select the group operator. By default, the group operator is set to And.
- Set the condition criteria for the filter.
By default, the system has predefined conditions set for filtering data in the report. You can modify these conditions as preferred. See image below.
Click Image to Enlarge
The image below shows the condition criteria set for viewing receivables for a specific period.
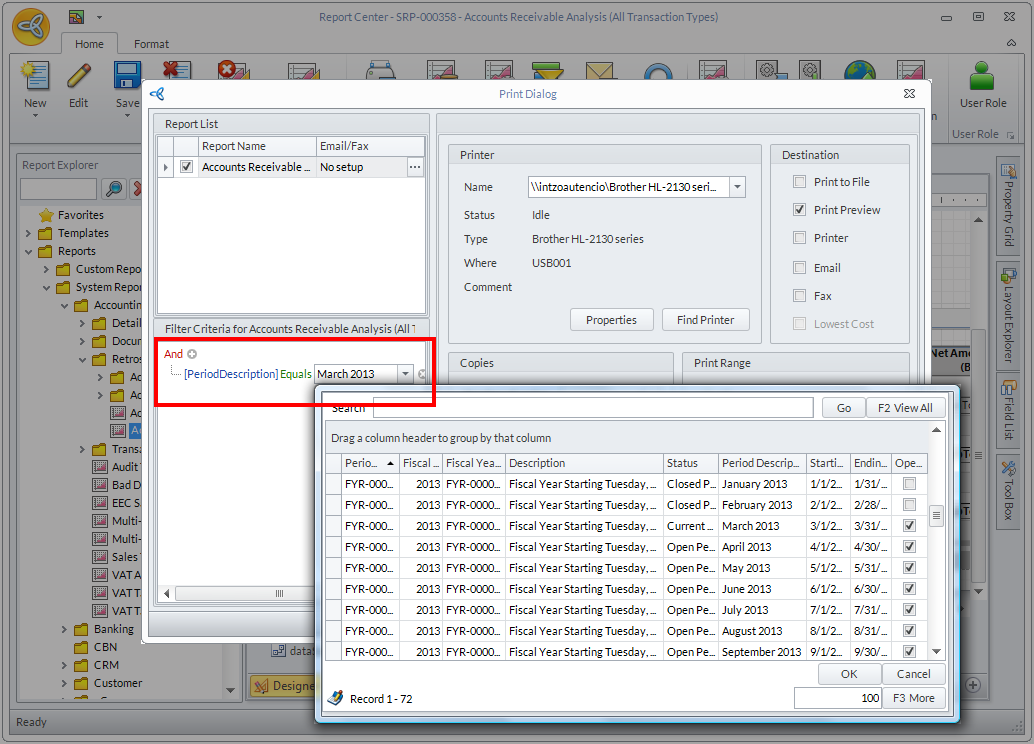
Click Image to Enlarge
- You can click on (
 ) to add a condition, or click (
 ) to delete a condition.
- Select the group operator. By default, the group operator is set to And.
After setting the filter criteria, select the option on how you want to print the report. The printing options are: Print to File, Print Preview, Printer, Email, Fax, and Lowest Cost. After selecting the printing option, click Print.
The image below shows the print preview of the report analysis based on the filter condition set above. ![]()
Click Image to Enlarge
To filter and print analysis reports from the Retrospective Analysis form, refer to The Retrospective Analysis Form.
![]()